Well, Today I made some steps towards finishing the running rigging. I had to do some interesting bits of rope work I thought I’d share. I had to make up the jib cars, their adjustment lines, and the tricky, double reverse tapered jib line. Fortunately, I remembered to take lots of pictures, so I can walk you thru each of these bits.
For the jib cars, I am using Antal low friction rings as jib blocks. Here’s how I attached them.
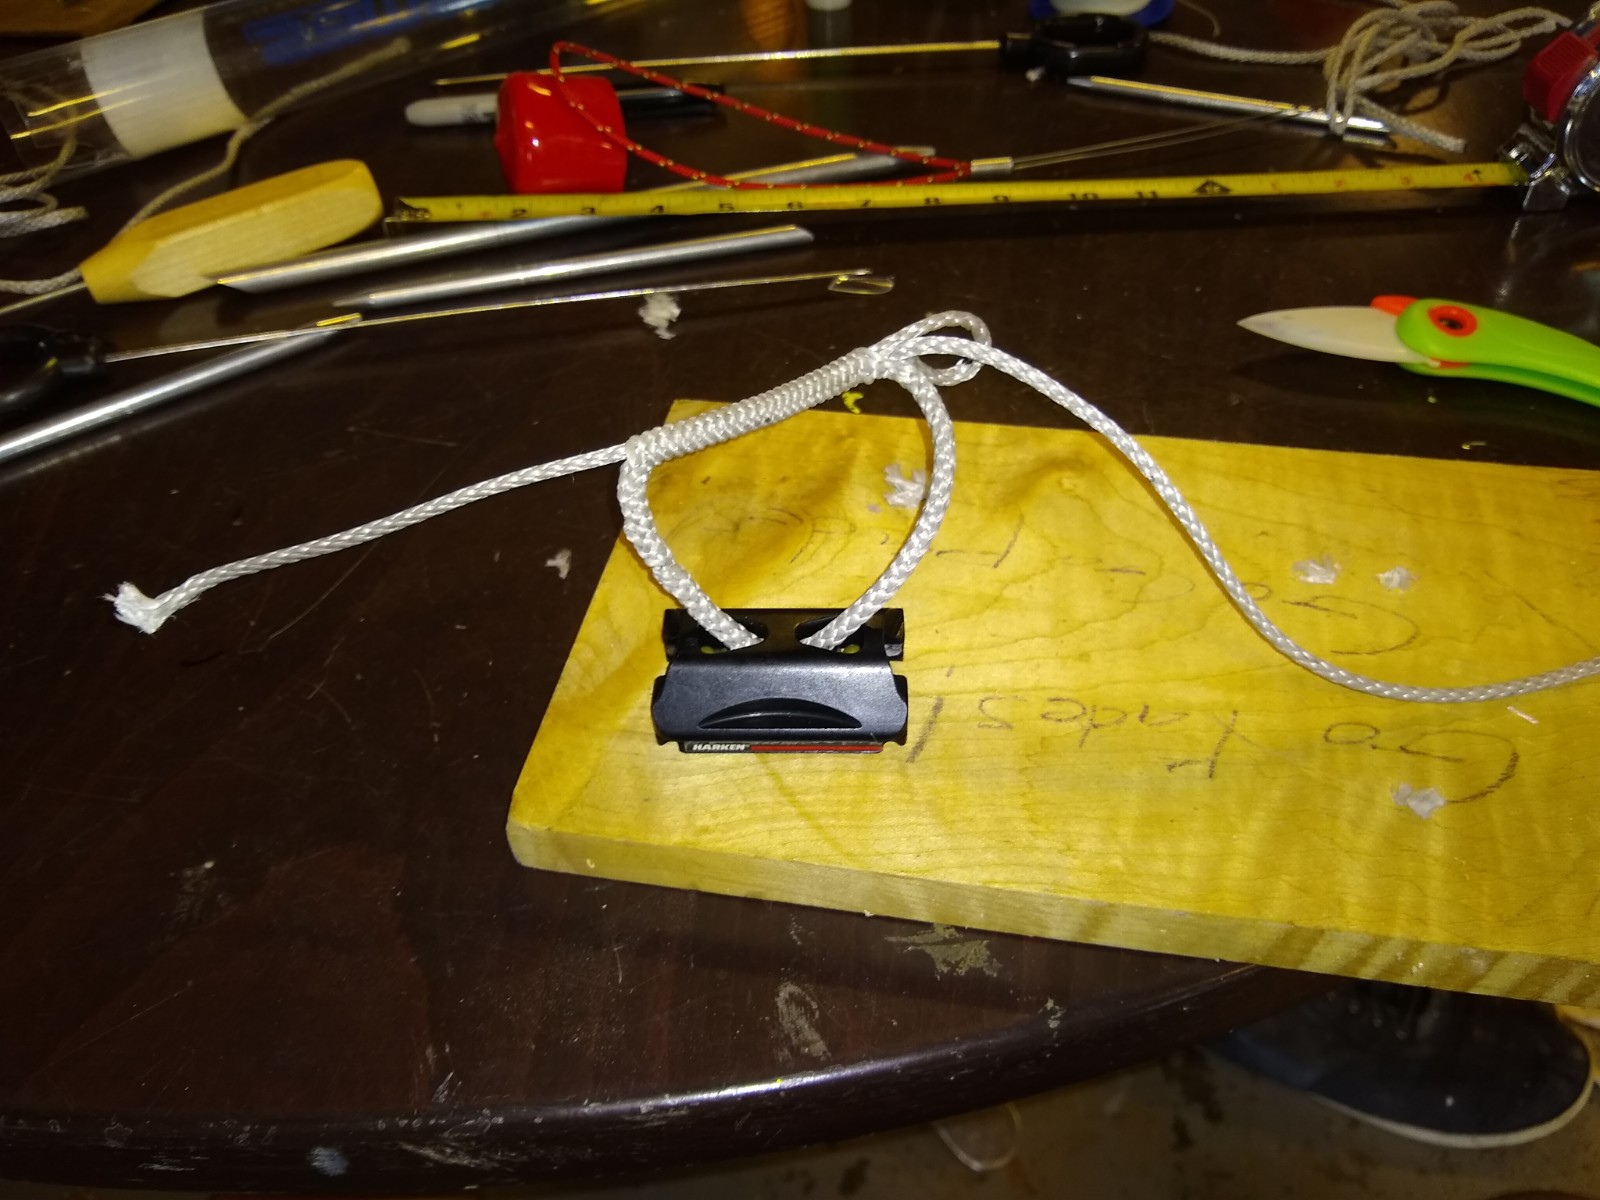
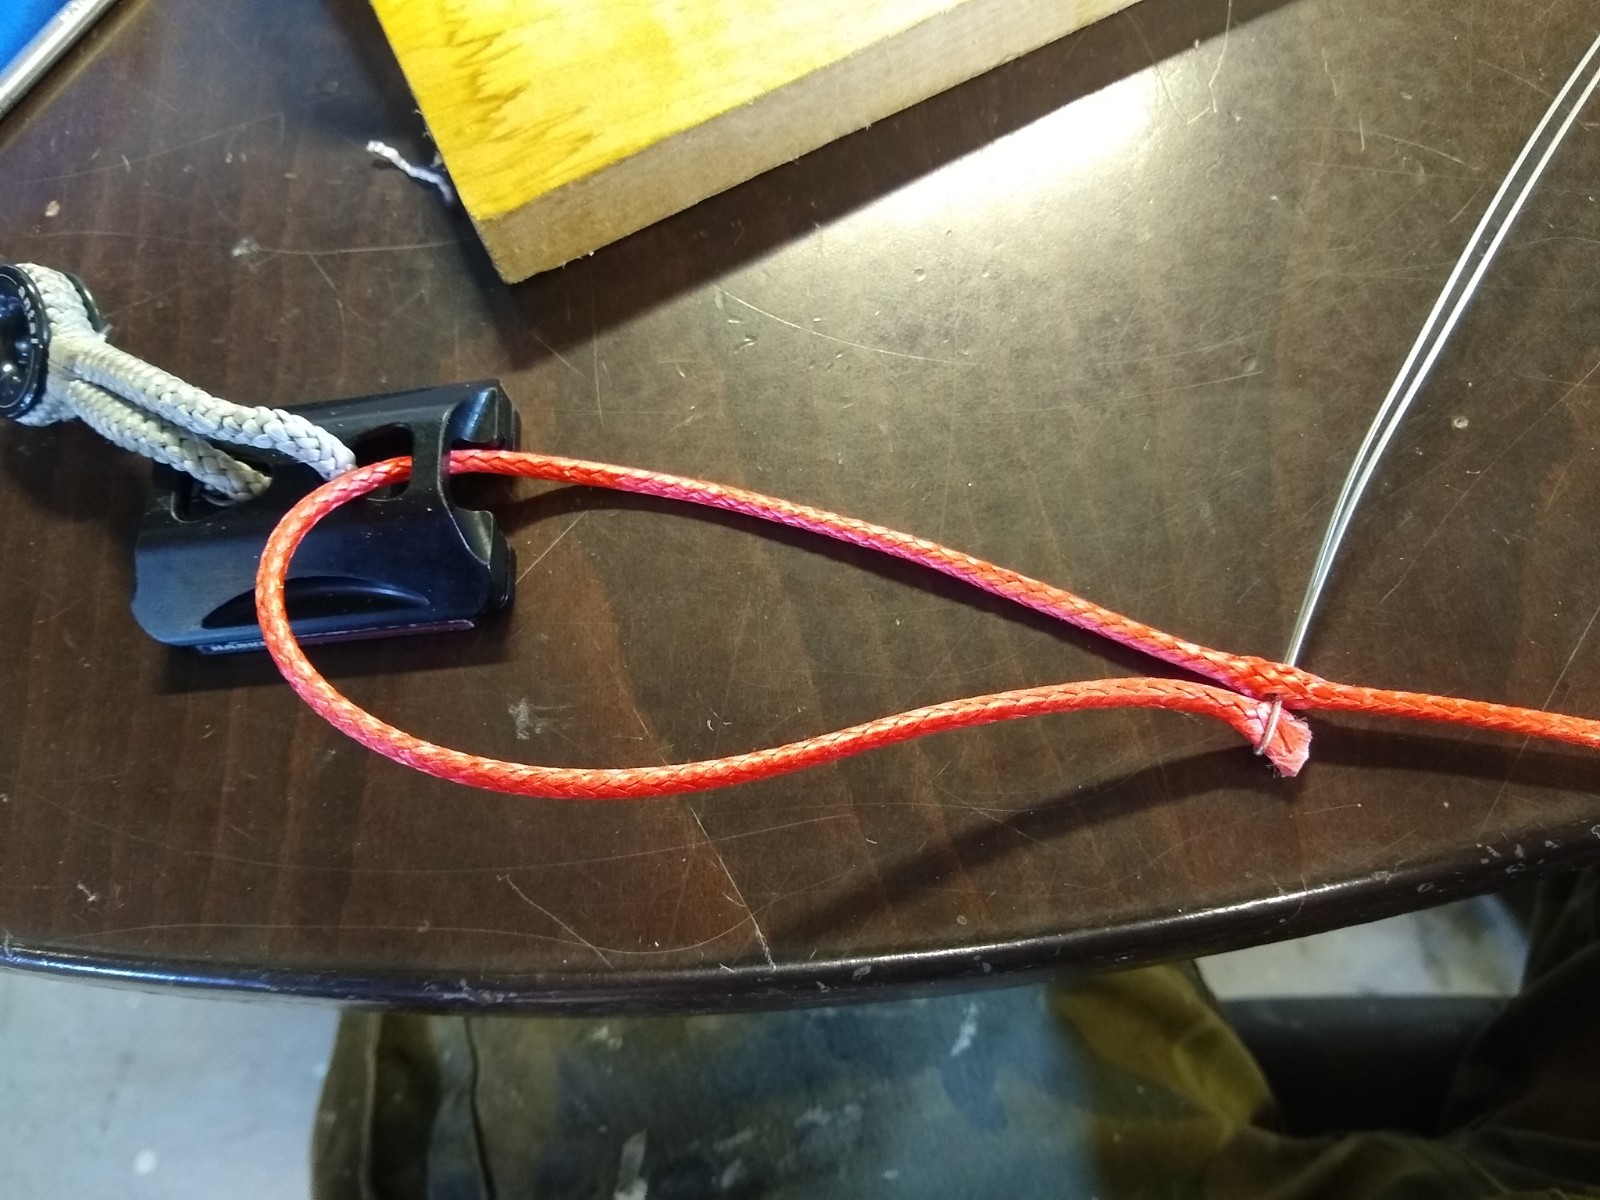
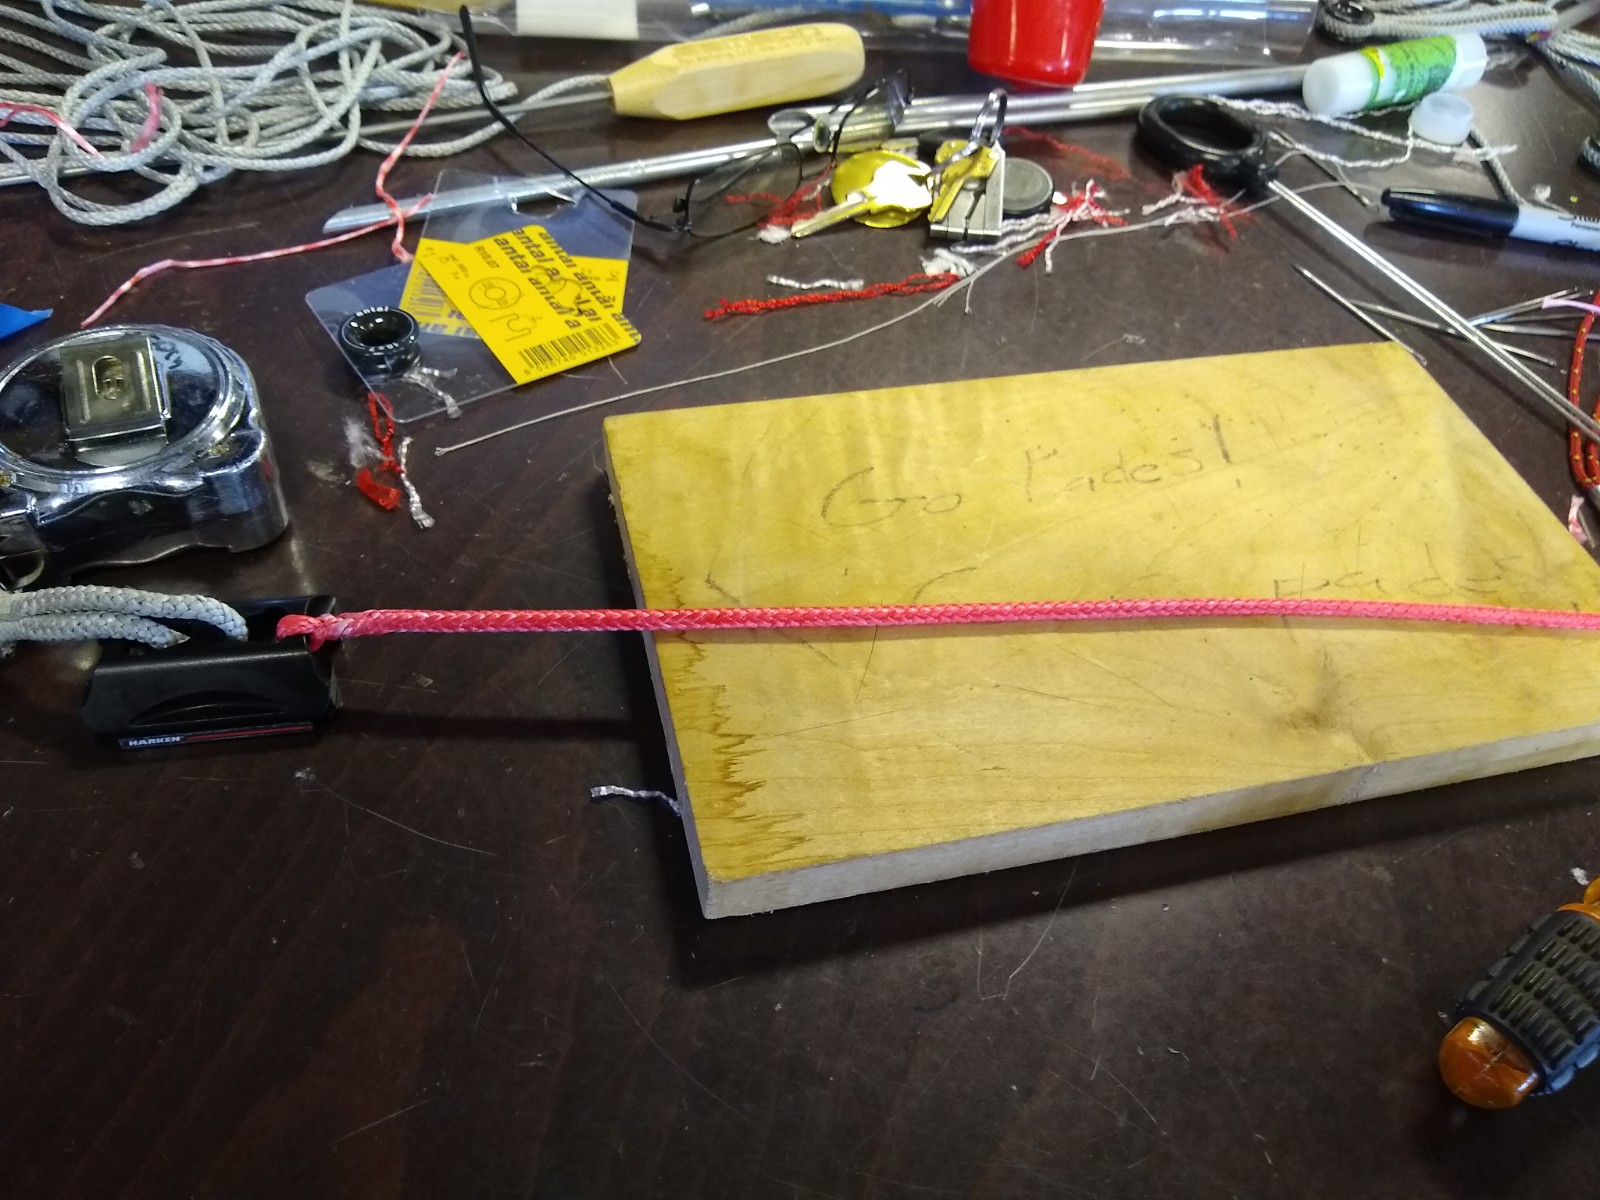
to start off, I took a piece of 7/64 dyneema about 40″ long, and made marks at the midpoint, and then 6″ on either side that. Then, I inserted my wire fid at the center and exited at the 6″ mark, remembering to put the jib car in the loop.
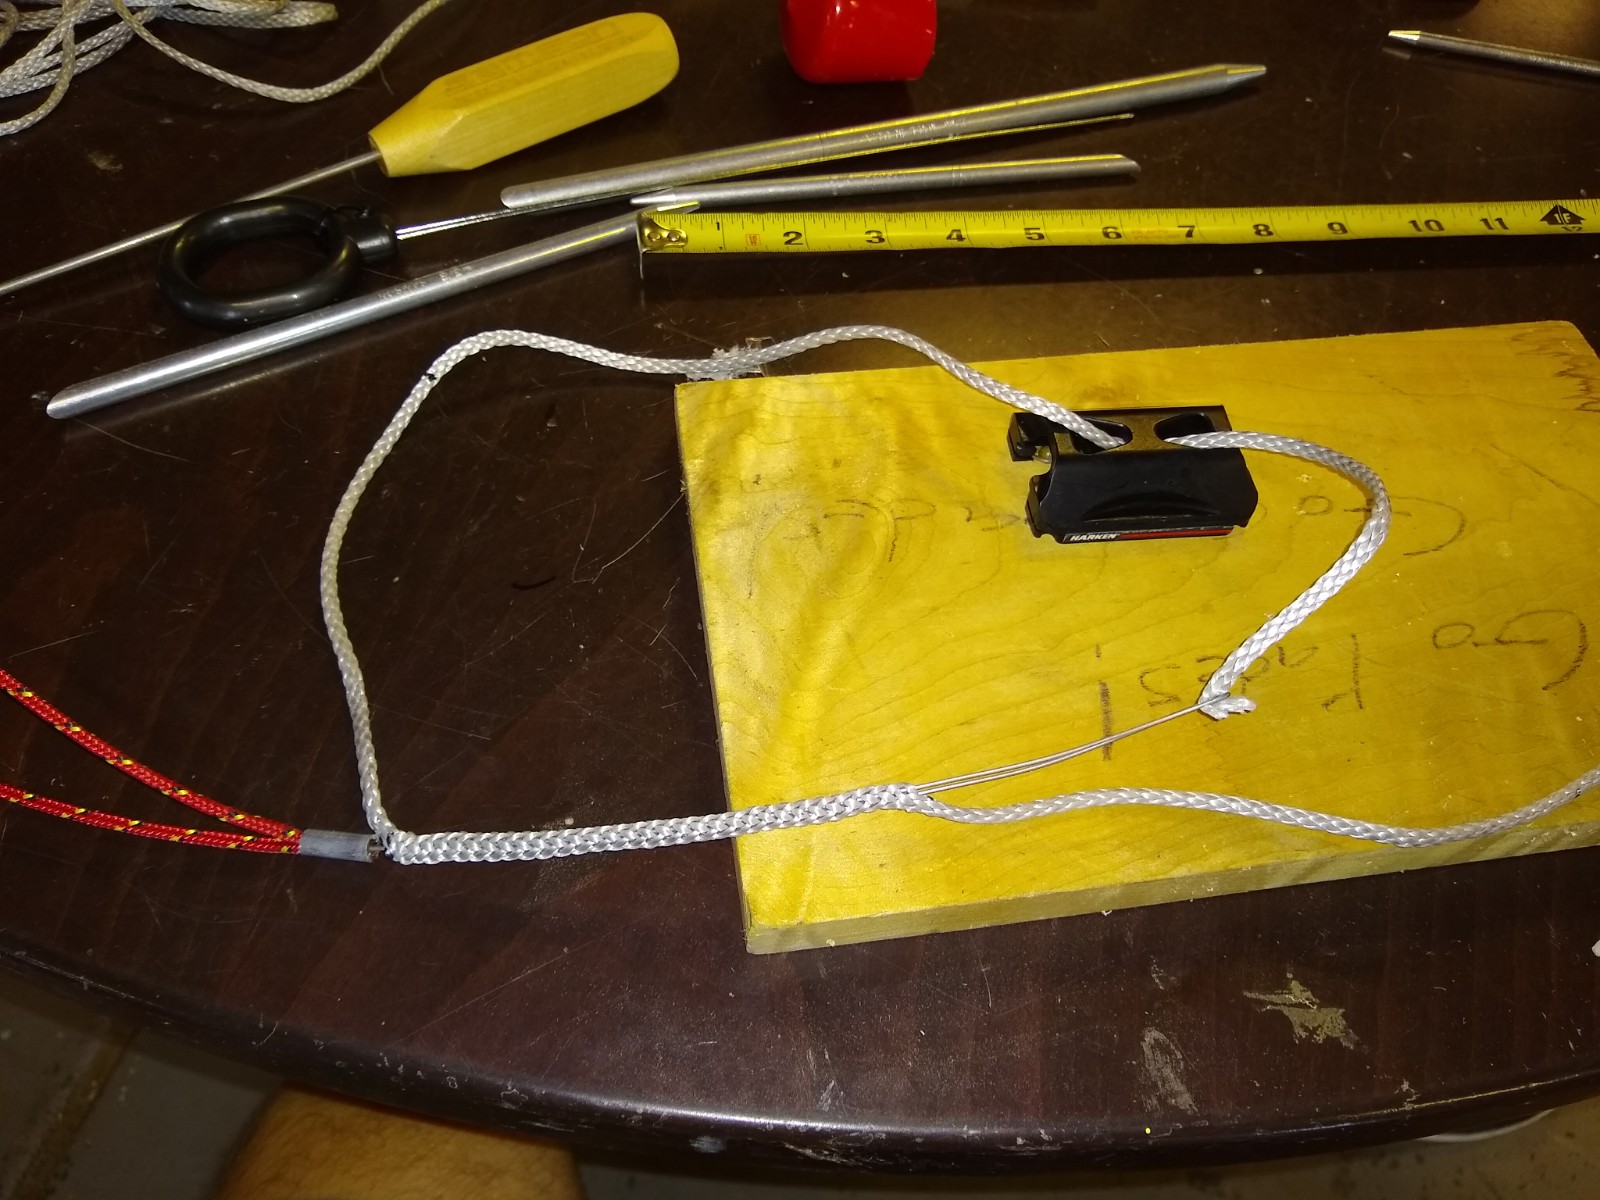
This gets pulled thru to start the loop.
Then, I passed the line thru the car to get the car on the doubled bit of line.
Like this:
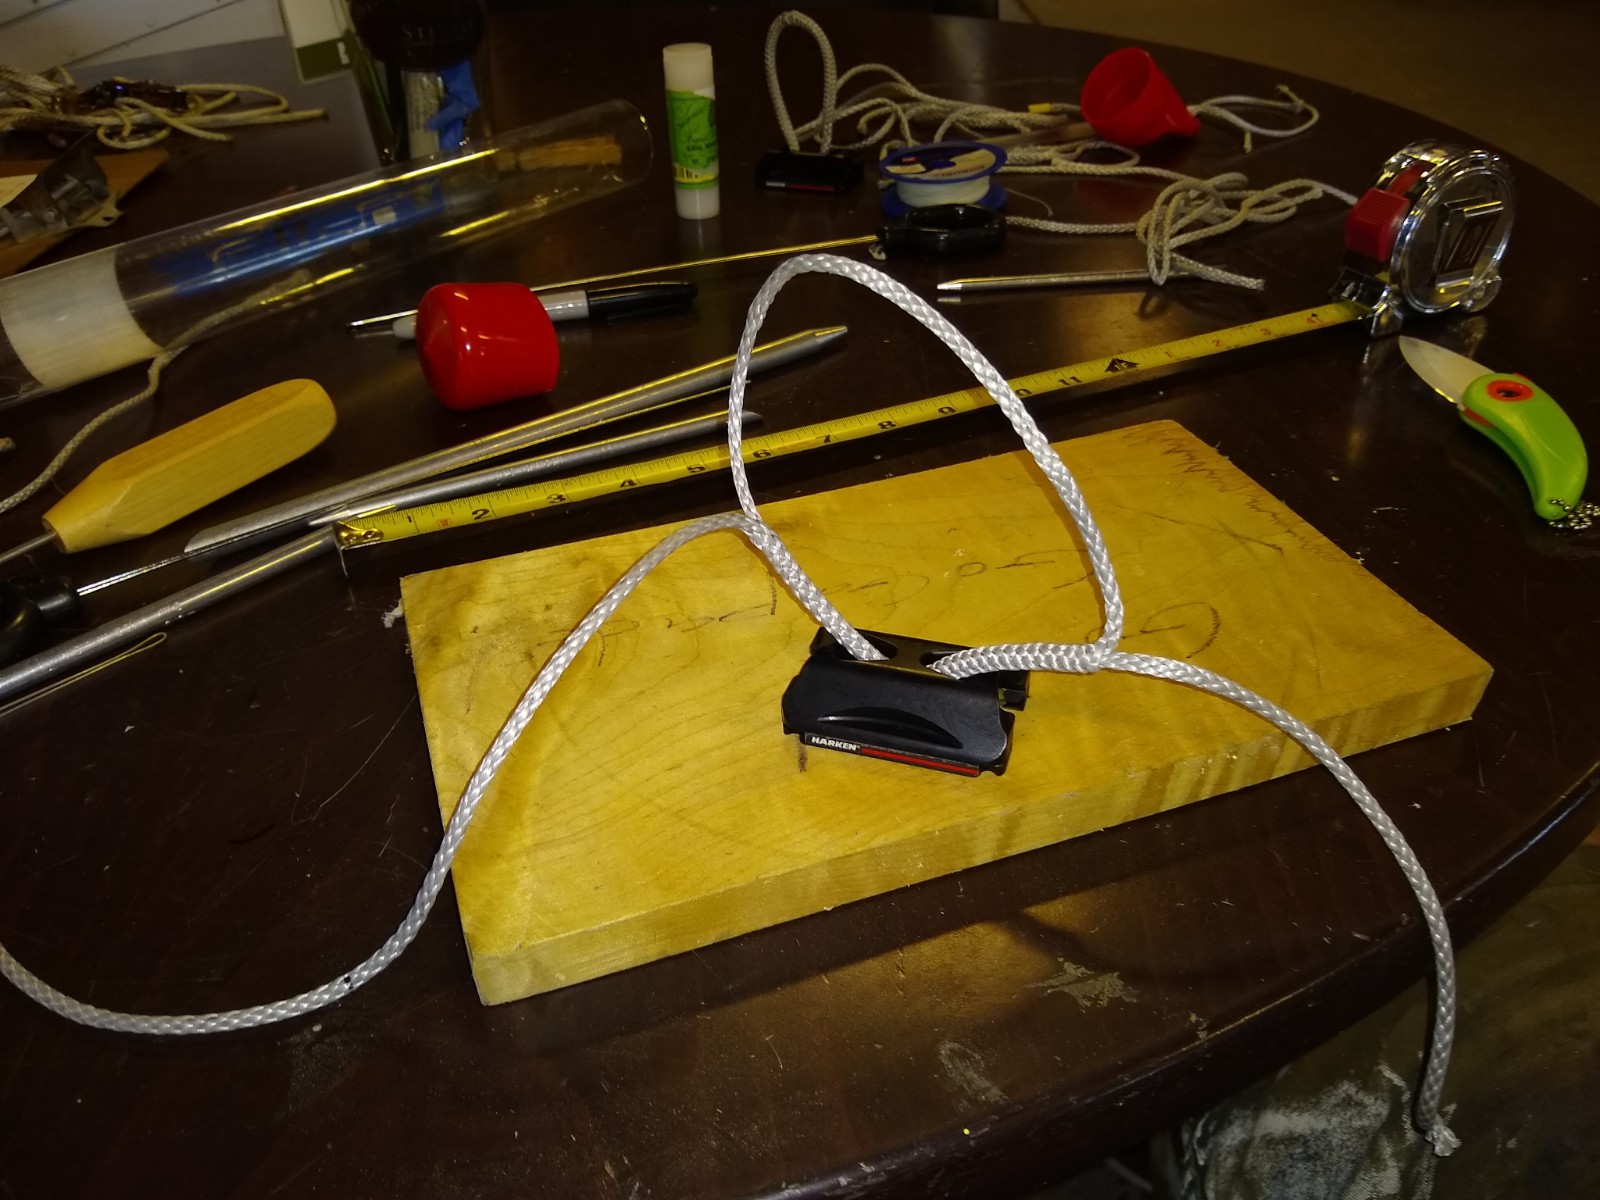
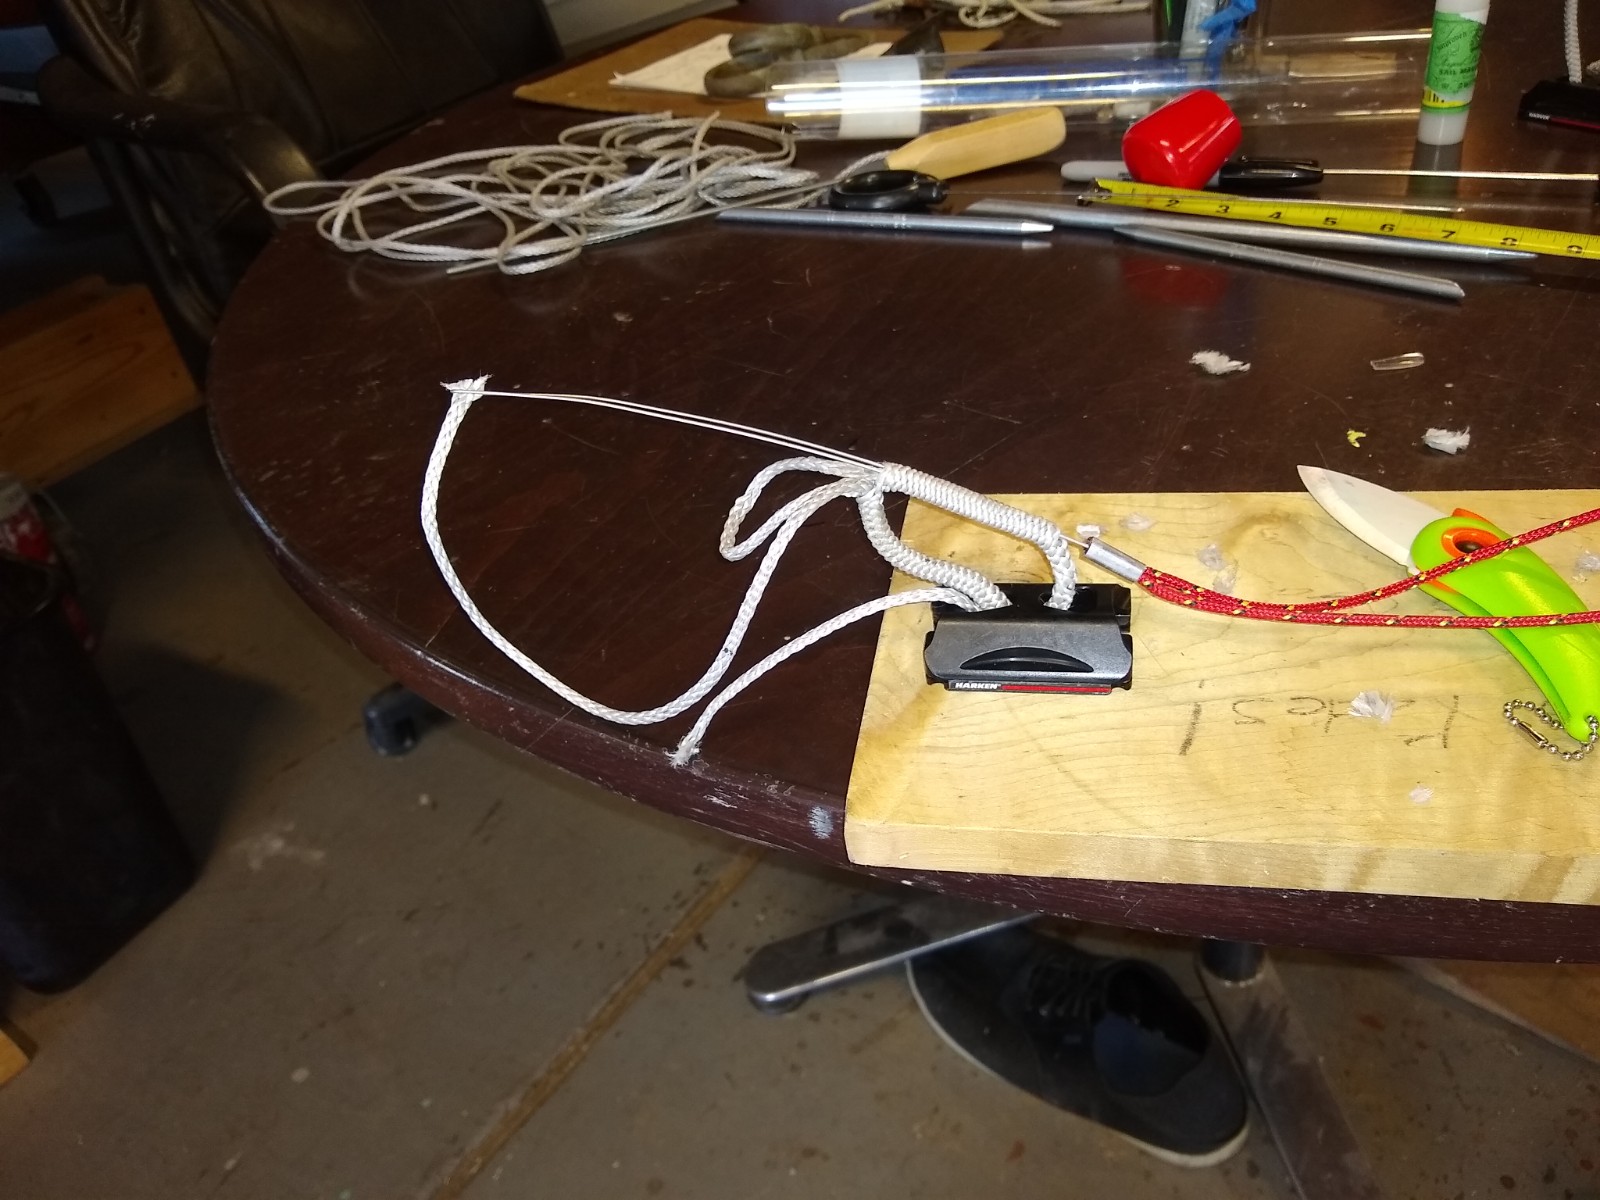
then I went from the center mark to the mark 6″ on the other side of center and repeated the above steps.
Once this gets pulled thru, we have an endless loop, as shown here.
However, we can’t stop here. if we did, there would not be enough buried in the loop, and it could come apart under load.
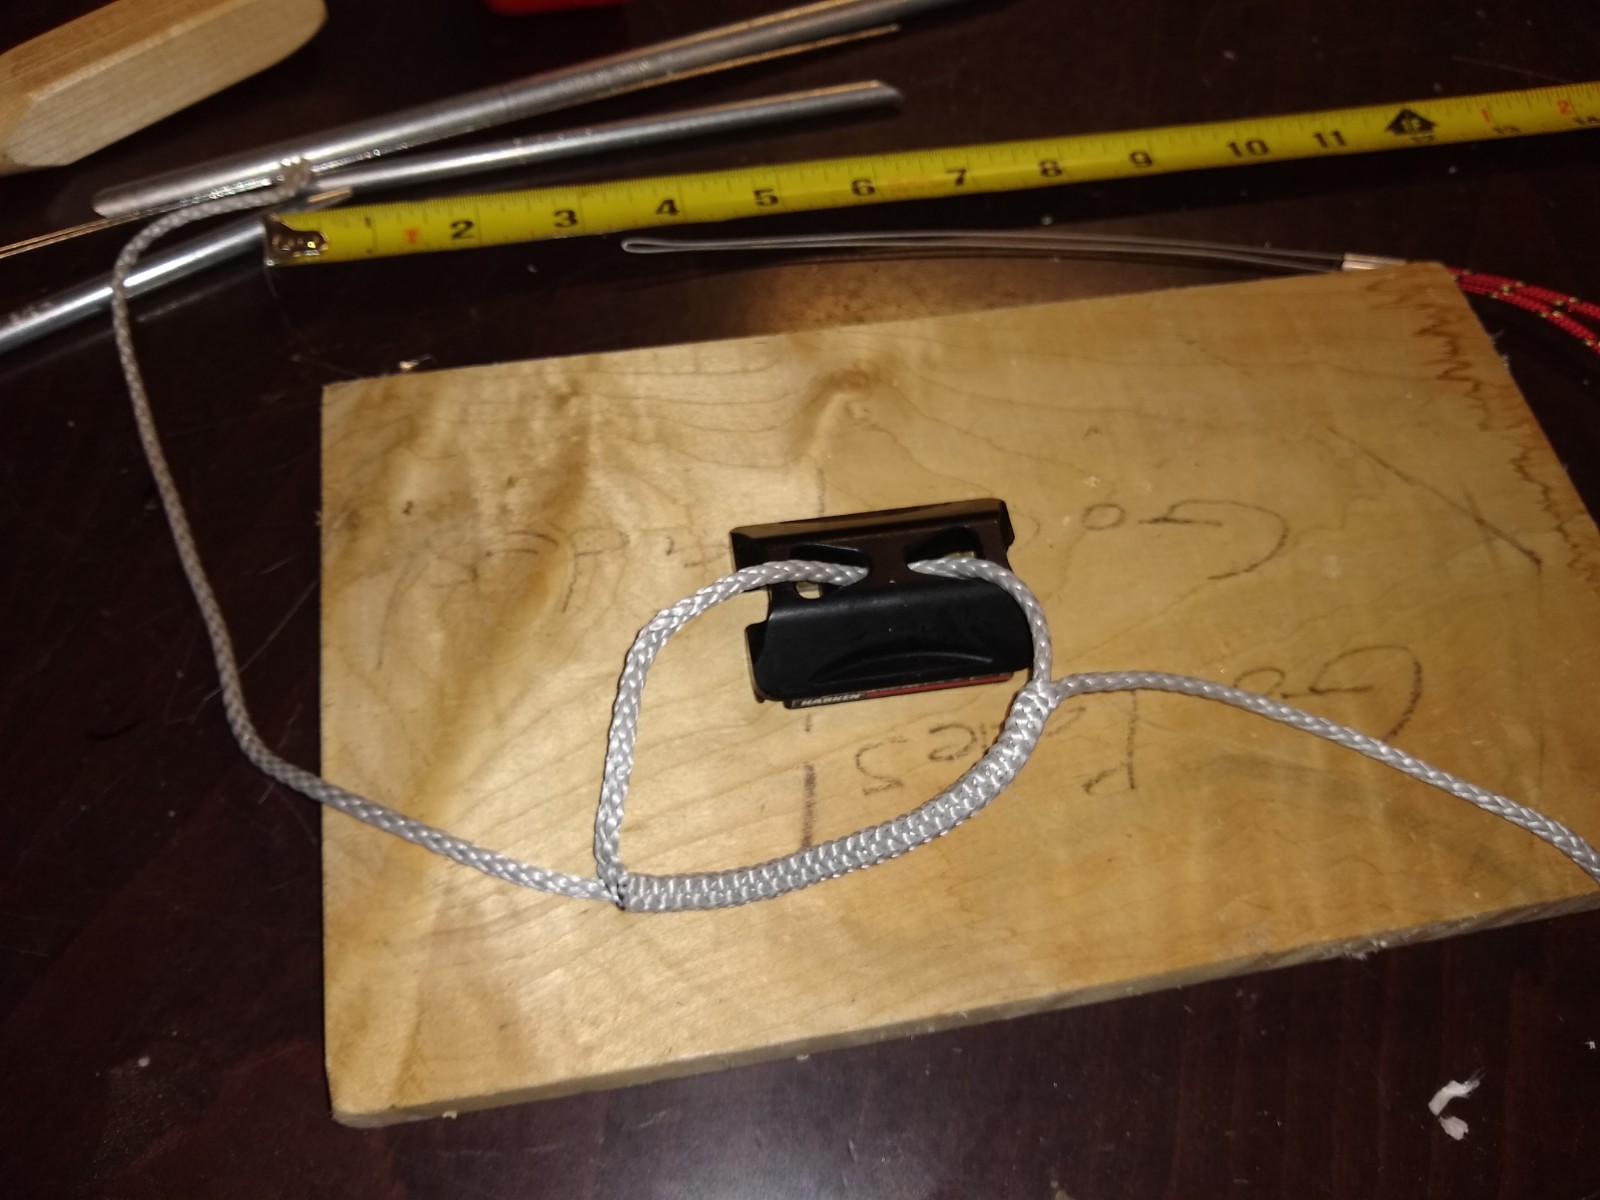
So, we continue. Entering about a half an inch or so from the crossover, we exit at the hole at the center mark.
This gets pulled almost all of the way thru, but we leave a little loop at the center for now.
Then this is repeated on the other end.
and we’re left with this.
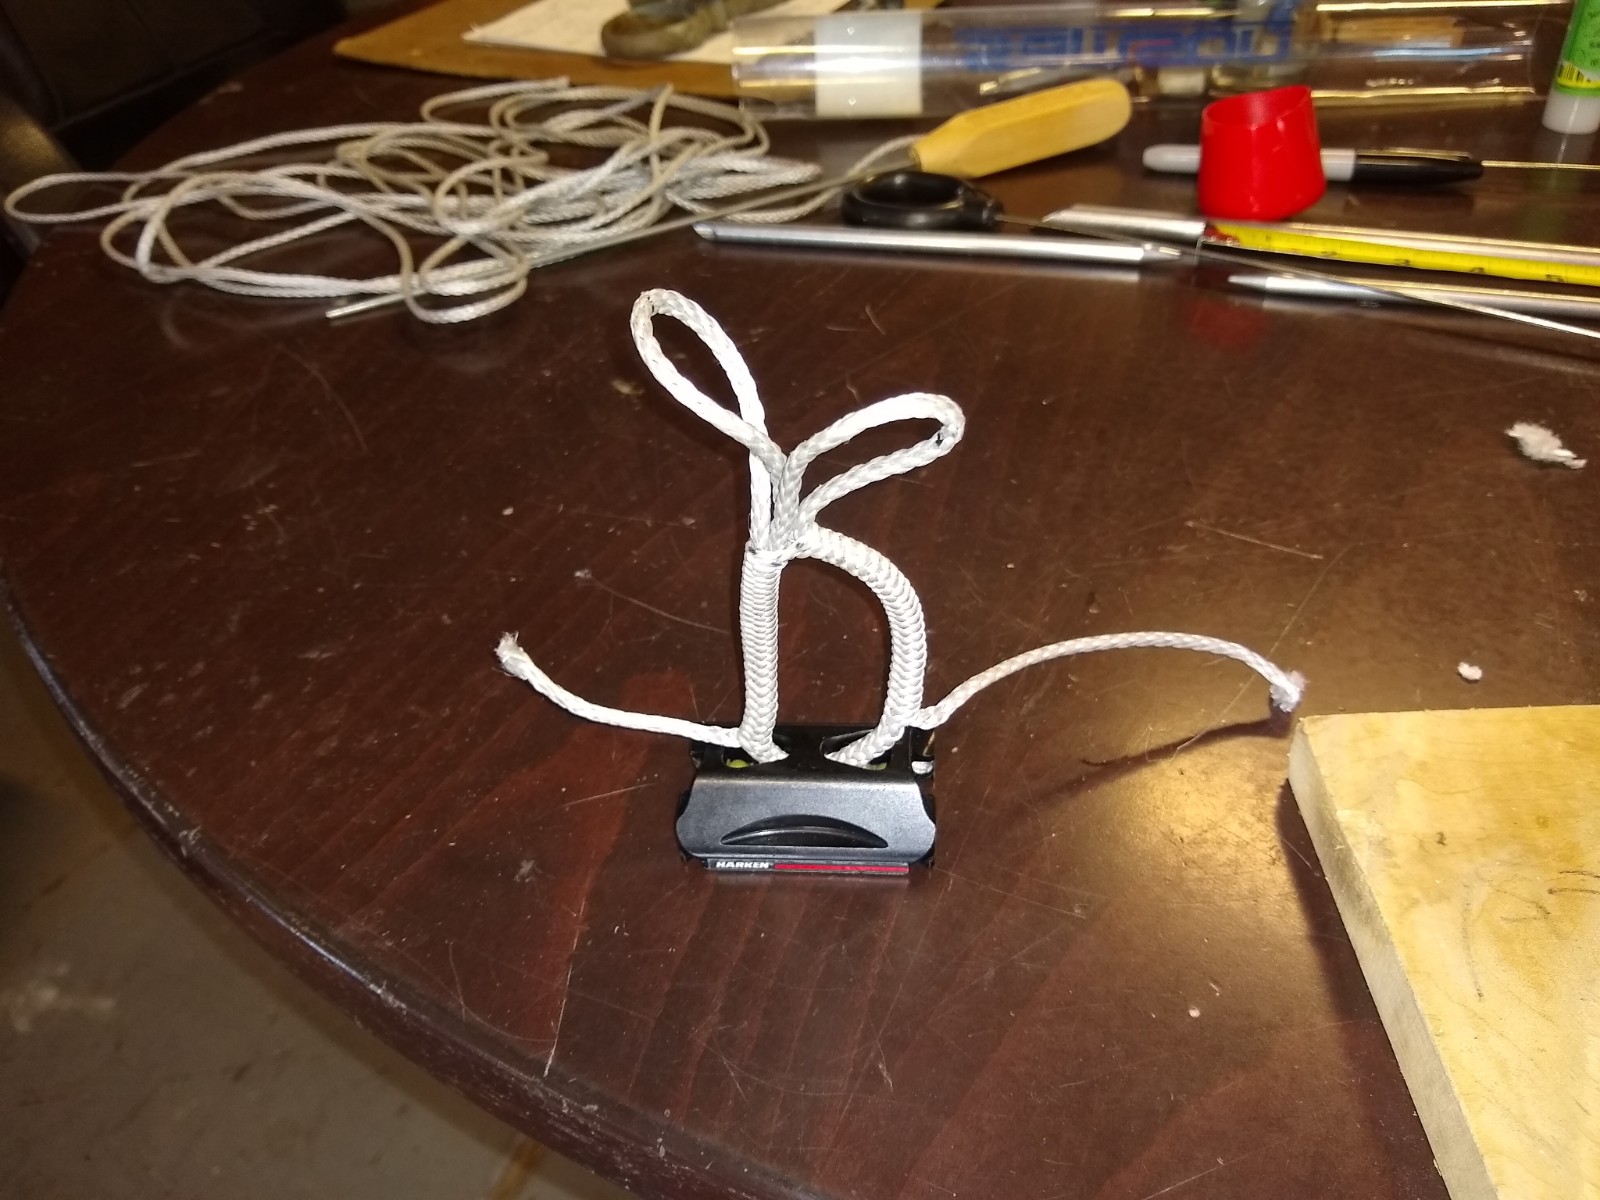
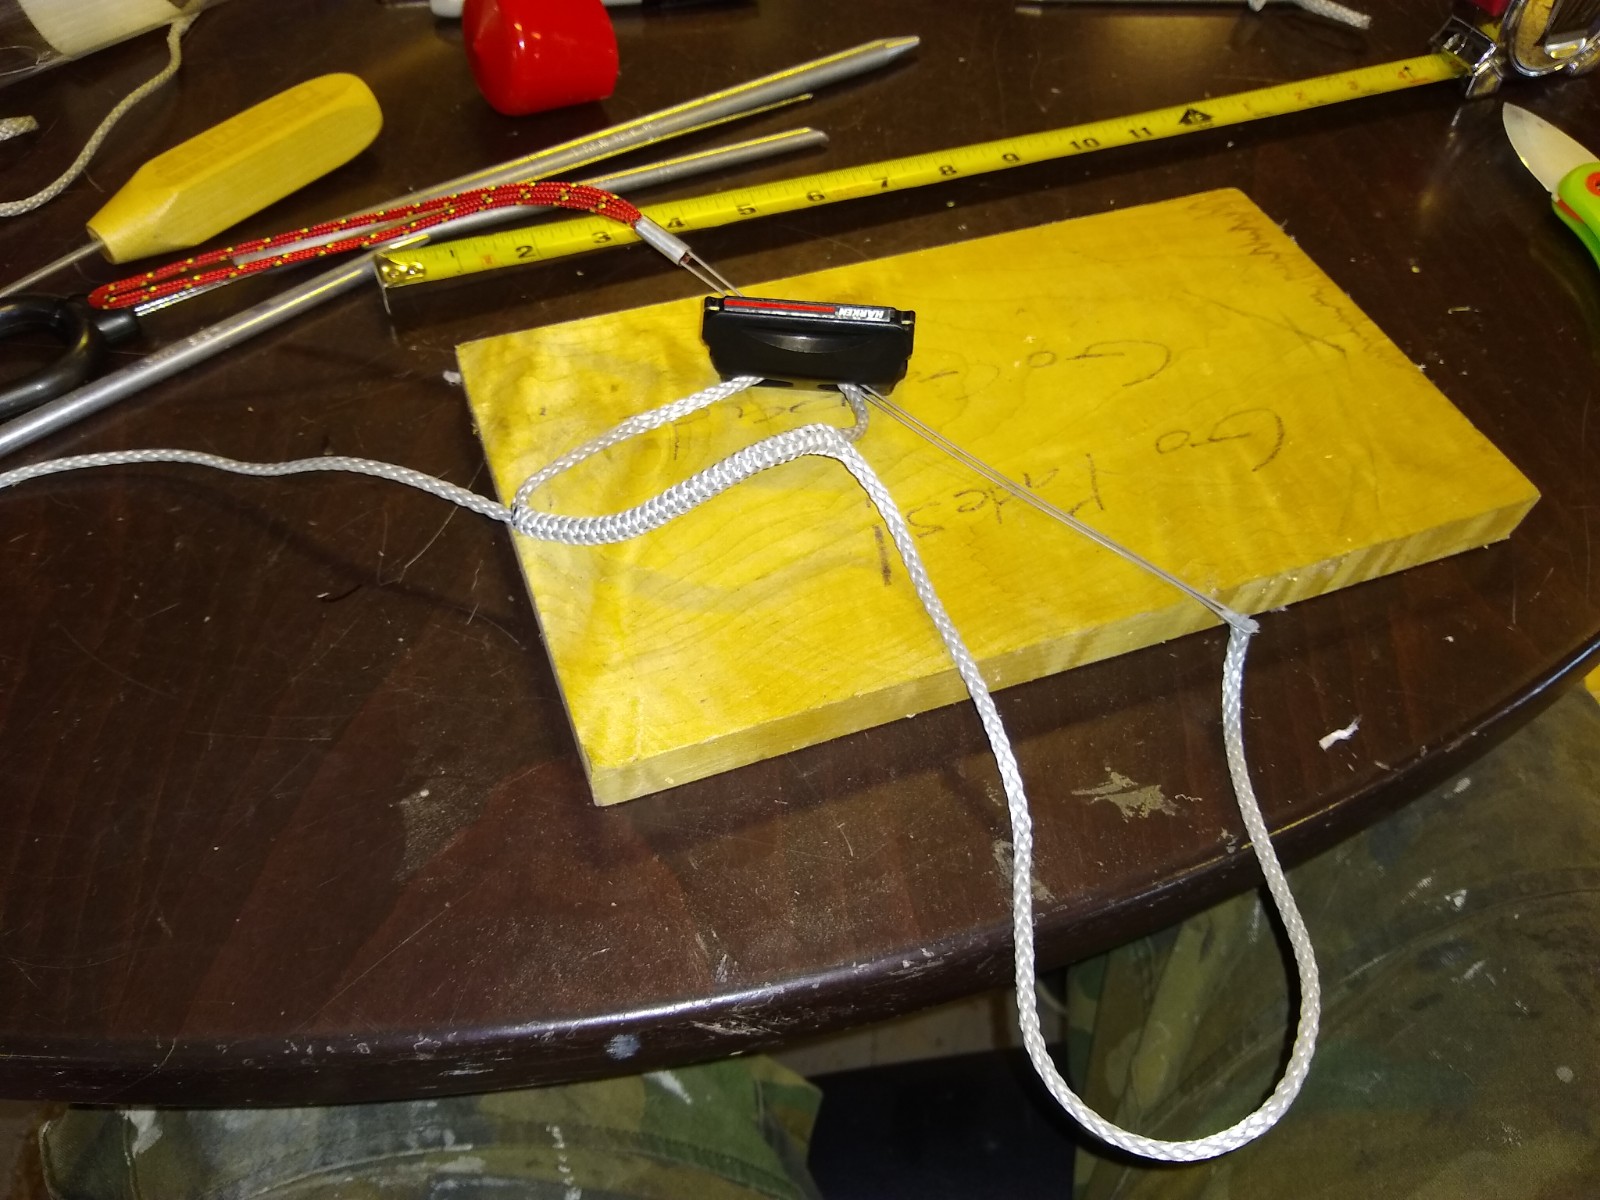
We carefully work the loops out of the top, pulling on the bitter ends.
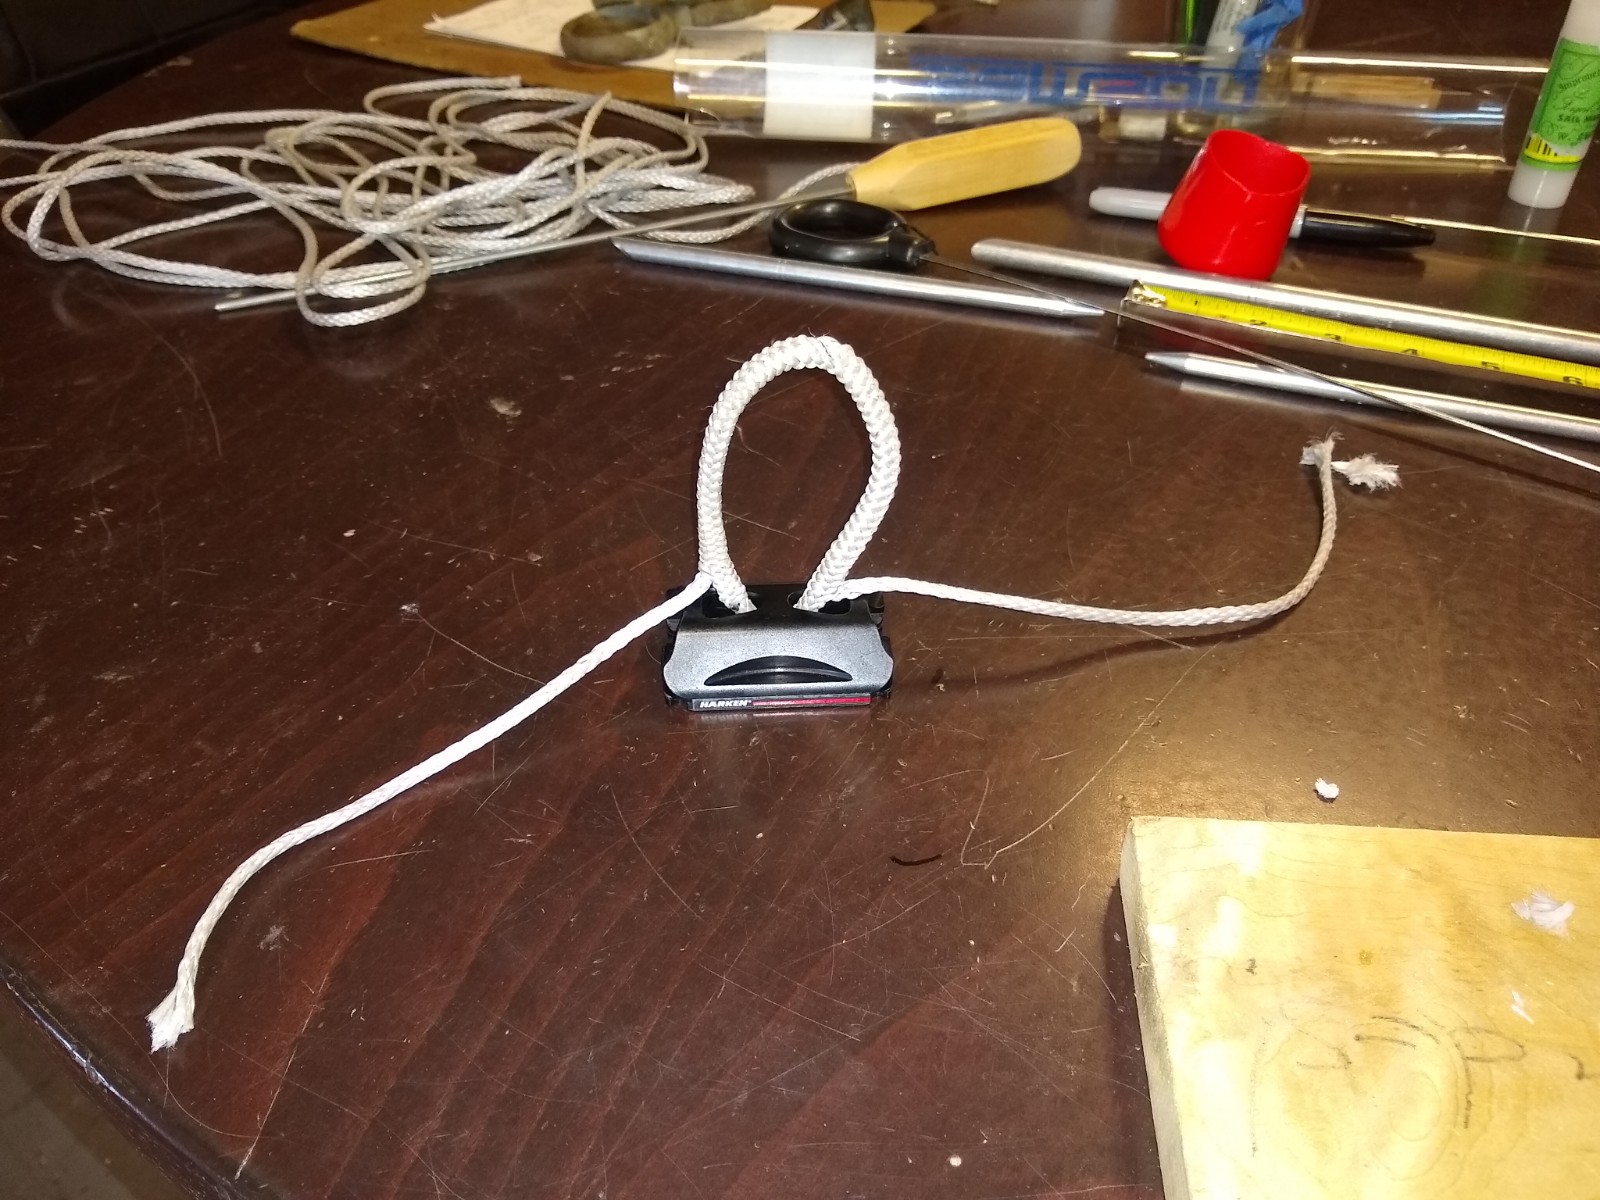
Then, we pull extra out of the cover so it bunches slightly and cut it off diagonally, to ad as much taper as we can easily add in this cramped space.
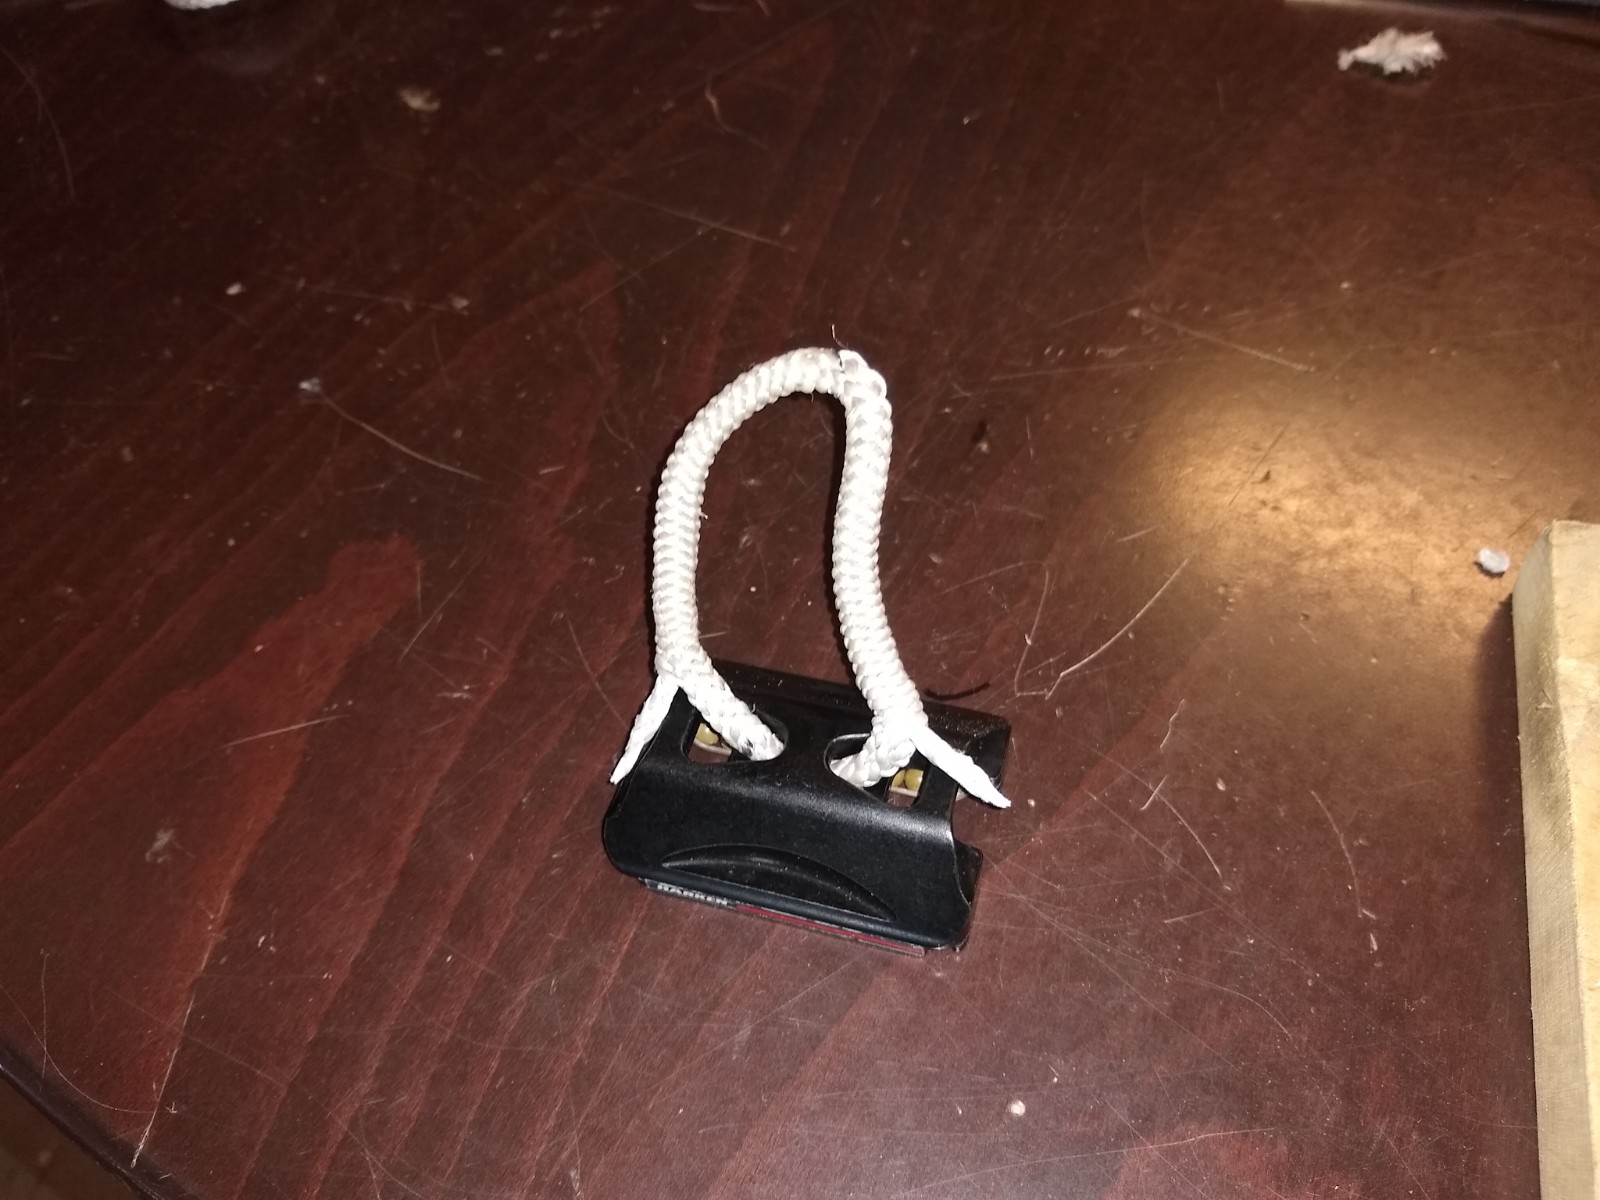
Once that is dune, we milk the loop out so the ends disappear into the loop, and this is what we are left with.
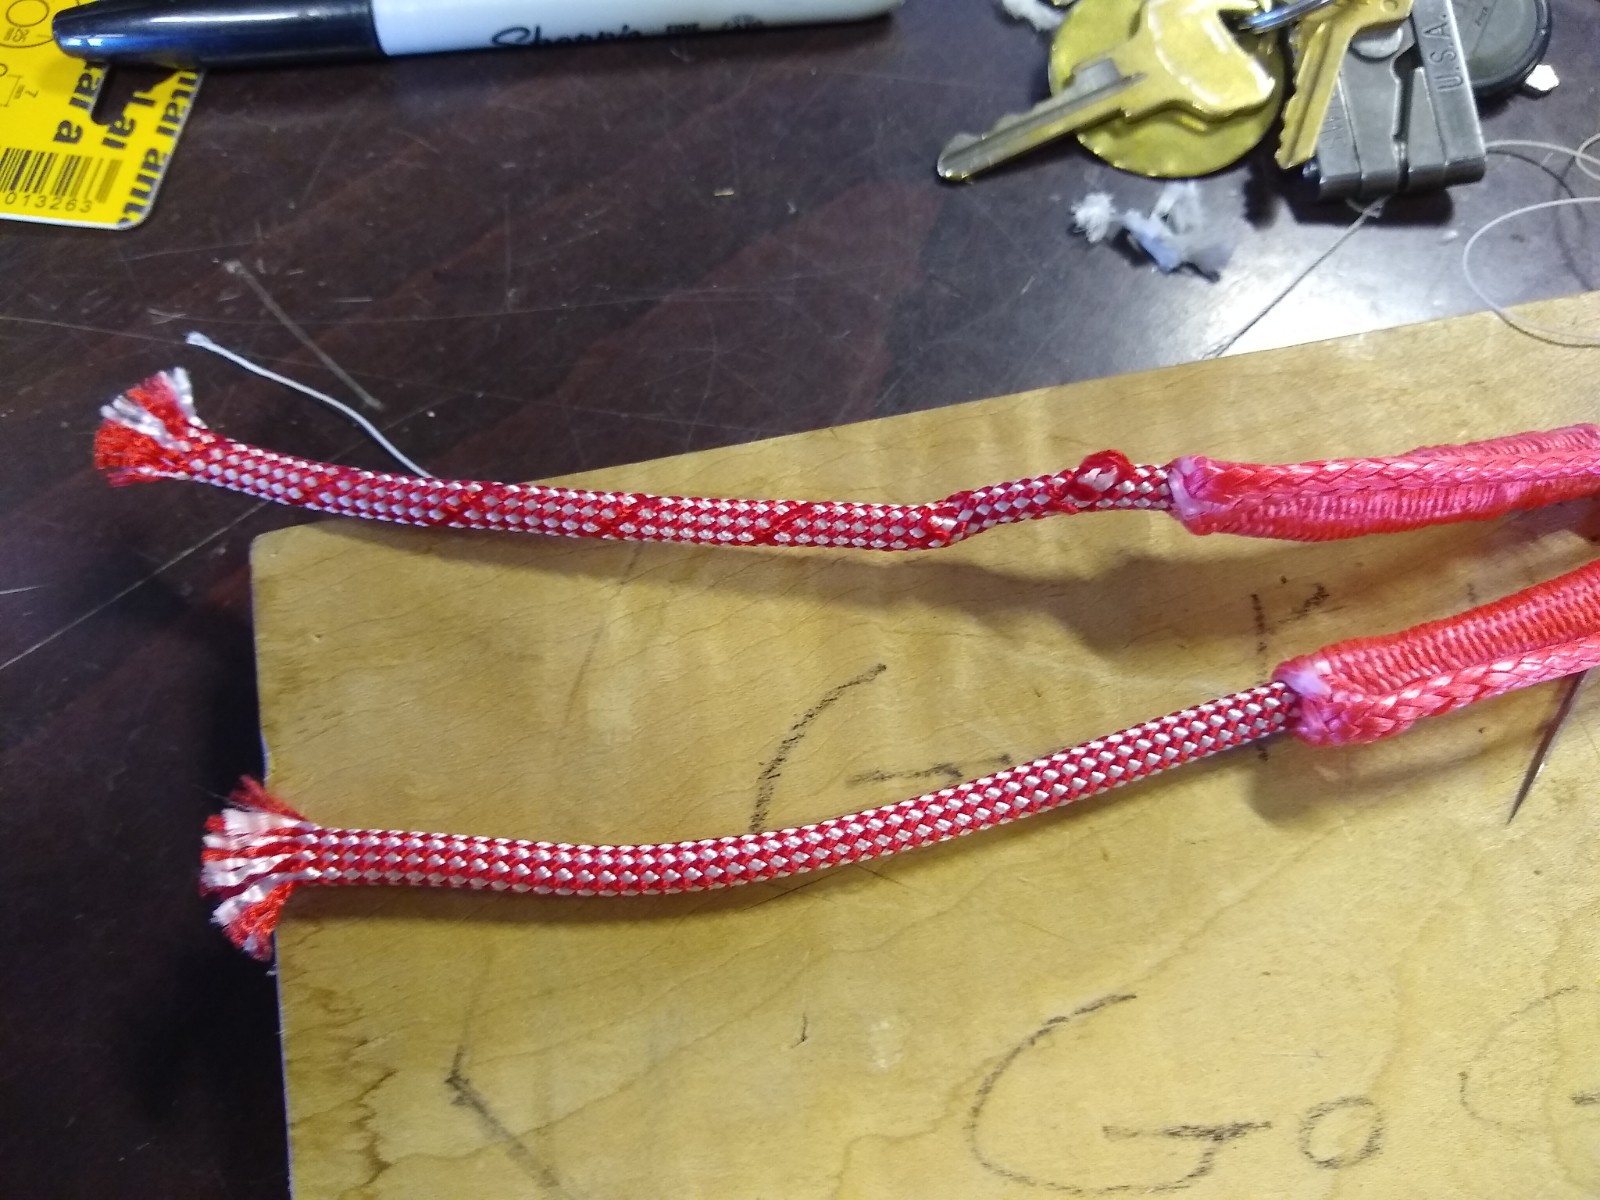
Repeated again, and we have one at each side. It’s worth noting that while I started with marks 6″ apart, the finished loop has these about 3 1/2″ apart.
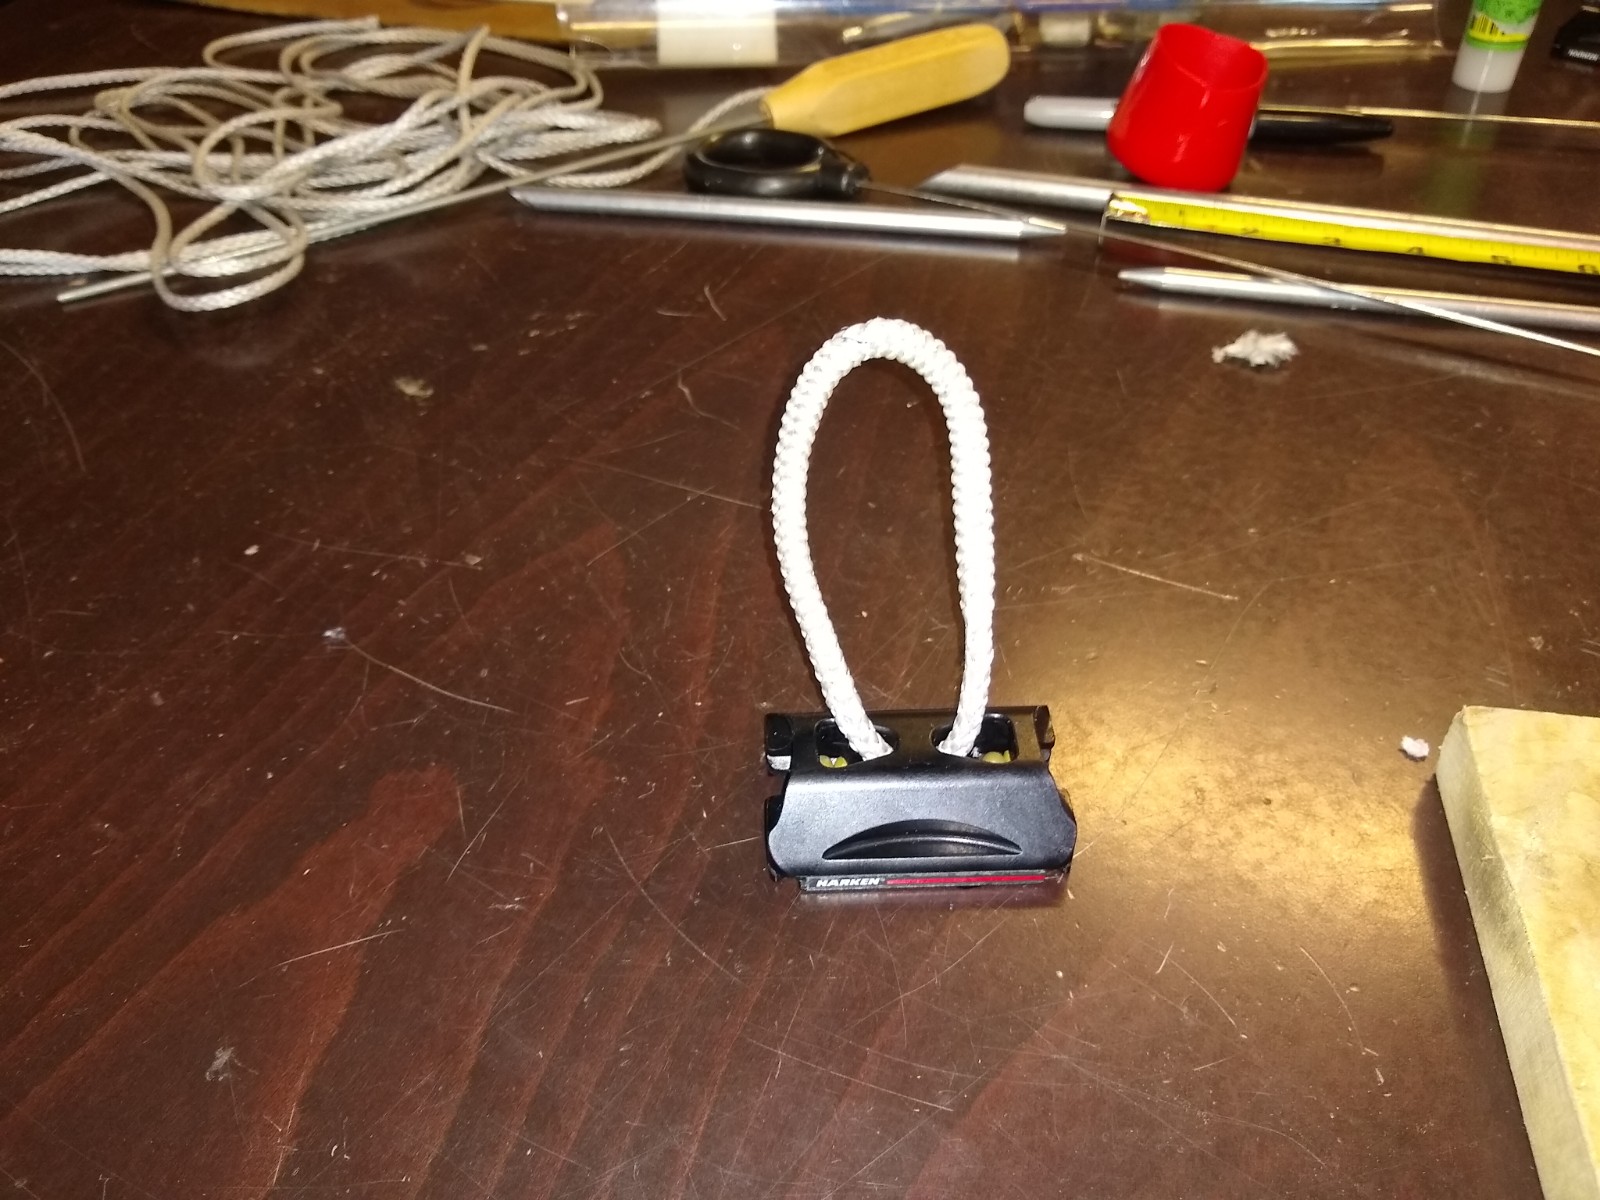
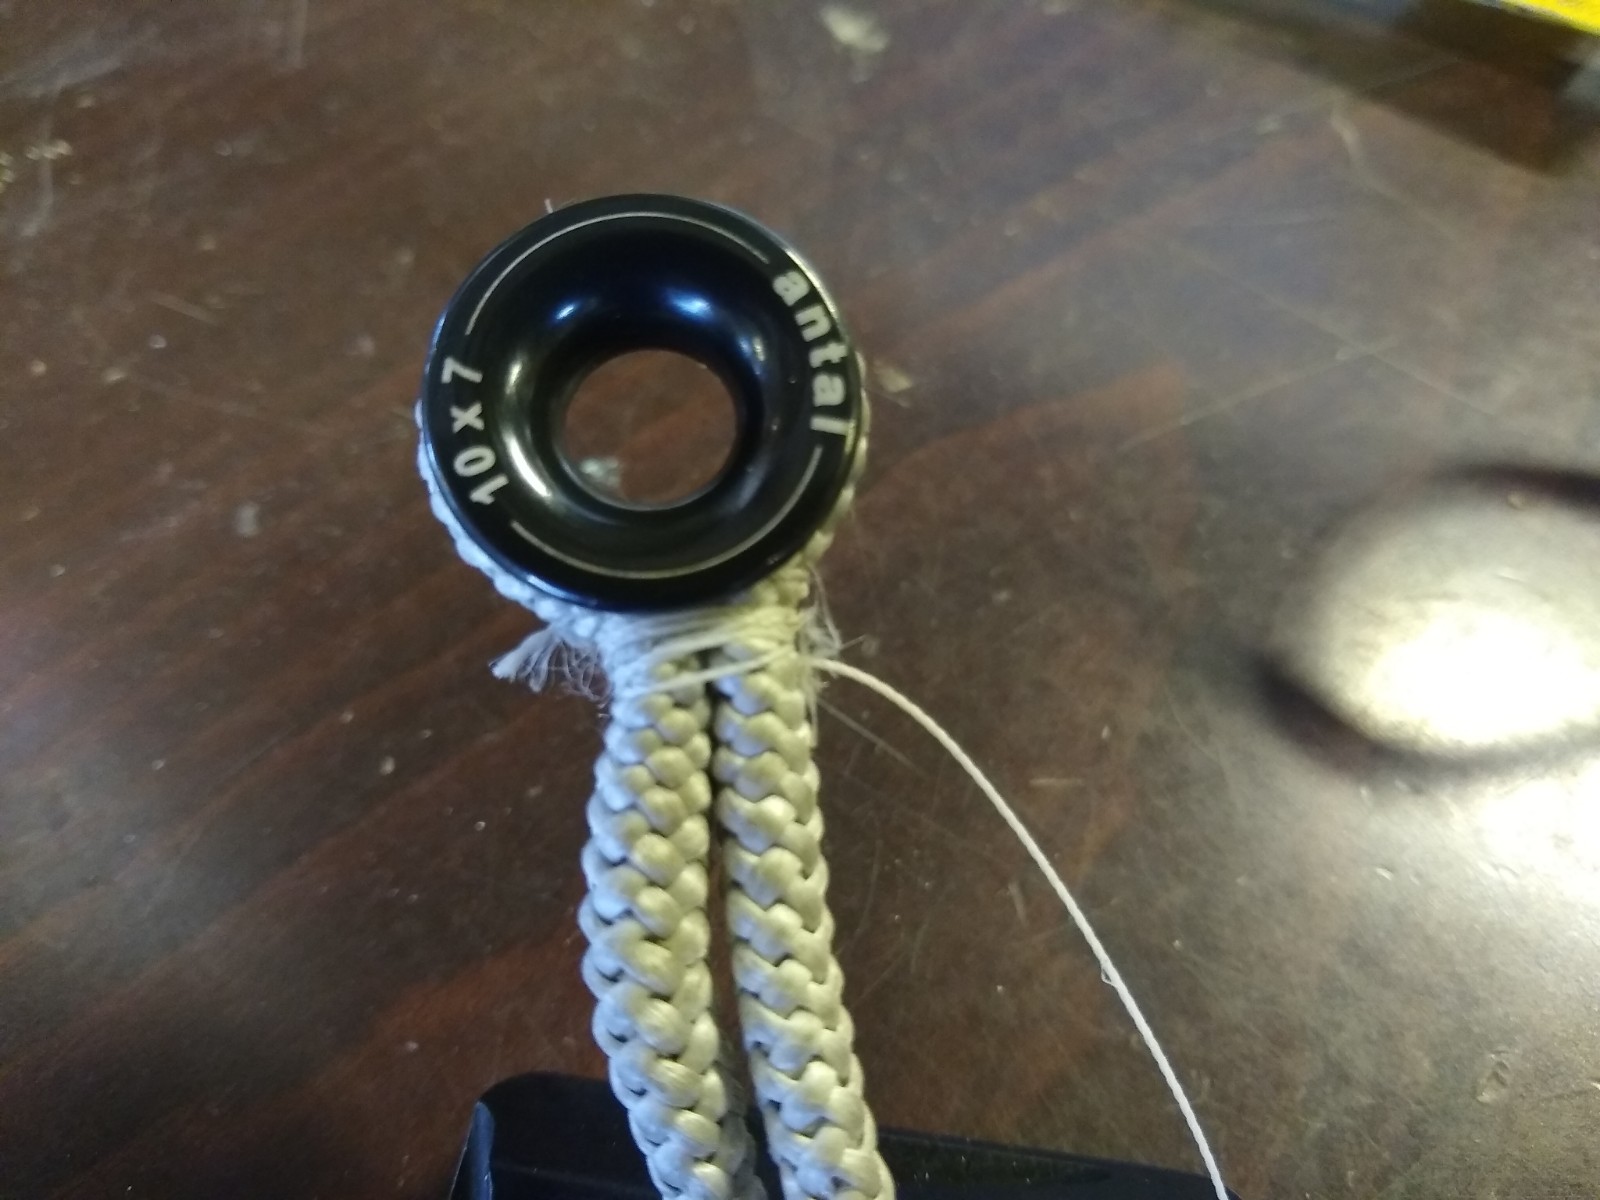
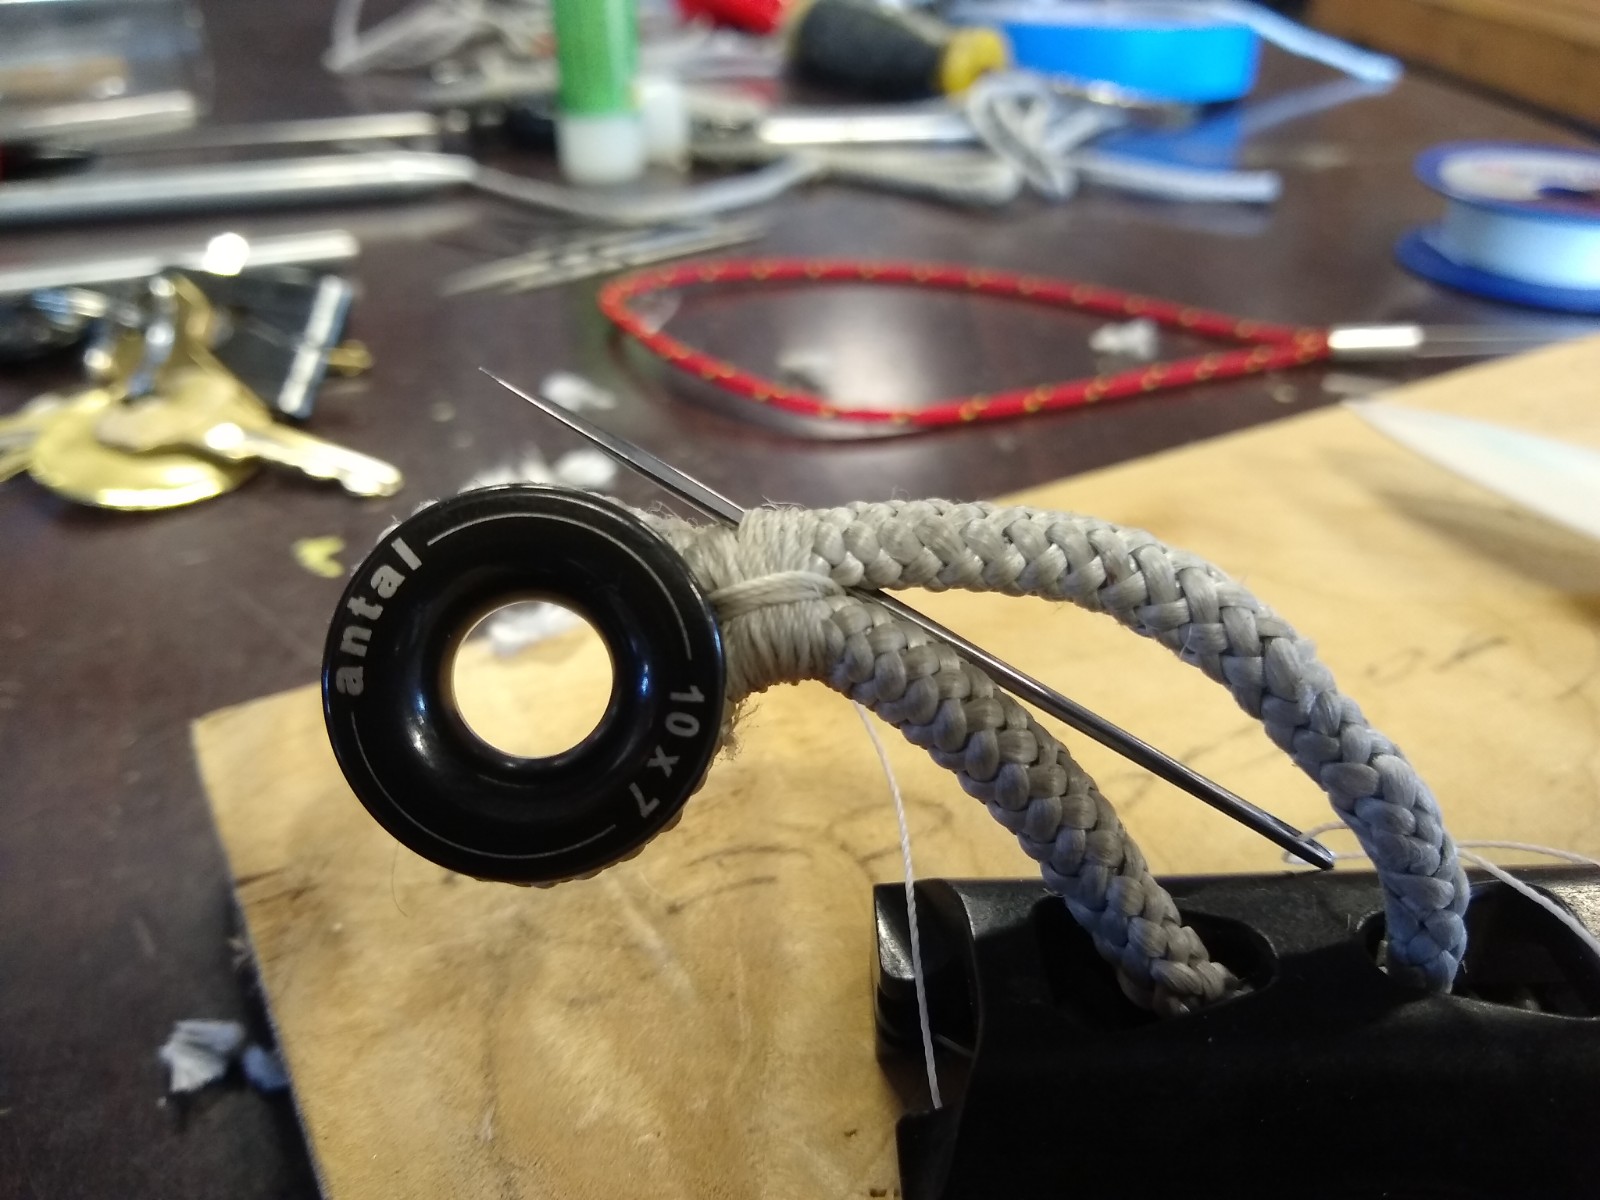
Then, we add the low friction loops. We start by adding the ring, and stitch from one side to the other, then back in the opposite direction. before we pull the thread tight, we pass it over the Antal ring so it creates a loop around to lash the two sides together. there you can see the start, and the first stitch and loop.
We do this a bunch of times.
after doing this a ton of times, we wrap the whipping twine around to cover like so:
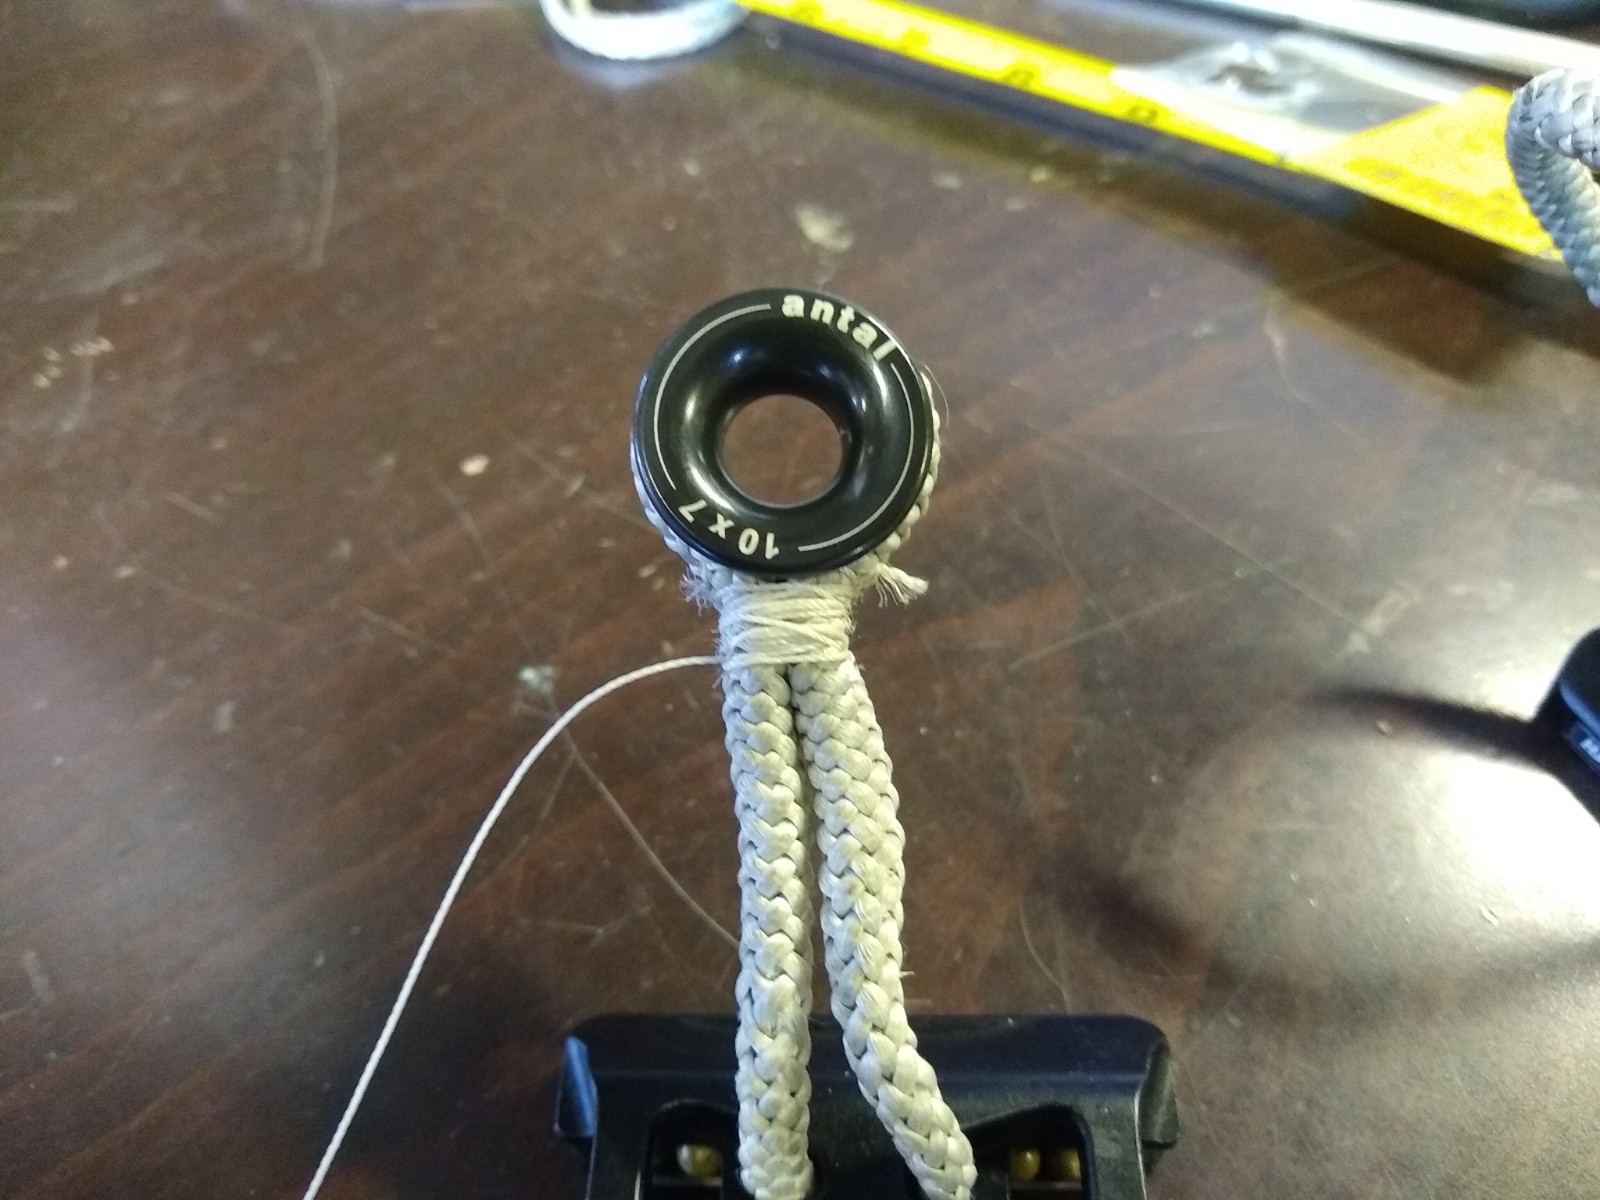
we end at the bottom, passing the last bit of thread as high up into the ‘crotch’ of the lashing.
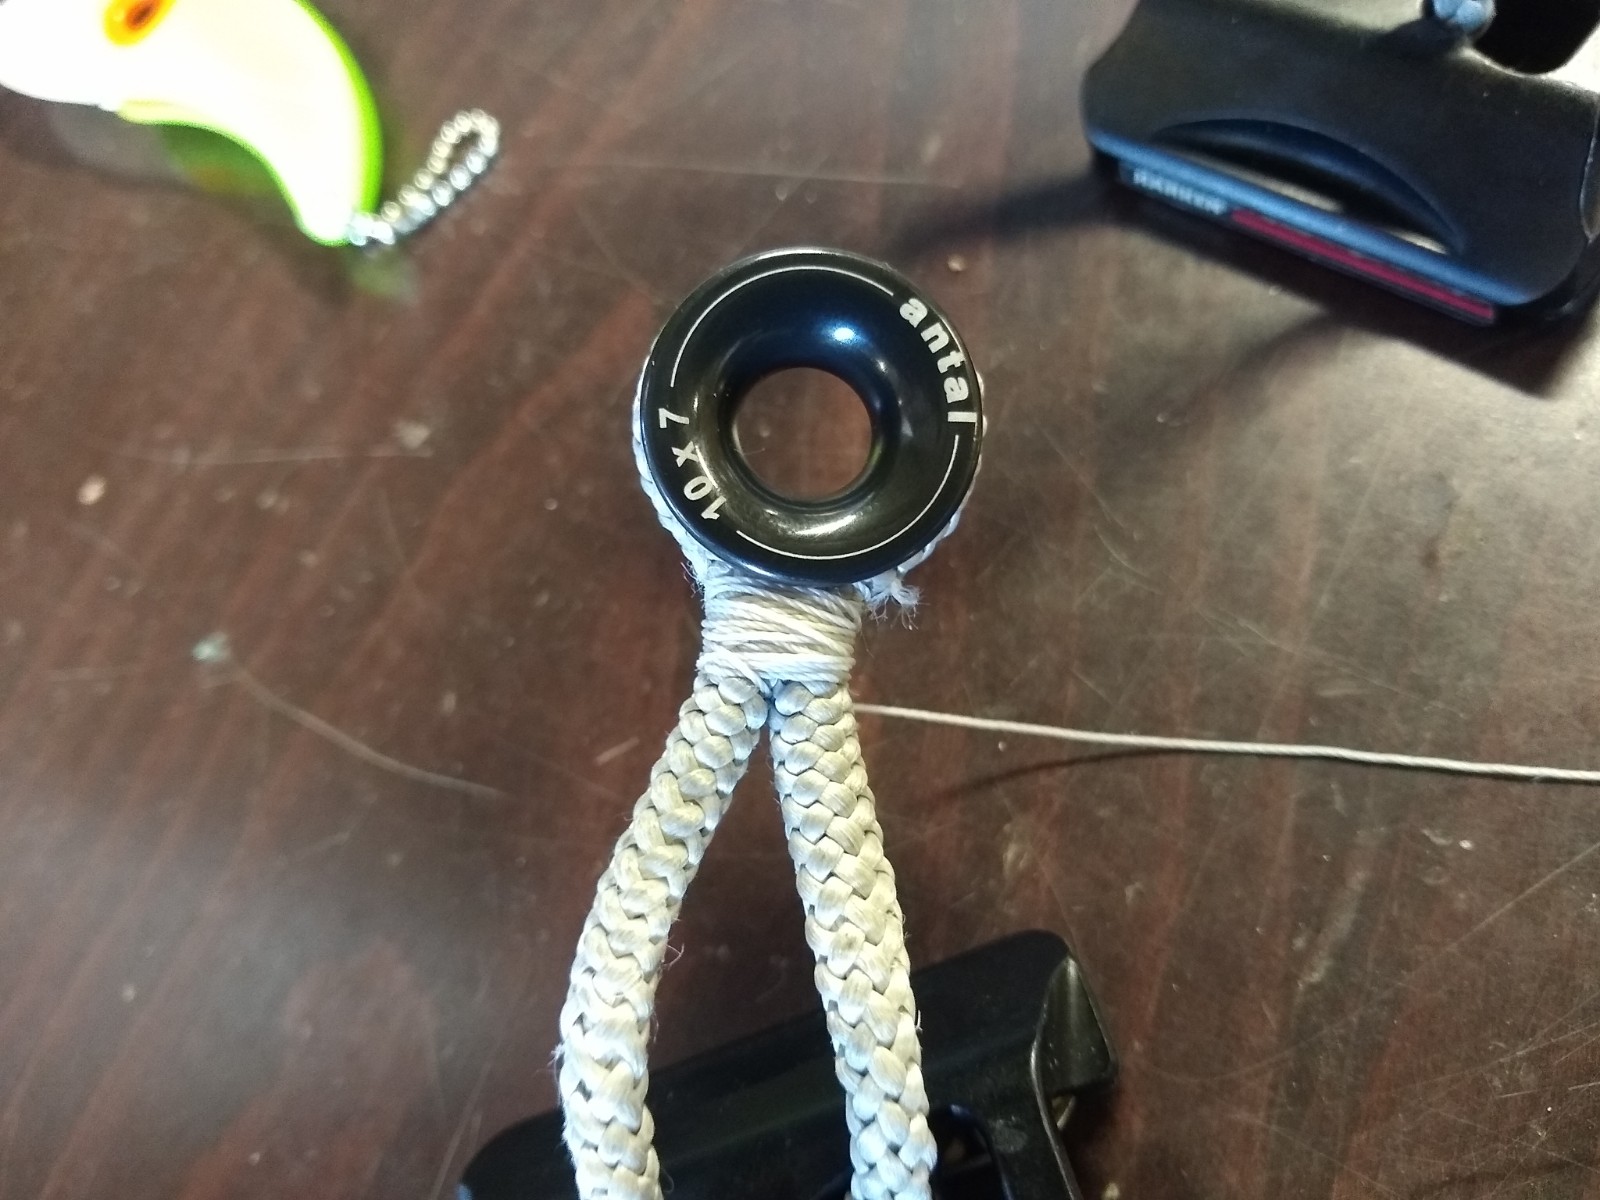
After we go thru the crotch, we pass between the ring and the lashing, like so.
After lashing in this manner a bunch of times, we stitch from there crotch to the side like this.
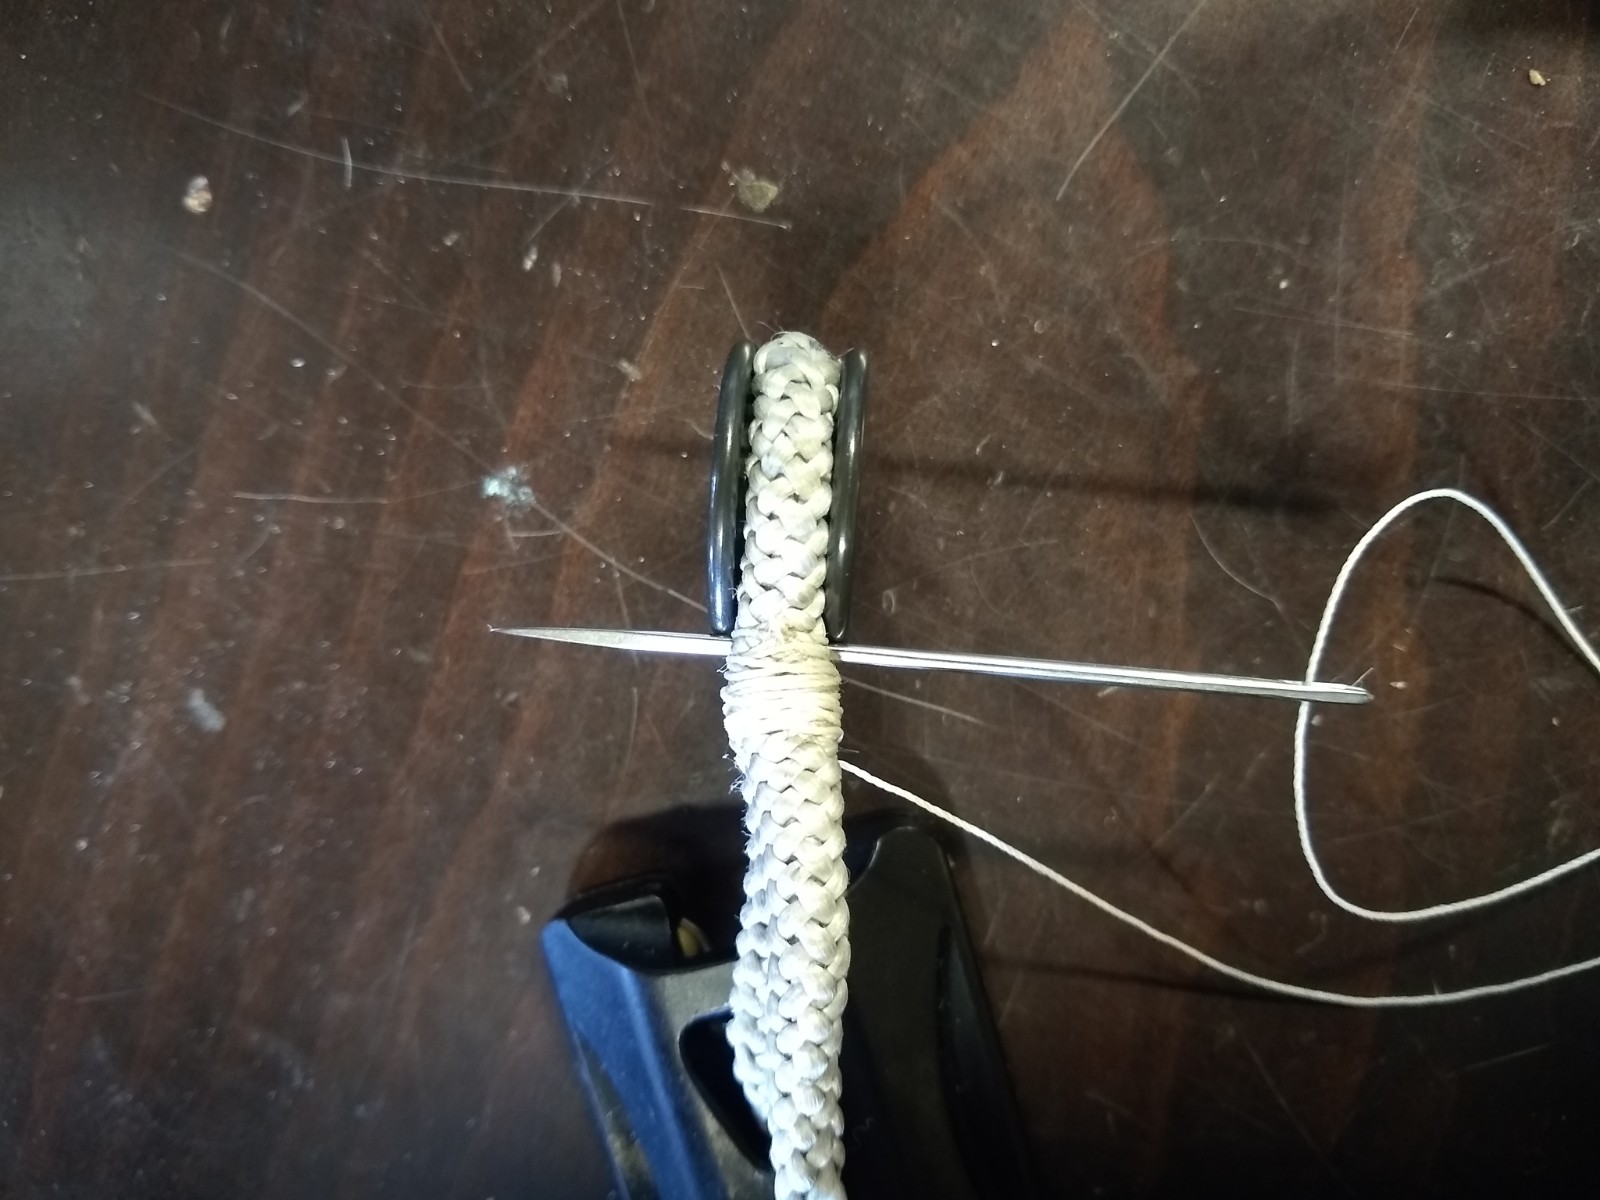
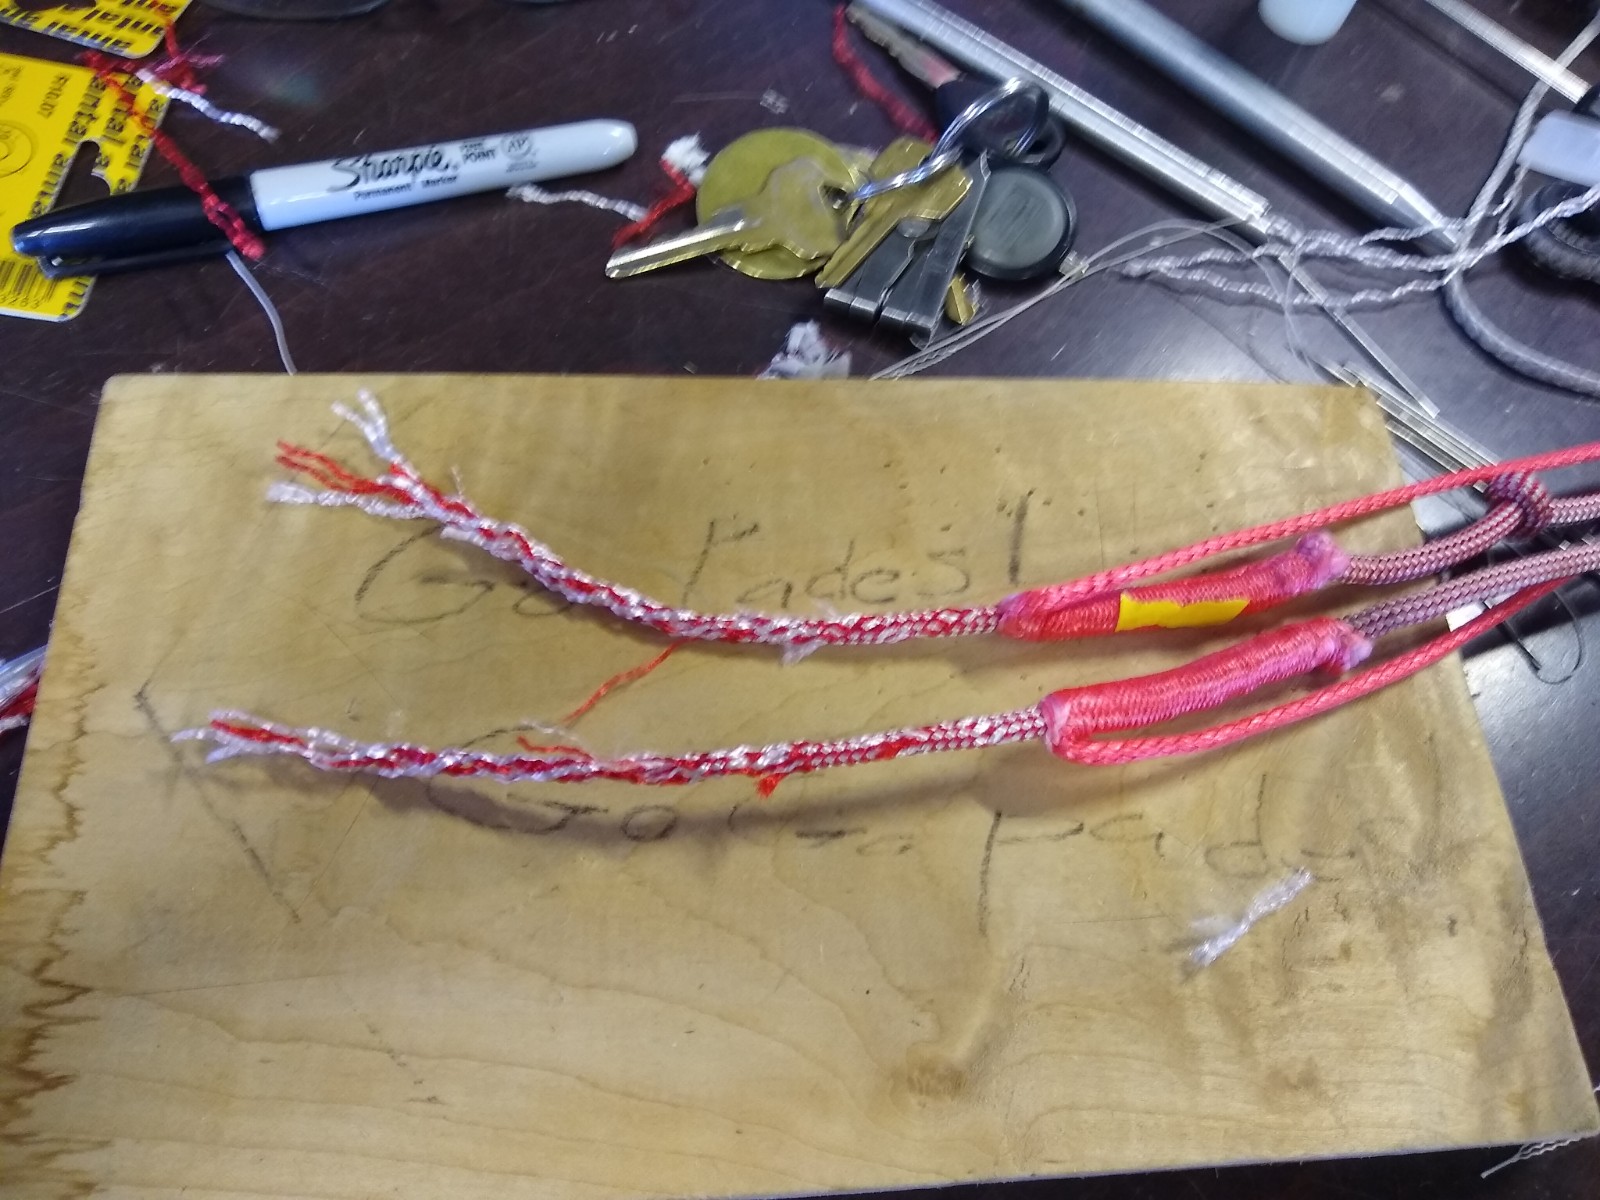
then we stitch from side to side, at various angles, being careful to keep our re-entry points close to our exit points, so the whipping hides the stitches and they dissapear into the lashing, safe from snags and abrasion. After a bunch of these, we cut the excess off and we’re done.
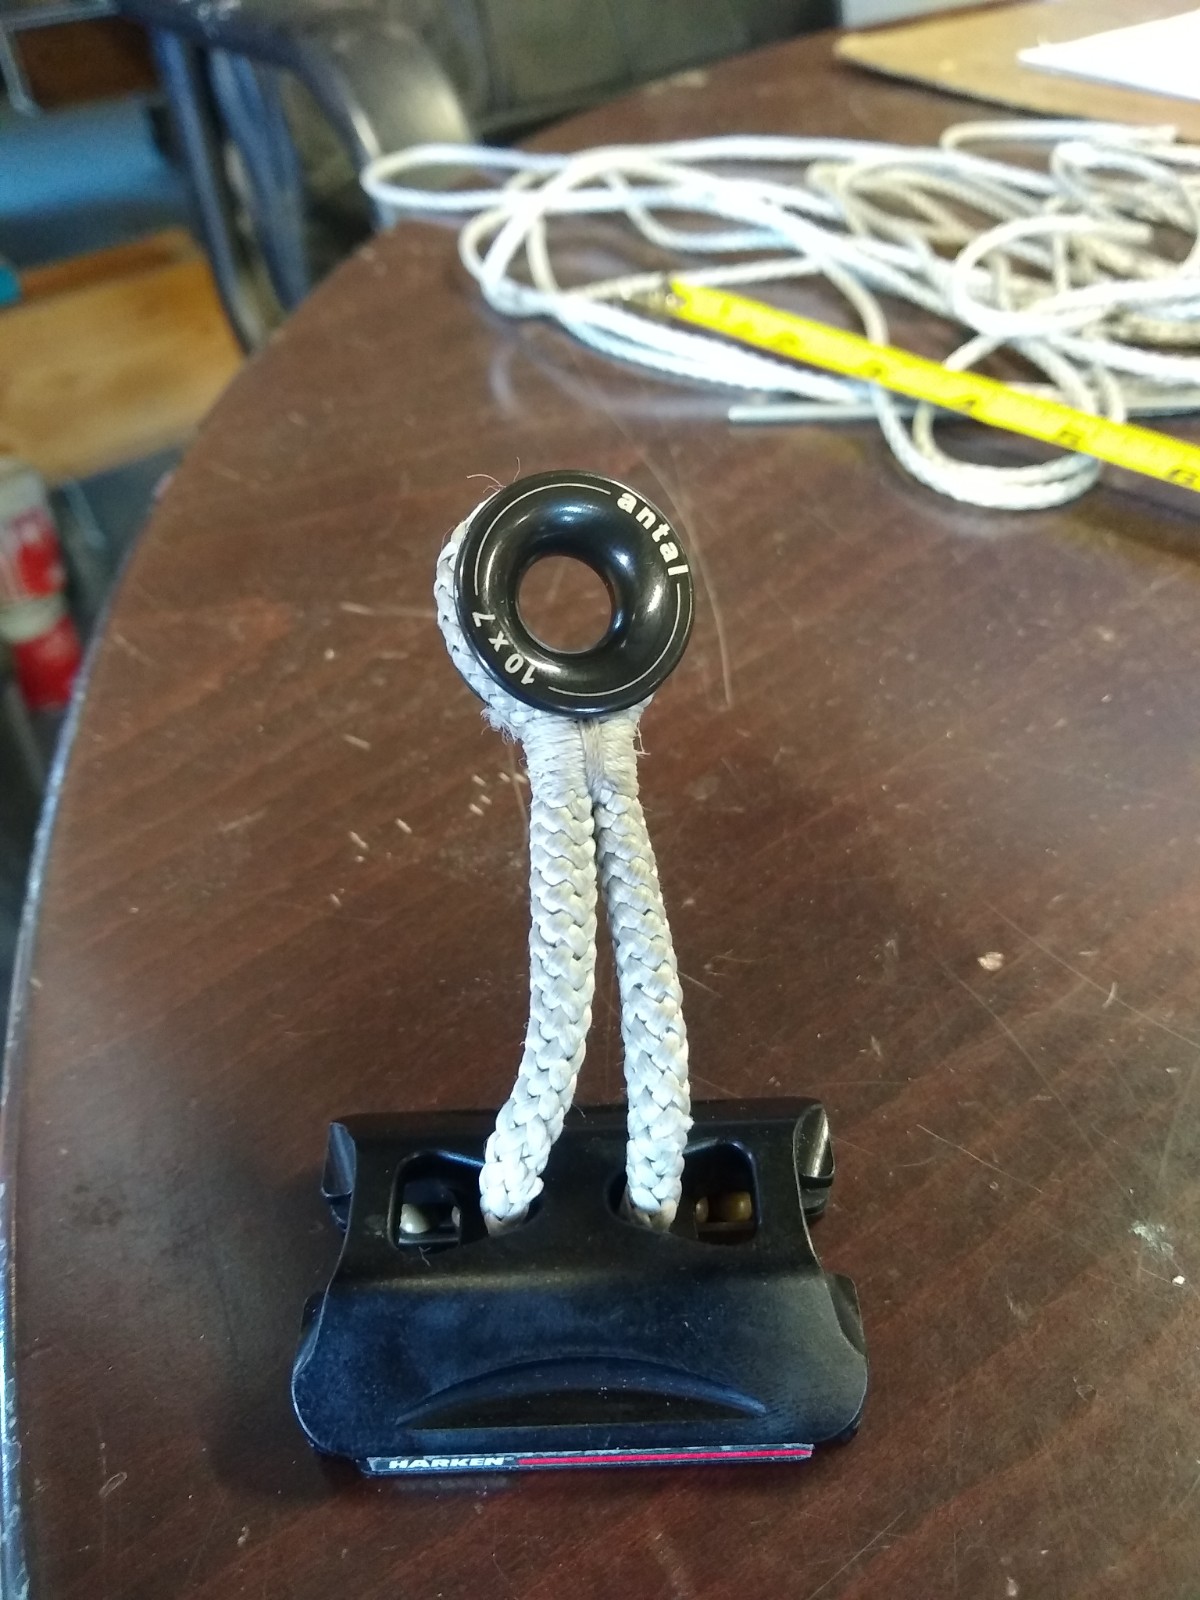
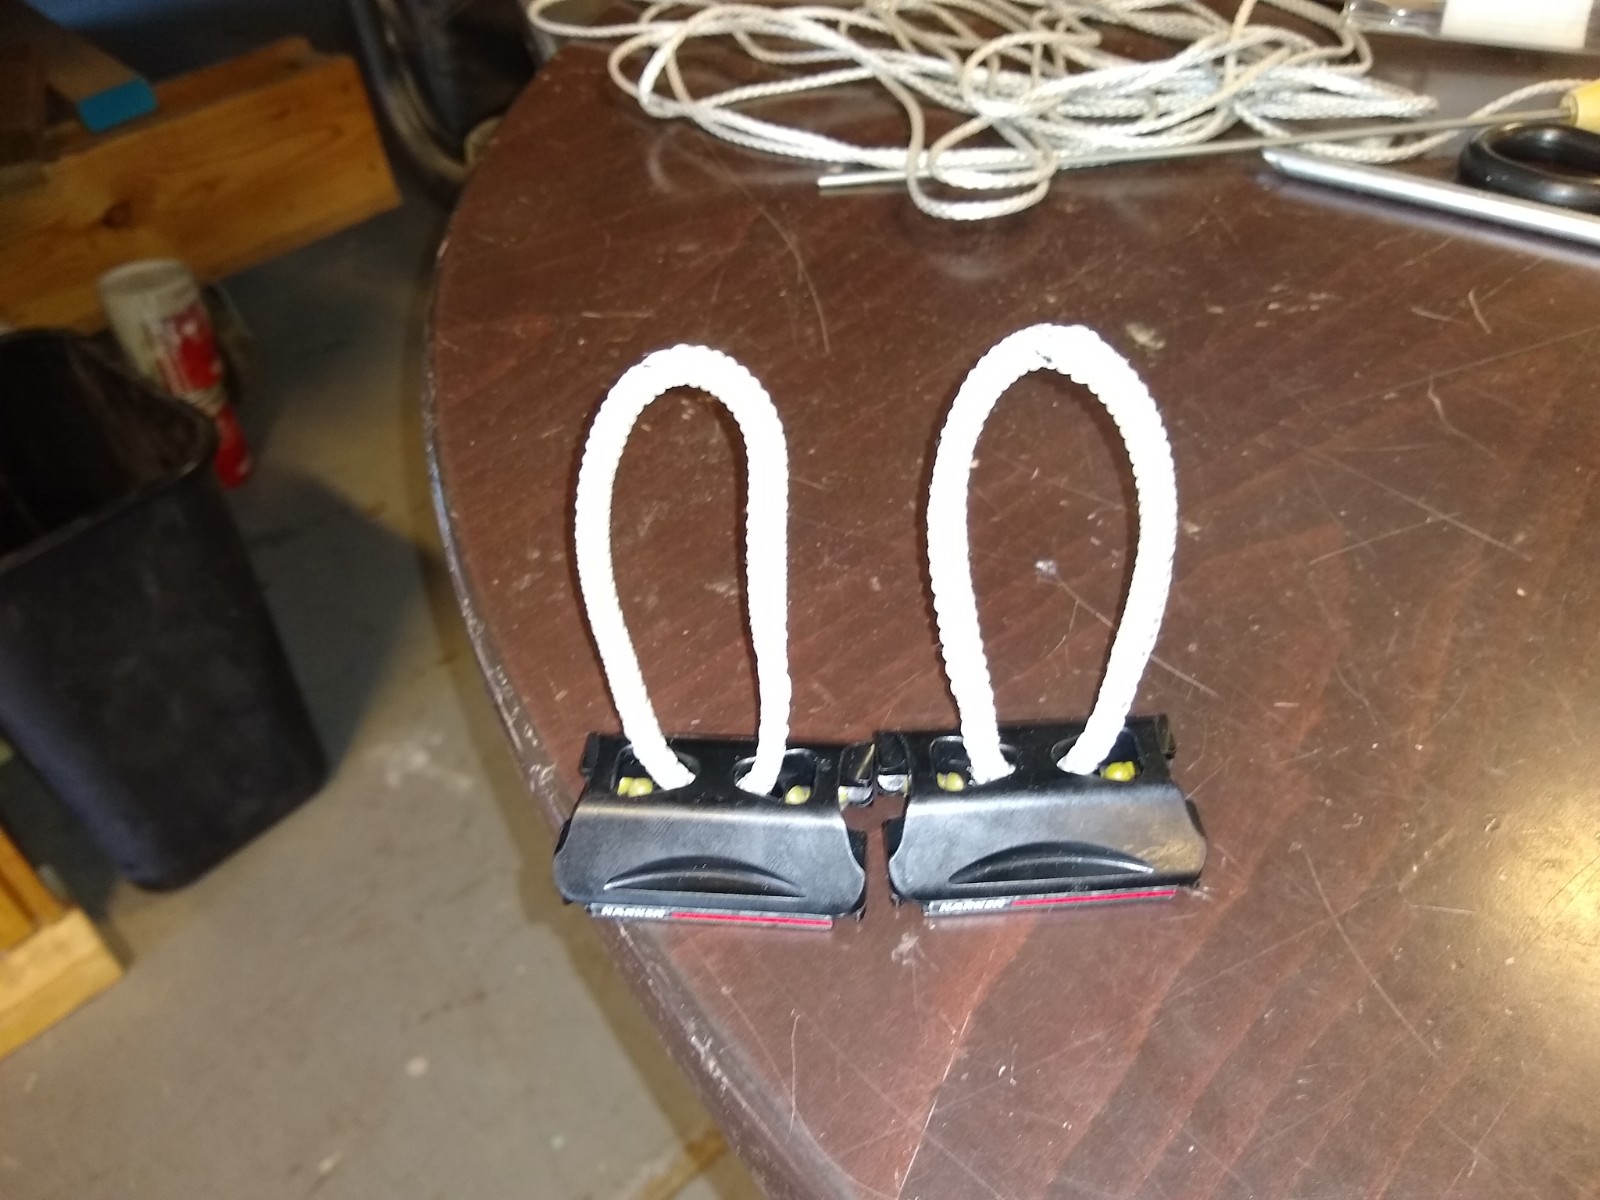
Repeat for the other side, and that bit is done.
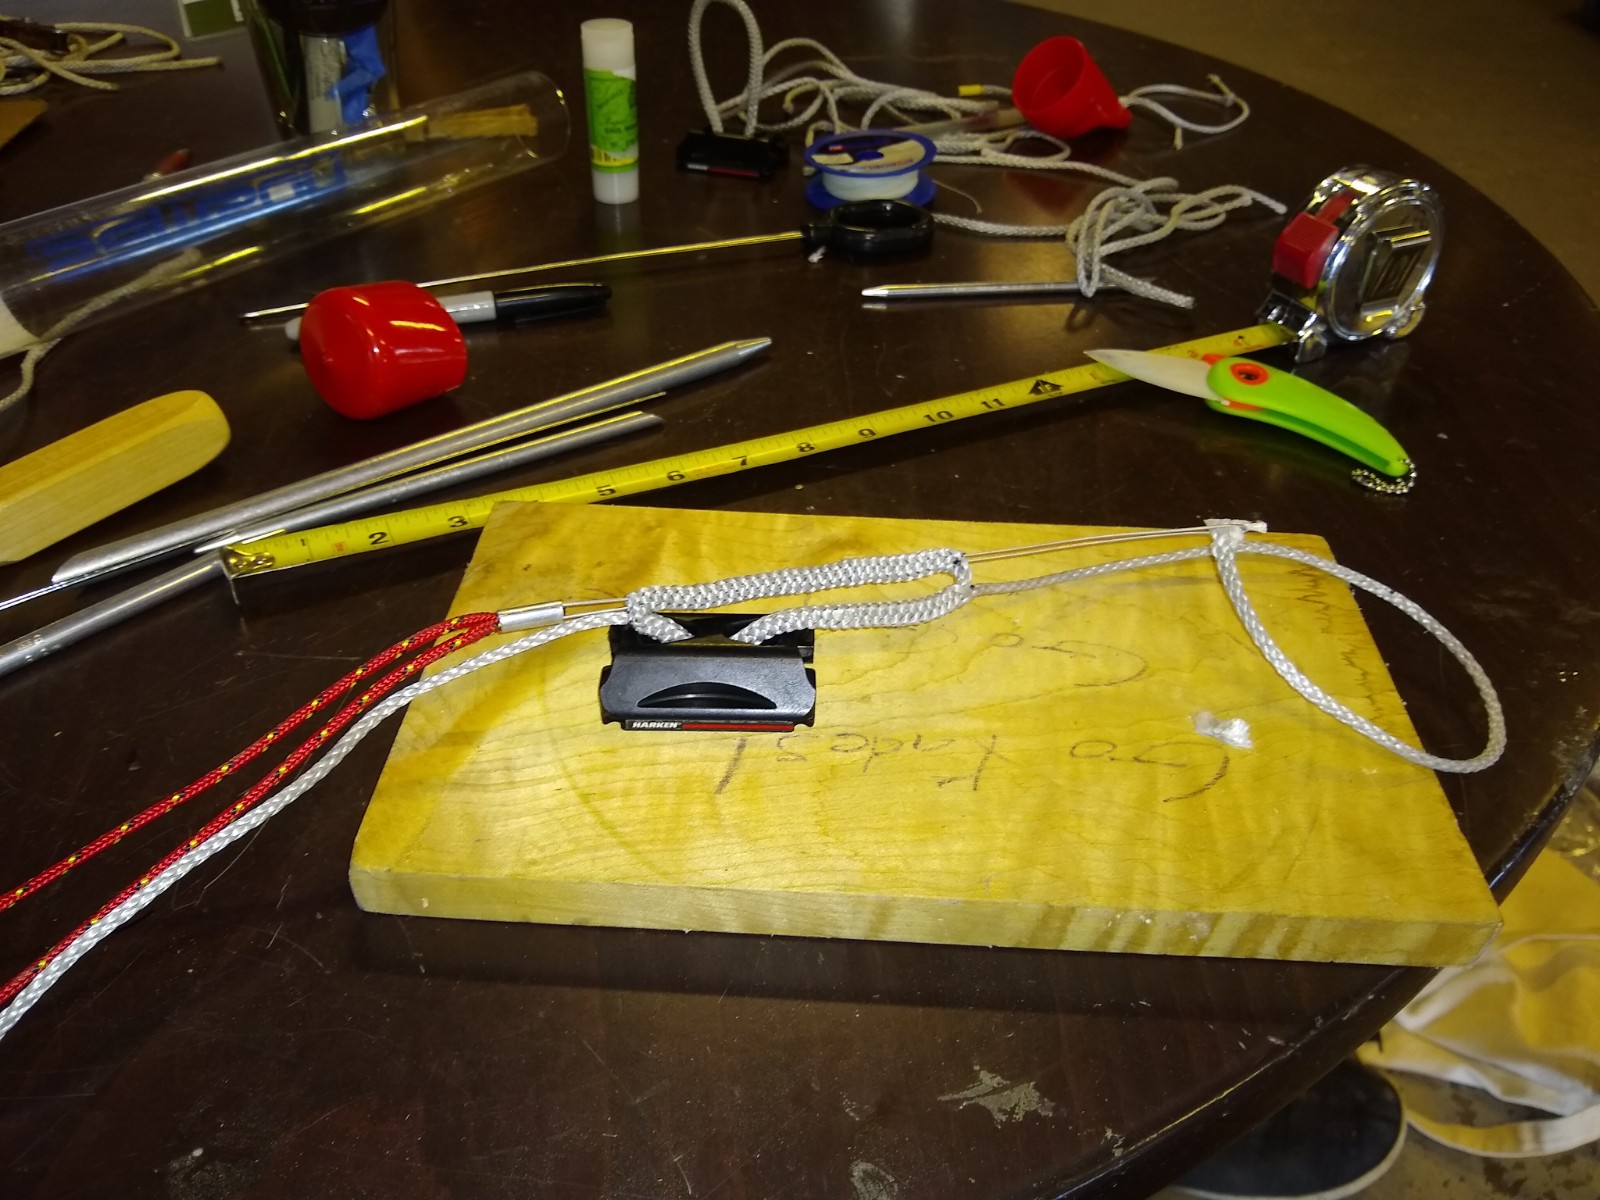
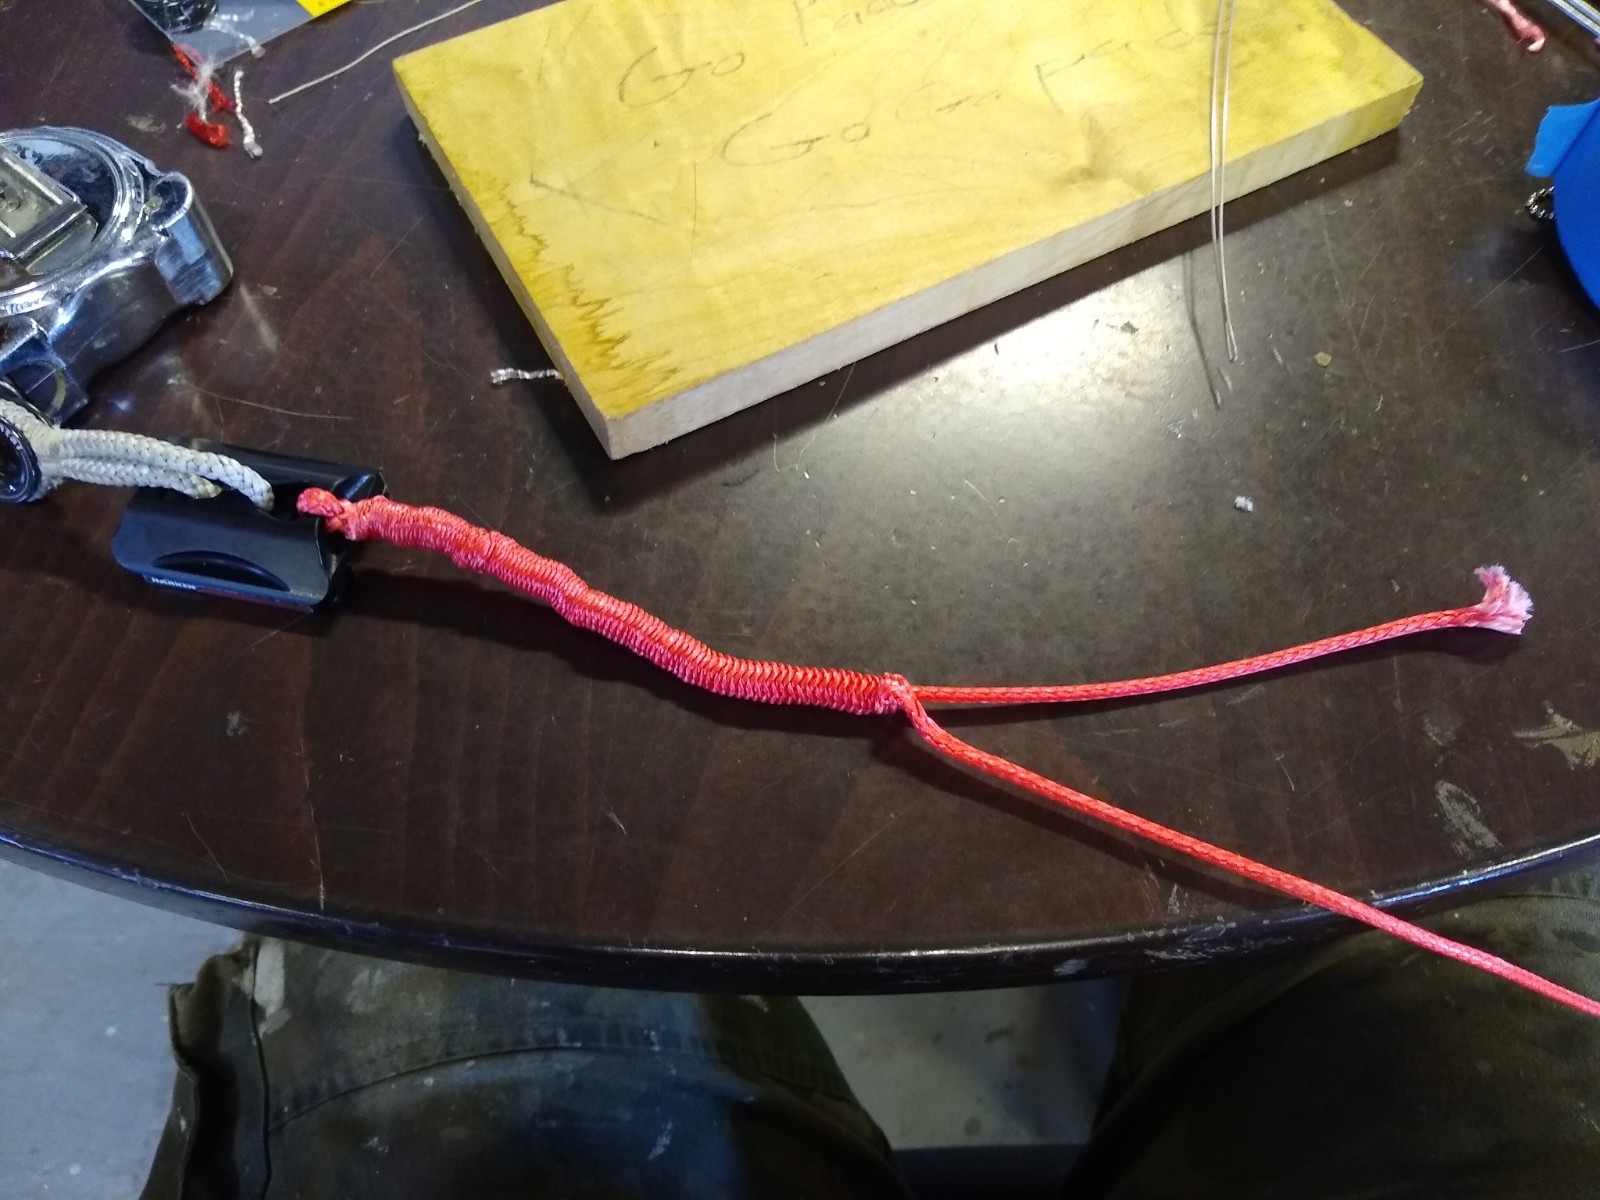
Now for the jib adjustment lines, I needed to take a line that had a dyneema core and a polyester cover and taper it back so roughly half of it was just the dyneema core, and half of it was unaltered, then splice this line to the jib car.
First, I had to taper the line. This didn’t turn out as well as it could have; I forgot to lock stitch the core and cover ahead of the taper so it moved around a little more than it should have and didn’t end up as tidy.
So, I first figured out where I wanted my taper to start and end and marked the cover. I did tie a knot to keep the core and cover where I wanted them, but again, lock stitching ahead of the taper would have worked better. I was kinda figuring it out as I went along.
After that, I extracted the core at the mark closest to what would end up the thick end. this line I am using here is Robline’s 5mm ‘dinghy control’. Its cover has a high plait count and a tight weave and as a result has earned a reputation of being difficult to work with. it’s a real bear to work the core out of the cover, but once I did I cut off the excess at the second dot, and then fed the cover into the core right where I had extracted it.
I apologize, but I forgot to photograph these steps. the next picture I have is when began tapering the cover, removing two plaits at a time.
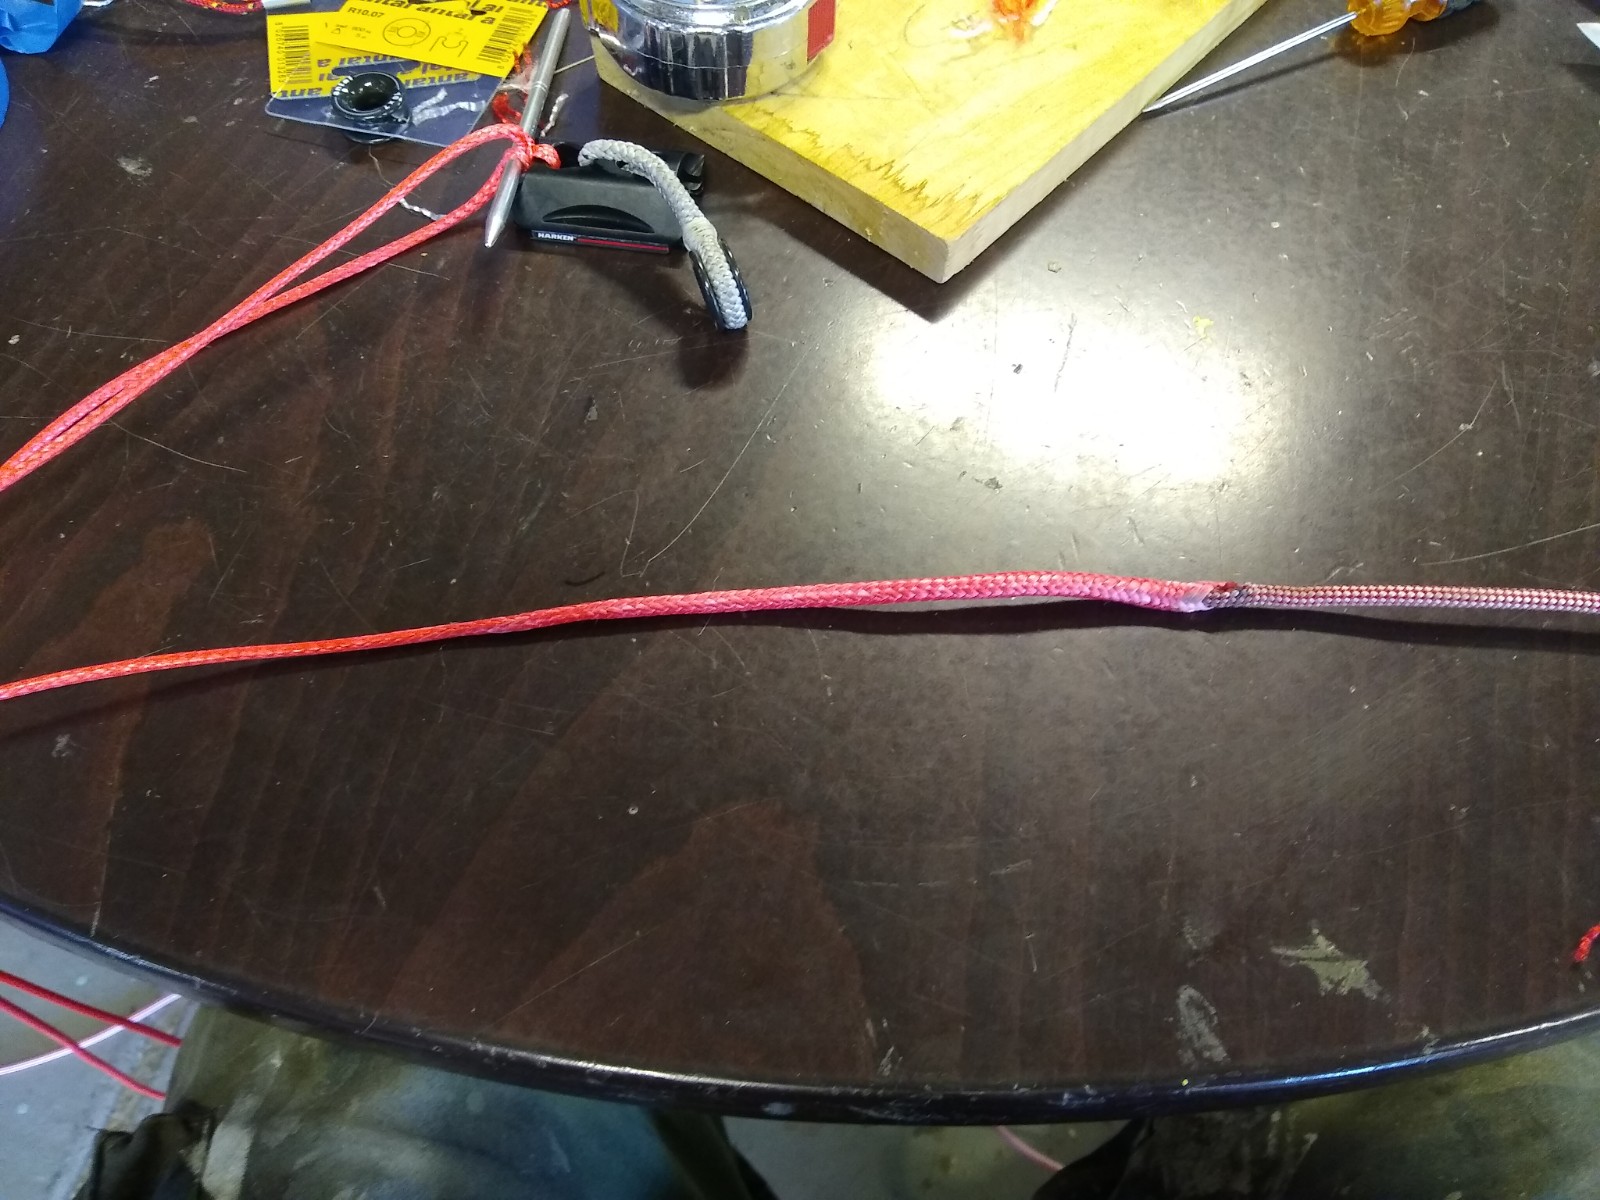
I kept at it till I had the cover tapered down as so:
Then it was just a matter of milking the bunched up core down to cover the tapered core. once that was done, we had a line that went from covered dyneema to uncovered In a fairly smooth transition; this let me have a grippy end for my hand, and a slippery end for the fairleads.
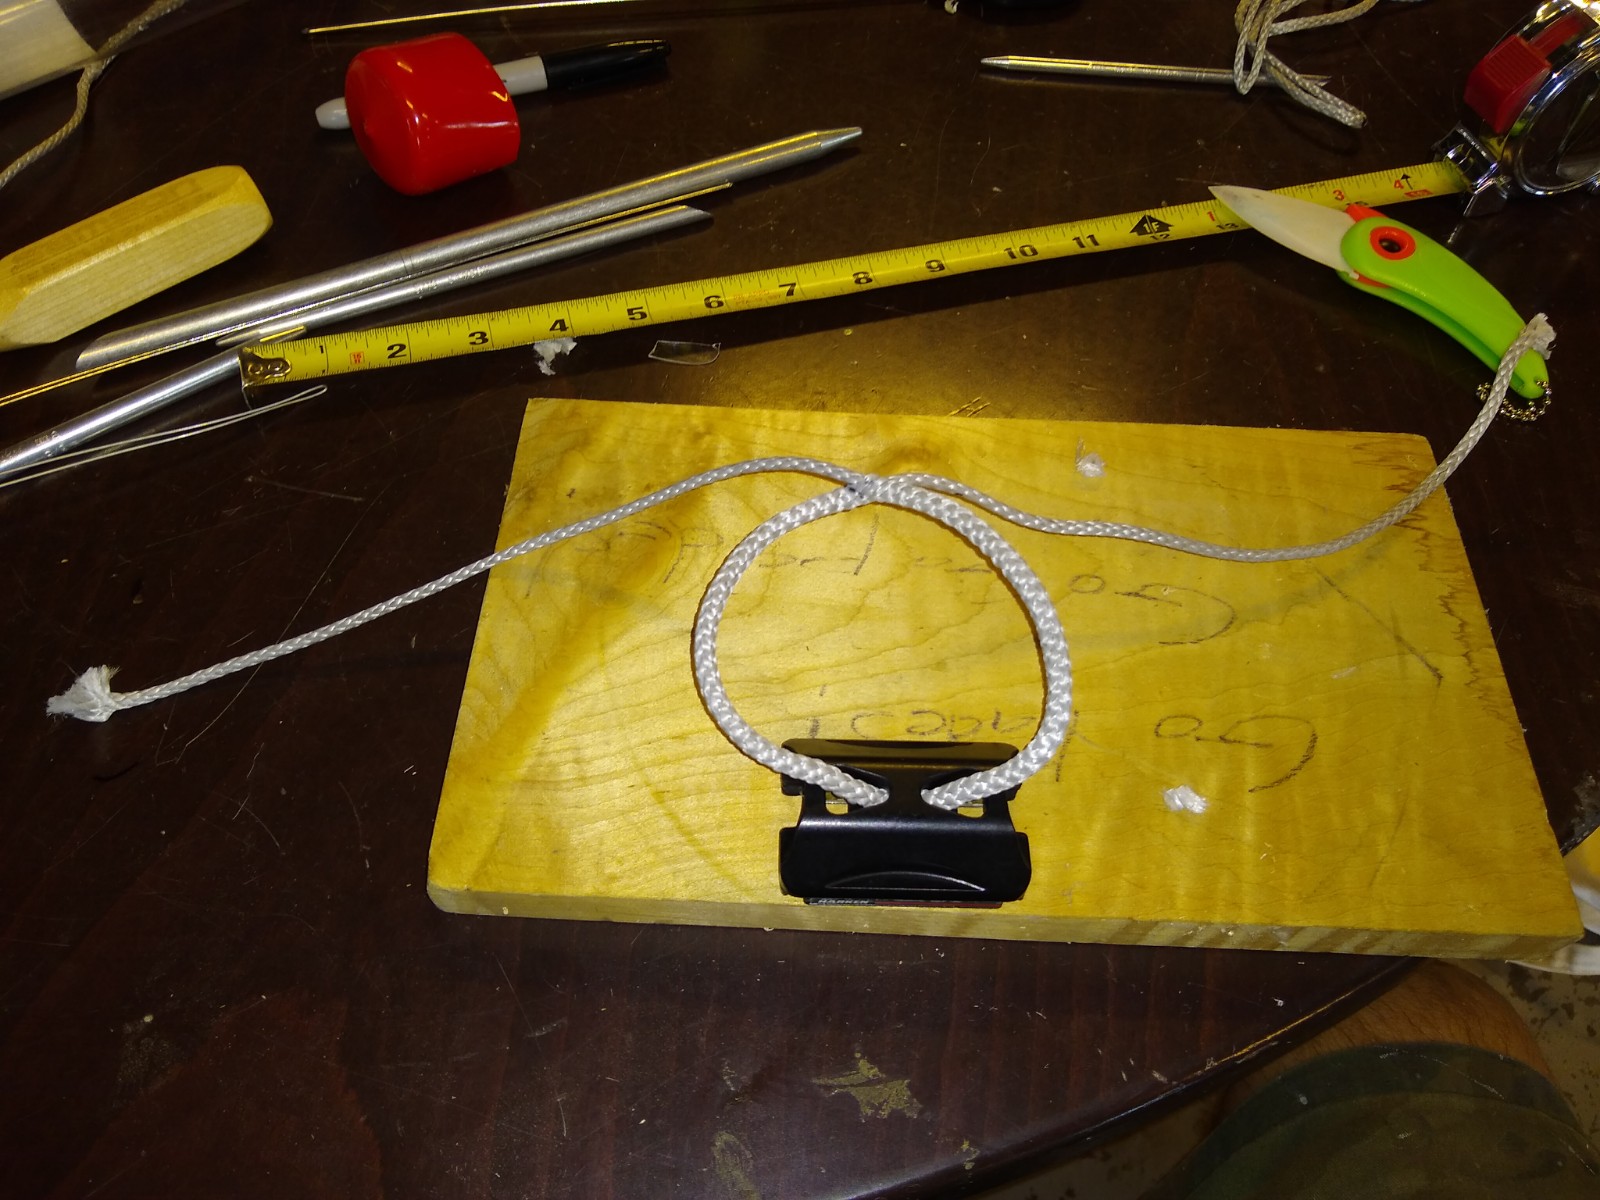
After that, I then had to attach this lead to the jib car. I made a reference mark on the core.
I then pulled the end thru the middle of the line at the reference mark with the wire fid:
After that, I pulled the loop tight around the jib car.
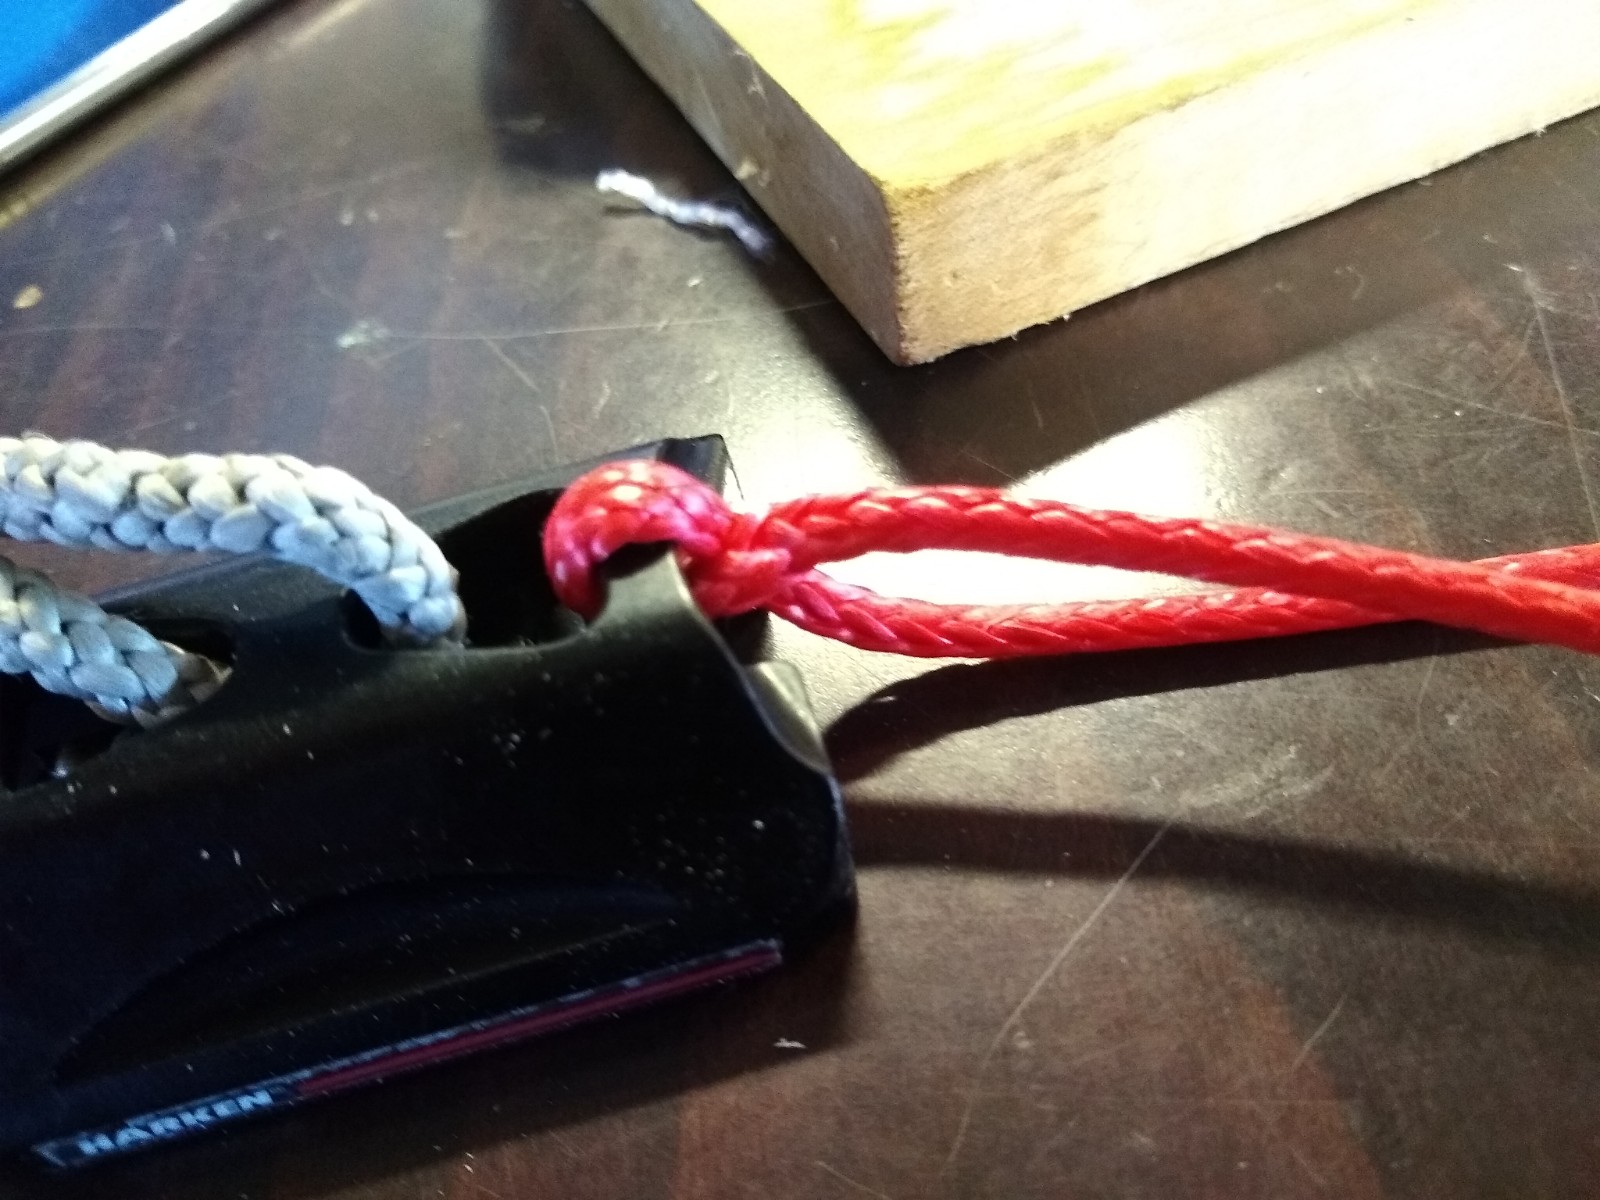
Next, I put the long end of the line in the back of my fid and taped it in place, so in the end each line passed thru the middle of the other in a way that they are locked together. This is called a ‘brummel’ splice, so guess these are the brummels?

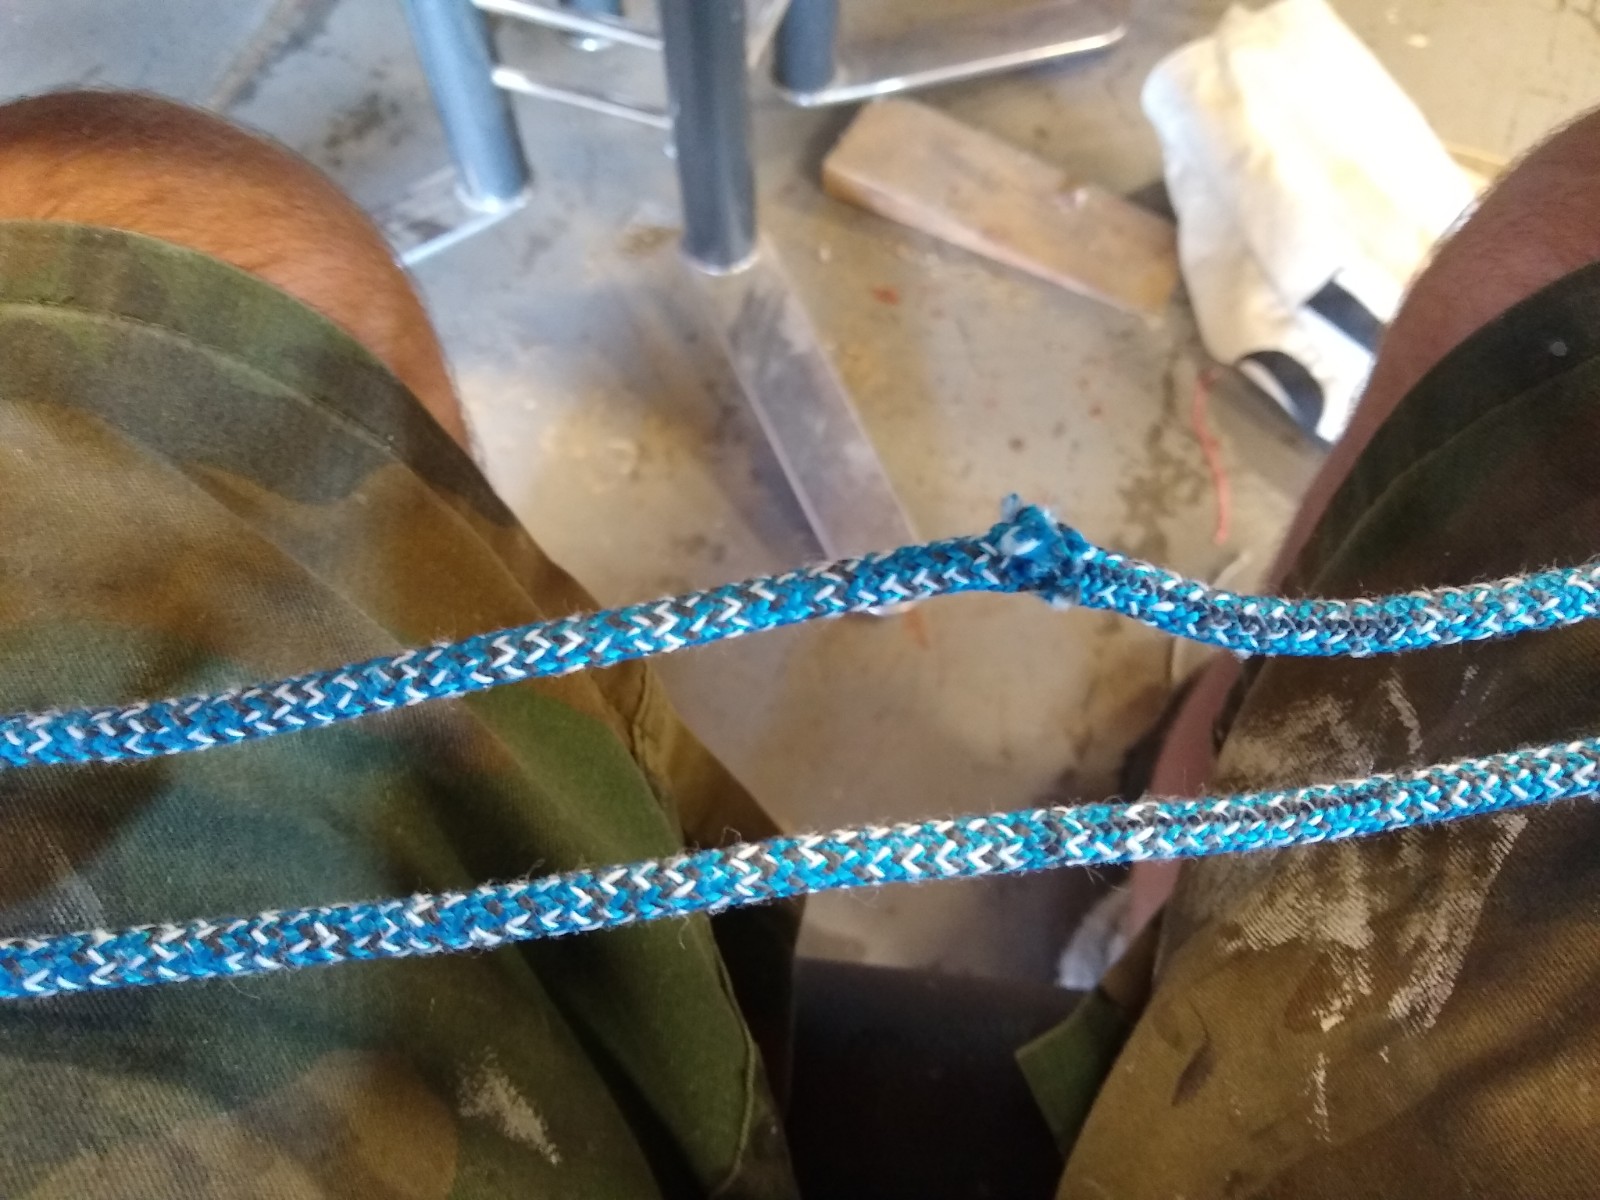
Here’s a close up of these two locked together.
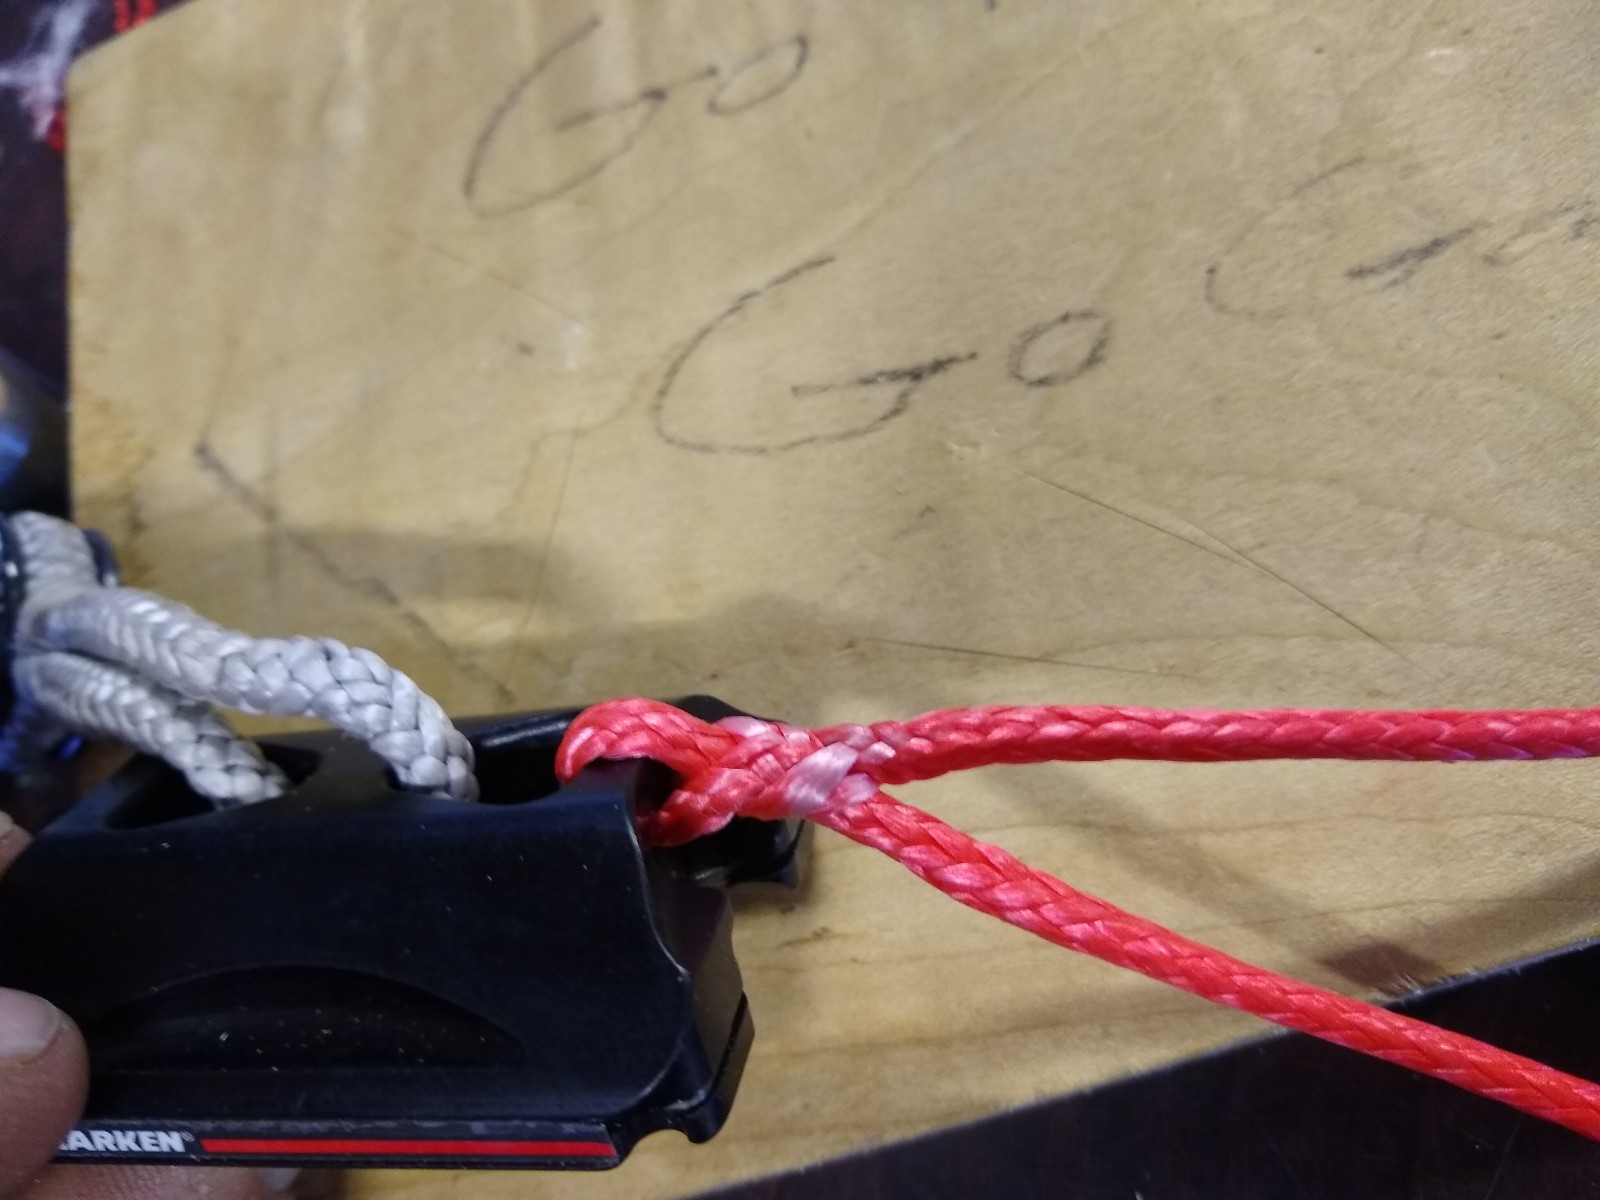
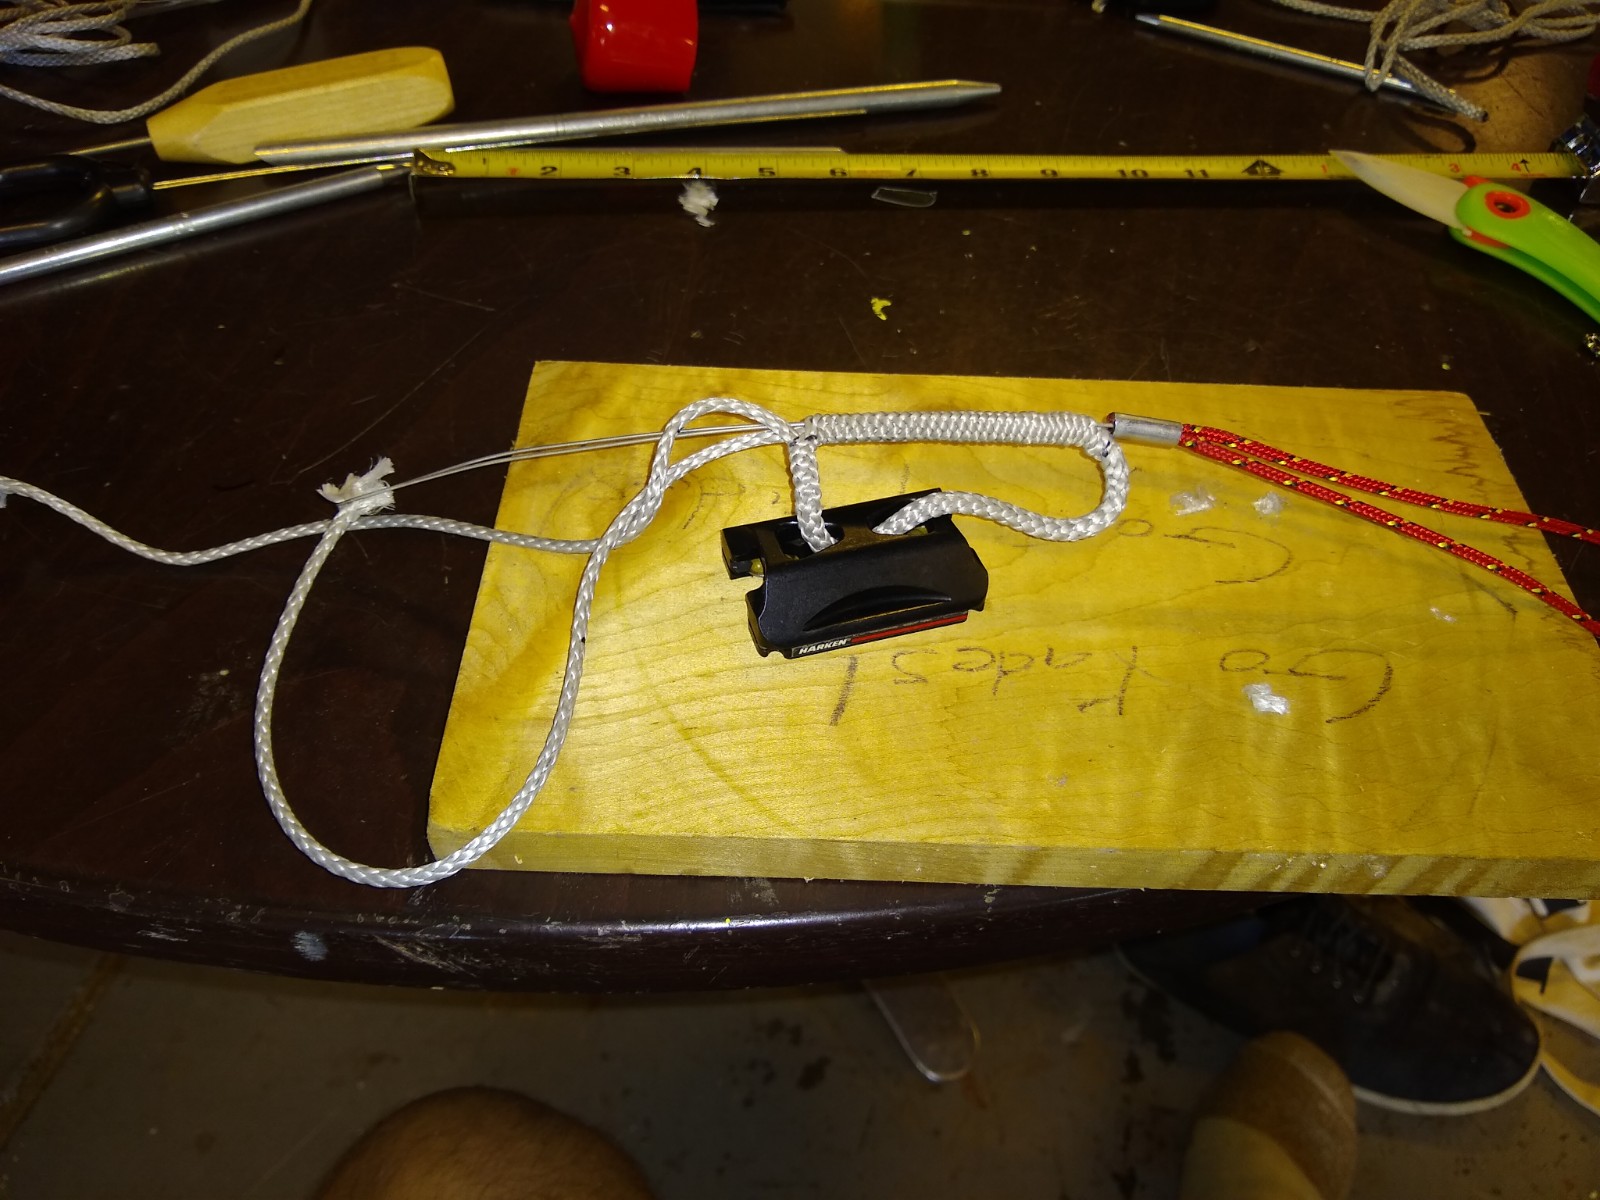
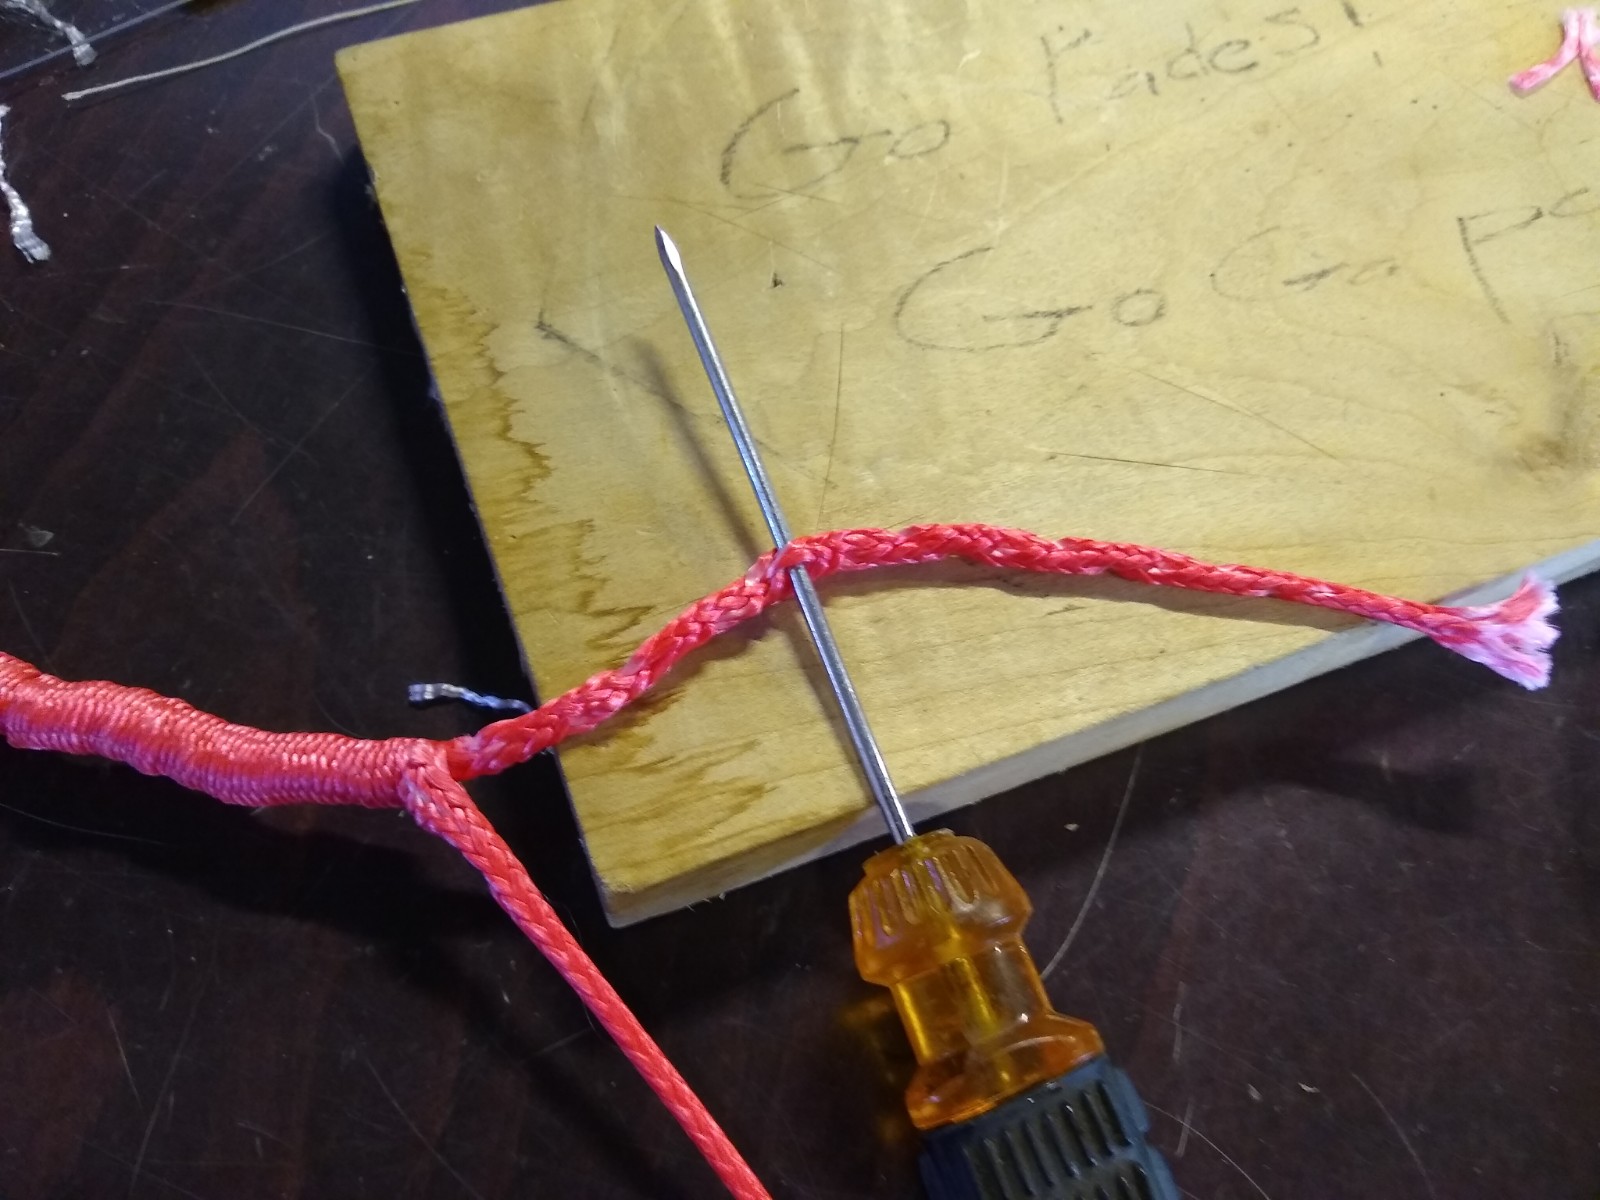
After that, I had to bury and taper the tail, so I came back at least the length of the tail and started inserting my D-Splicer wire fid.
Once I have it worked up too the Brummell, I exit the core and attach the end.

Pull it thru, and I’m ready to taper.
So I took an awl, and started pulling out strands. on this taper, I cut them as I went, however I’ve since found that pulling them all out and cutting them later works better to help me visualize the taper and keep it even.
keeping on tapering it….
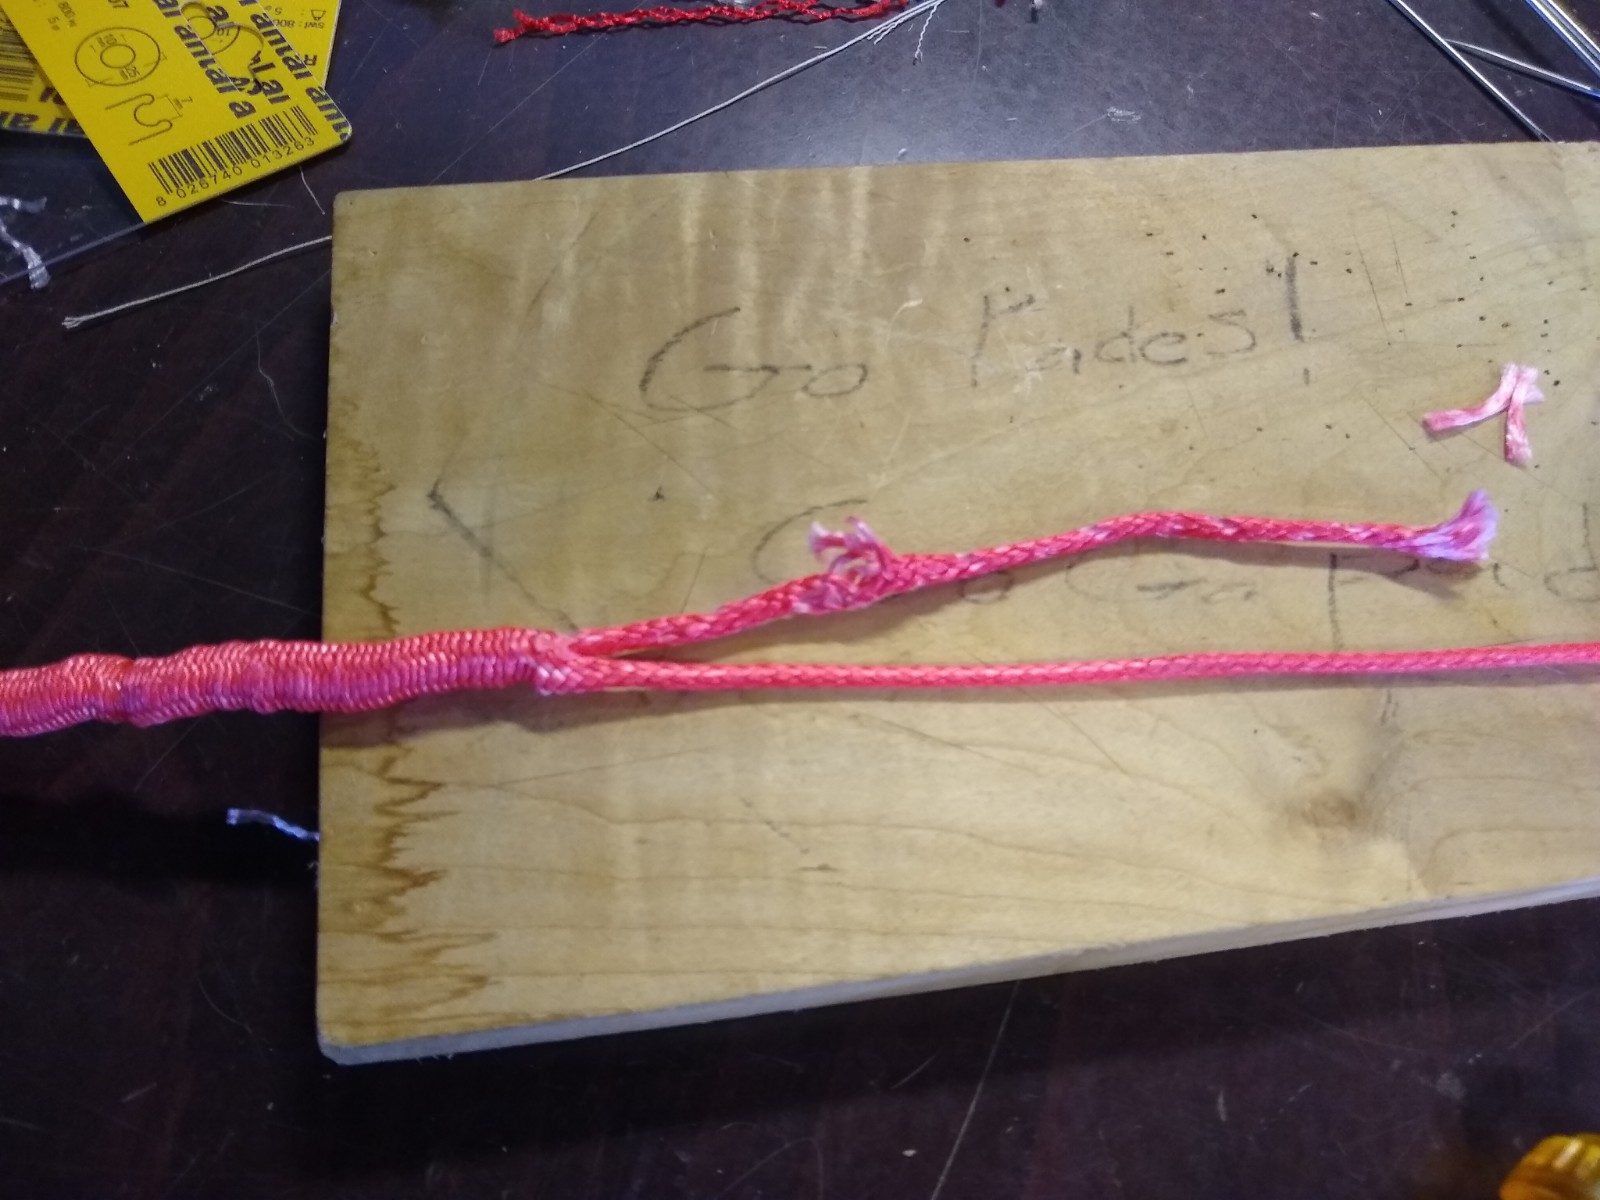
And I ended up with this. not the best, not the worst. granted, the taper is mostly really important on high-load lines, and this isn’t going to be that stressed.
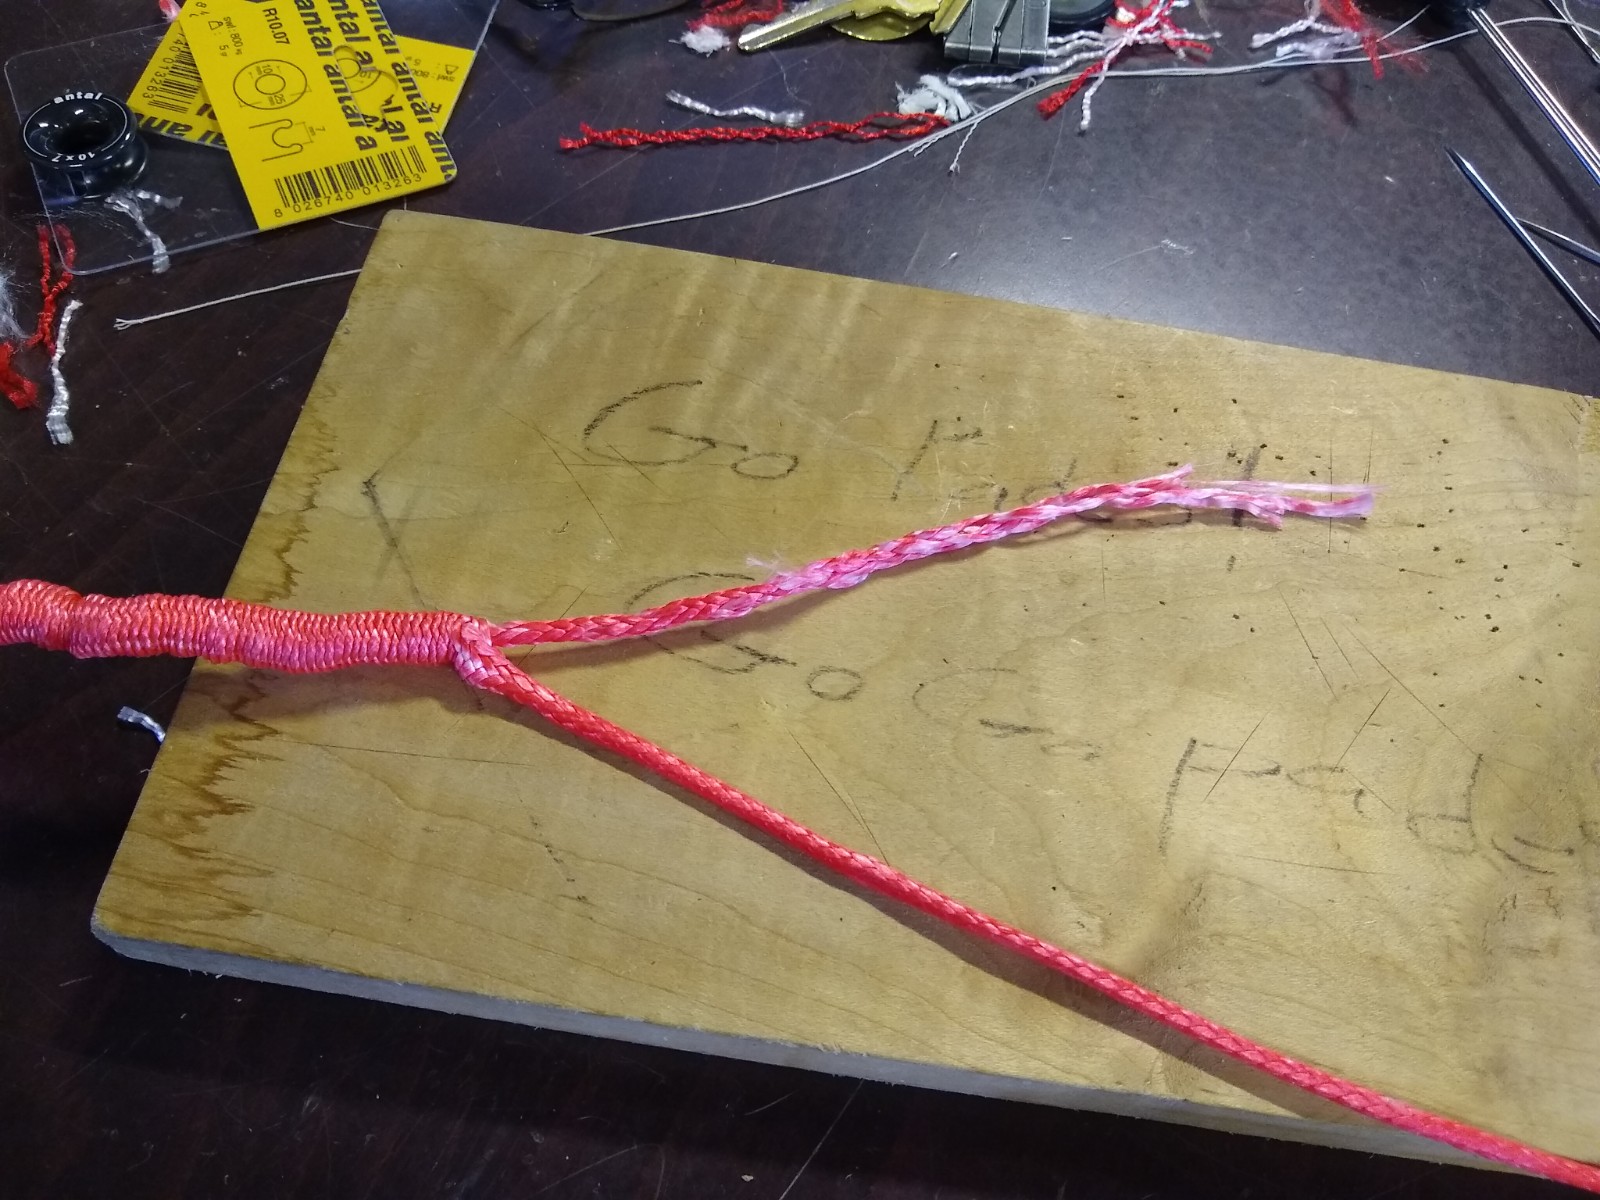
I milked the cover back, and it’s ready to go.
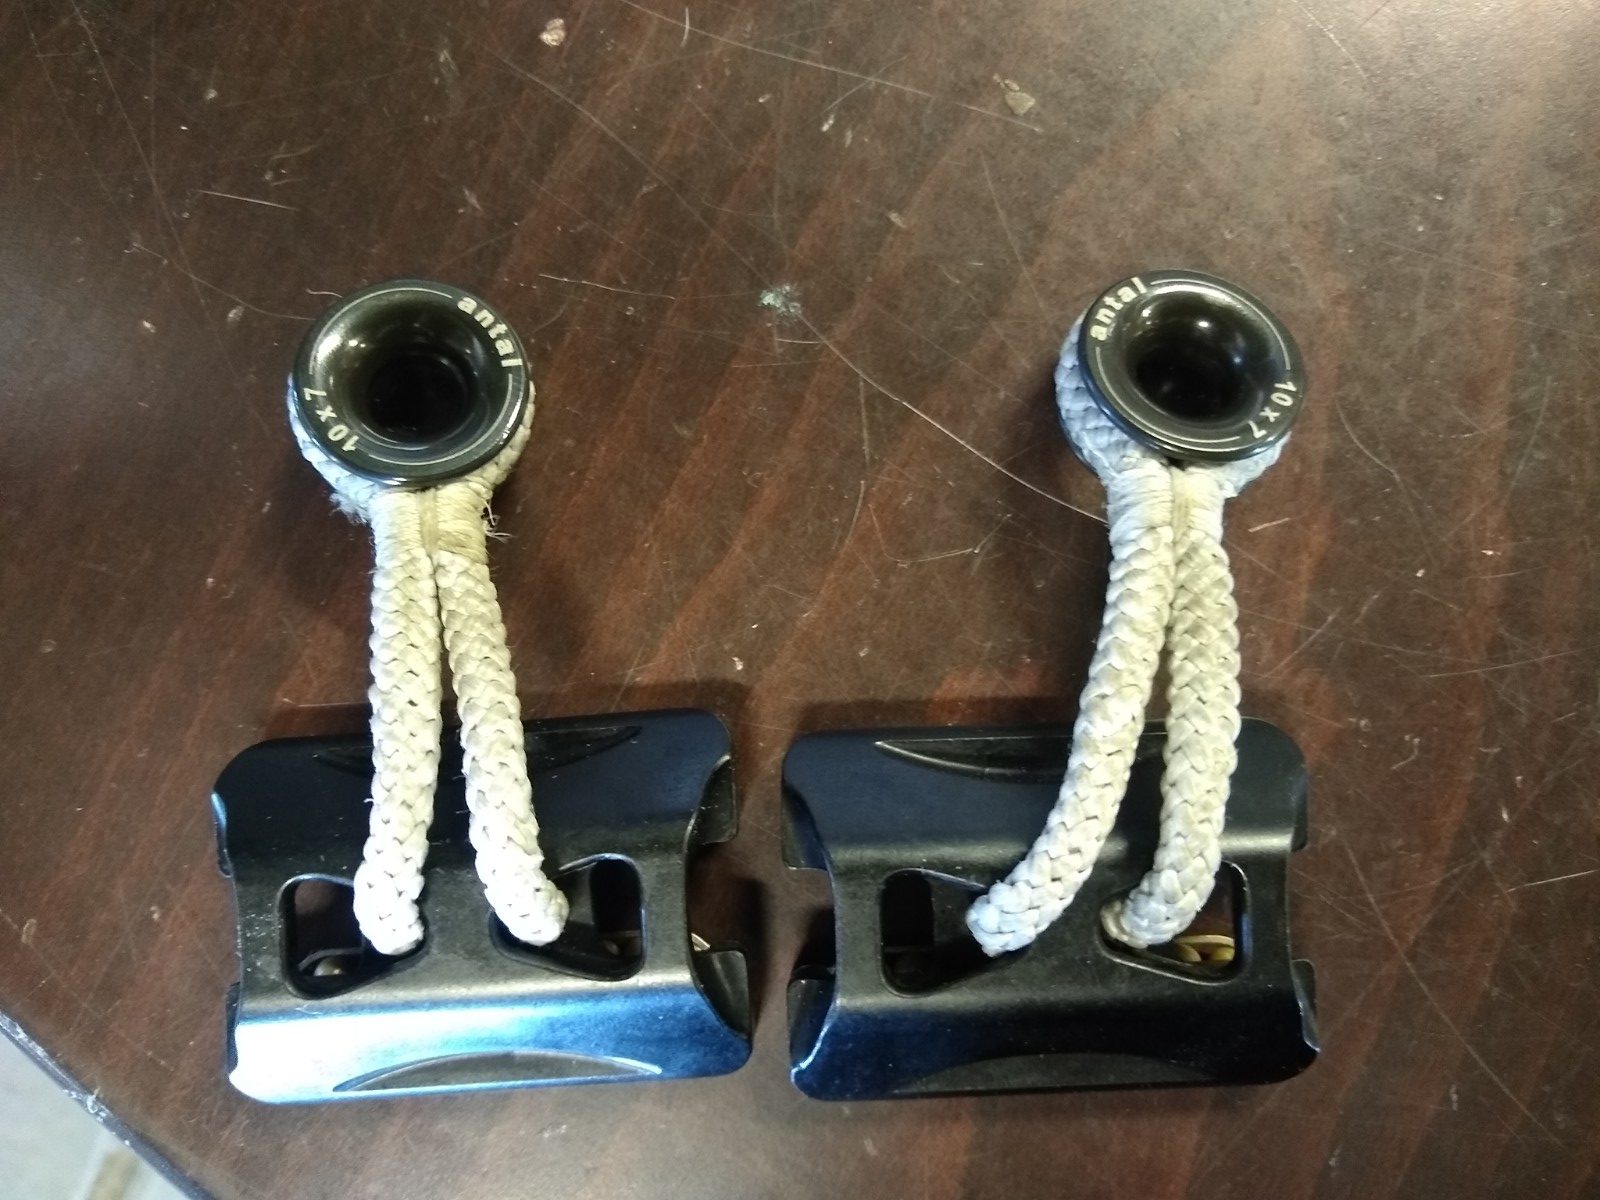
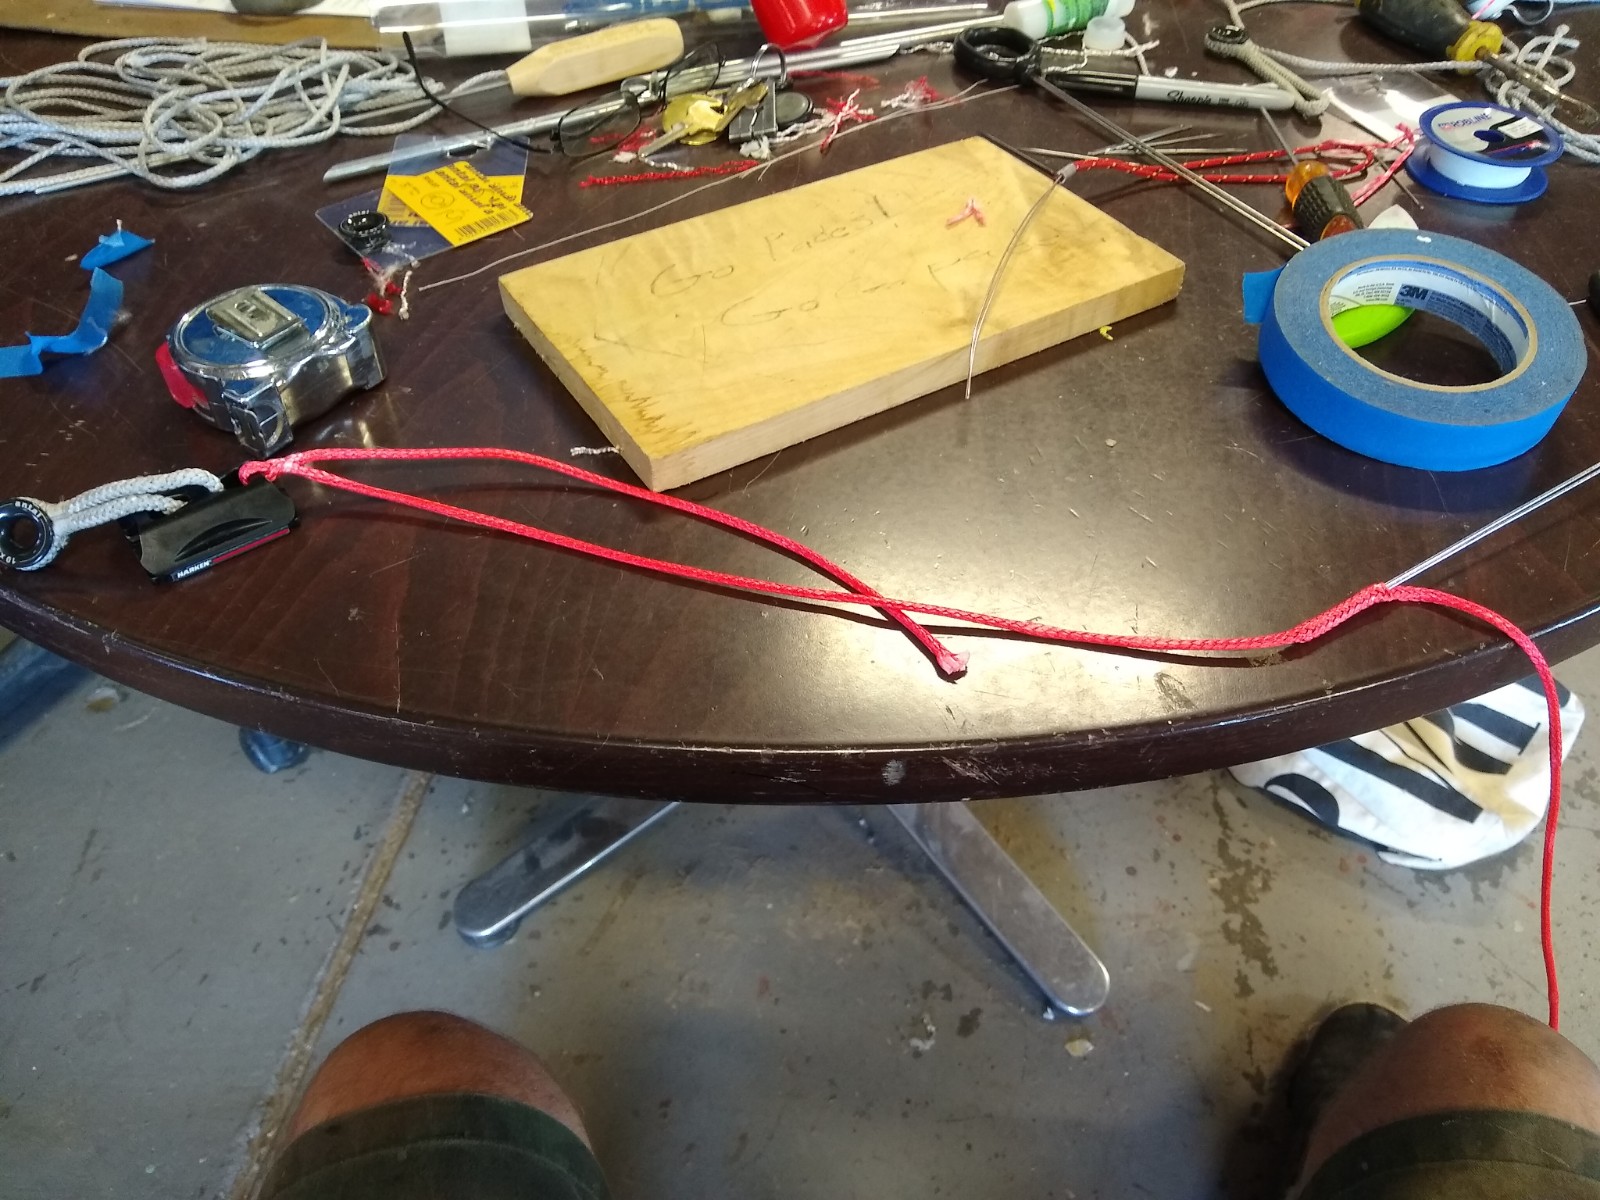
I did the other car as well, and at the end I’ll show you them all installed and how they worked out.
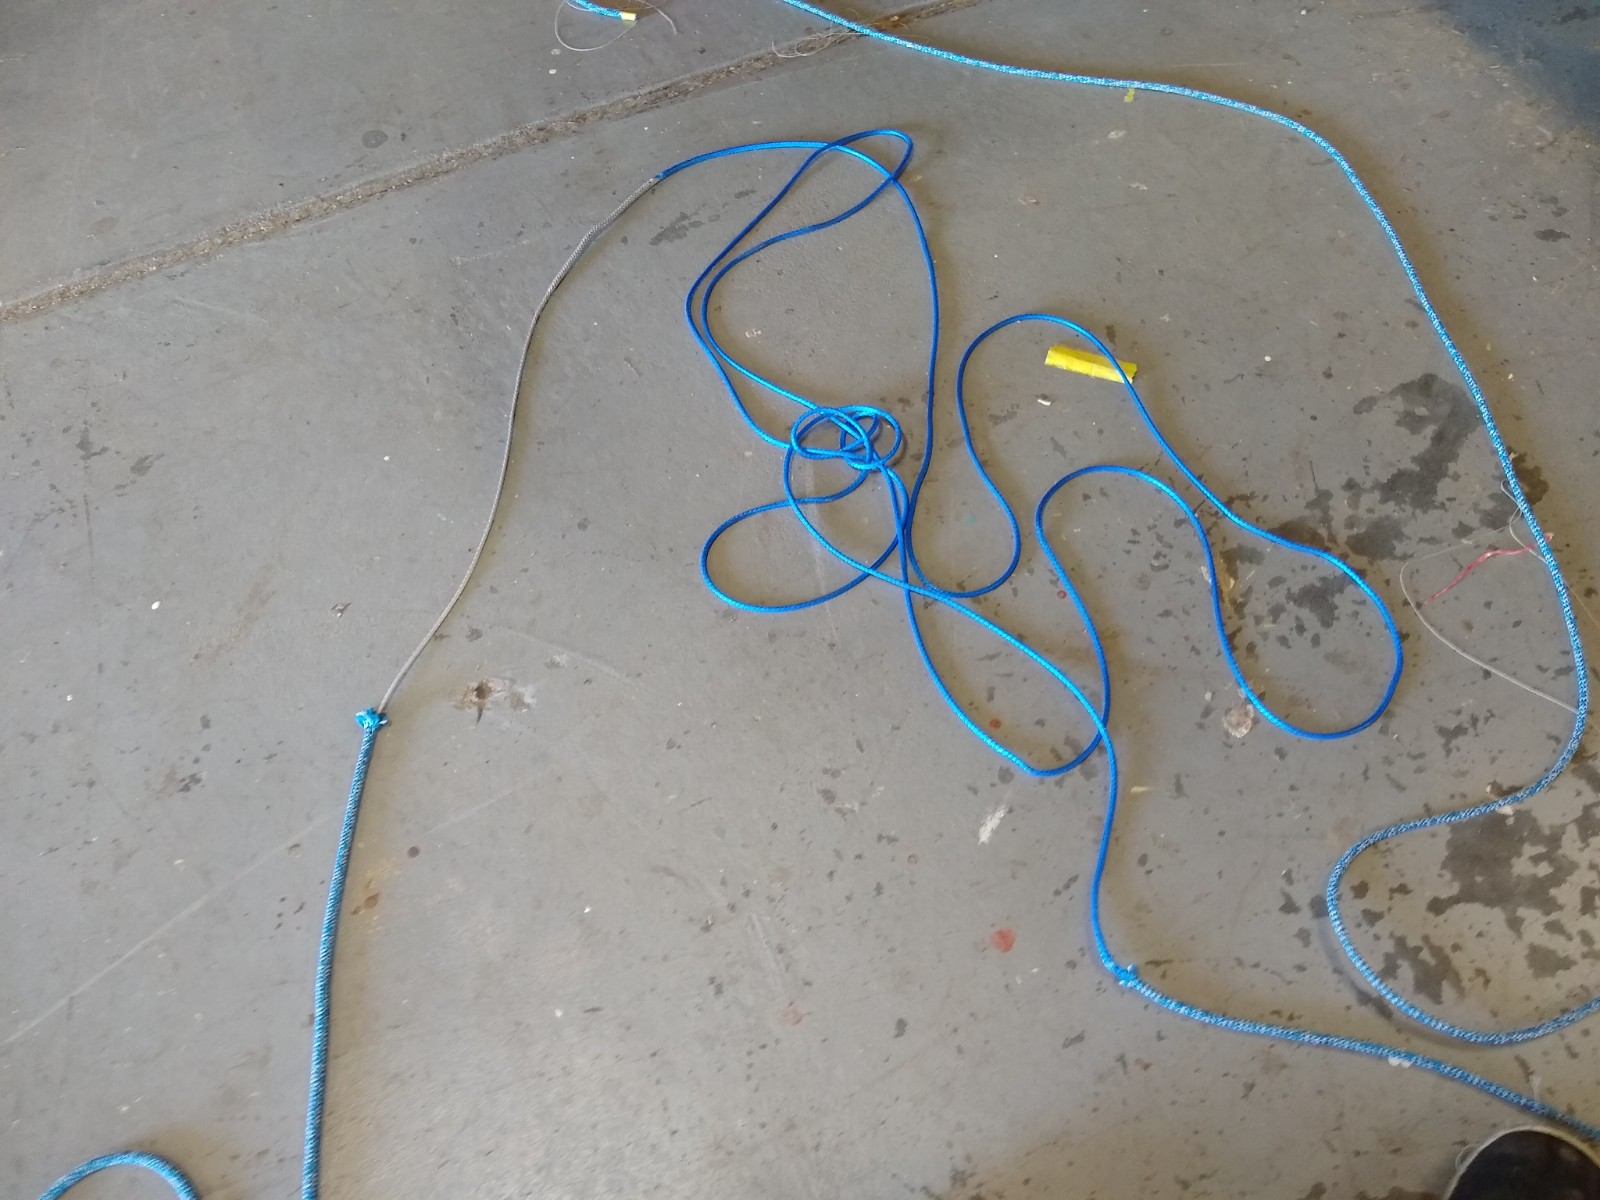
Now, the last bit of rope work I am going into is the Vang line. This one was tricky, and I thought it over for a bit this week before I started to mull it over in my head so I could think how I was going to do this.
In short, I have a double-ended vang setup; the line starts on one rail, goes forward, thru the 4:1 setup that is cascaded to an 8:1, then back to the other rail. I can pull the line on either rail to adjust it. However, because of this I want a grippy cover on either end but slippery exposed dyneema core in the middle.
For this line, I went with Robeline’s Coppa 5000; this is a dyneema cored line with a really grippy and awesome feeling cover that has a Technora/polyester blend.
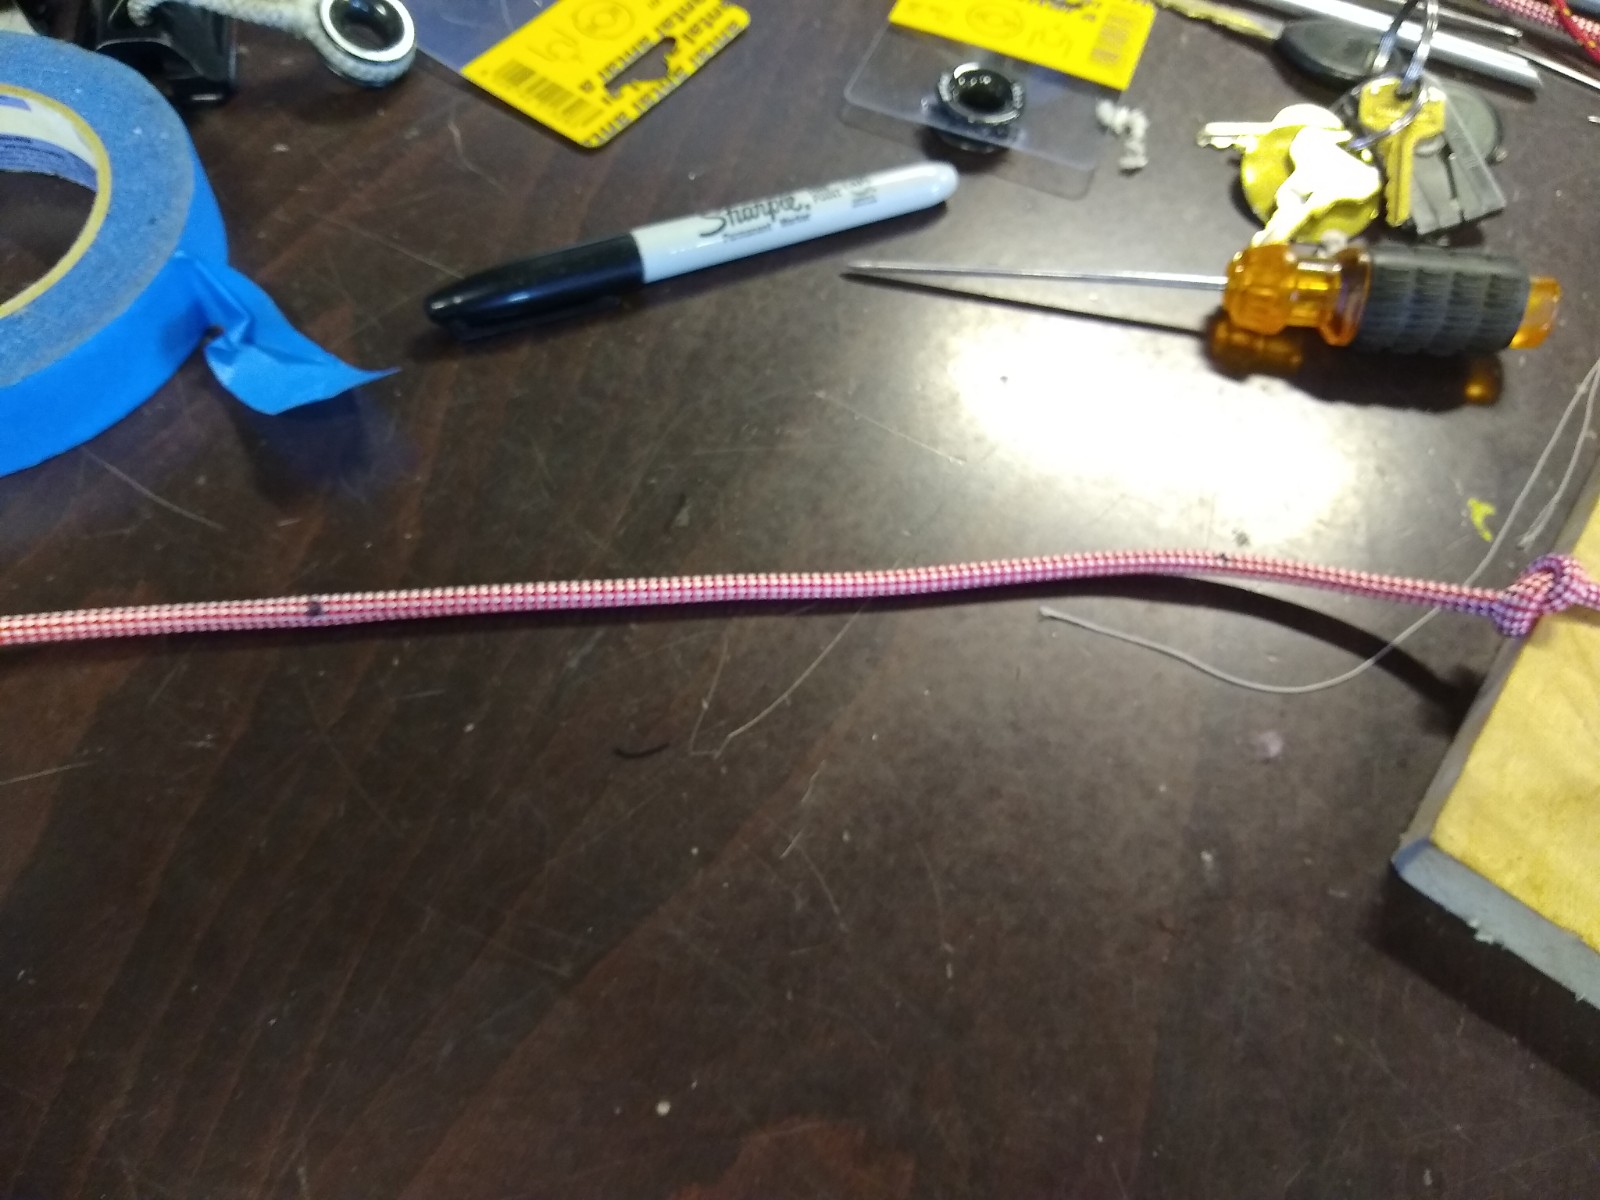
I made two marks. one was where the taper would start, and one was where it would end. I drew a line along the cover from the end of the taper towards the middle, so I knew where I was going to cut the cover.
I then very carefully teased out the strands of the cover, cutting them with my knife as I went.
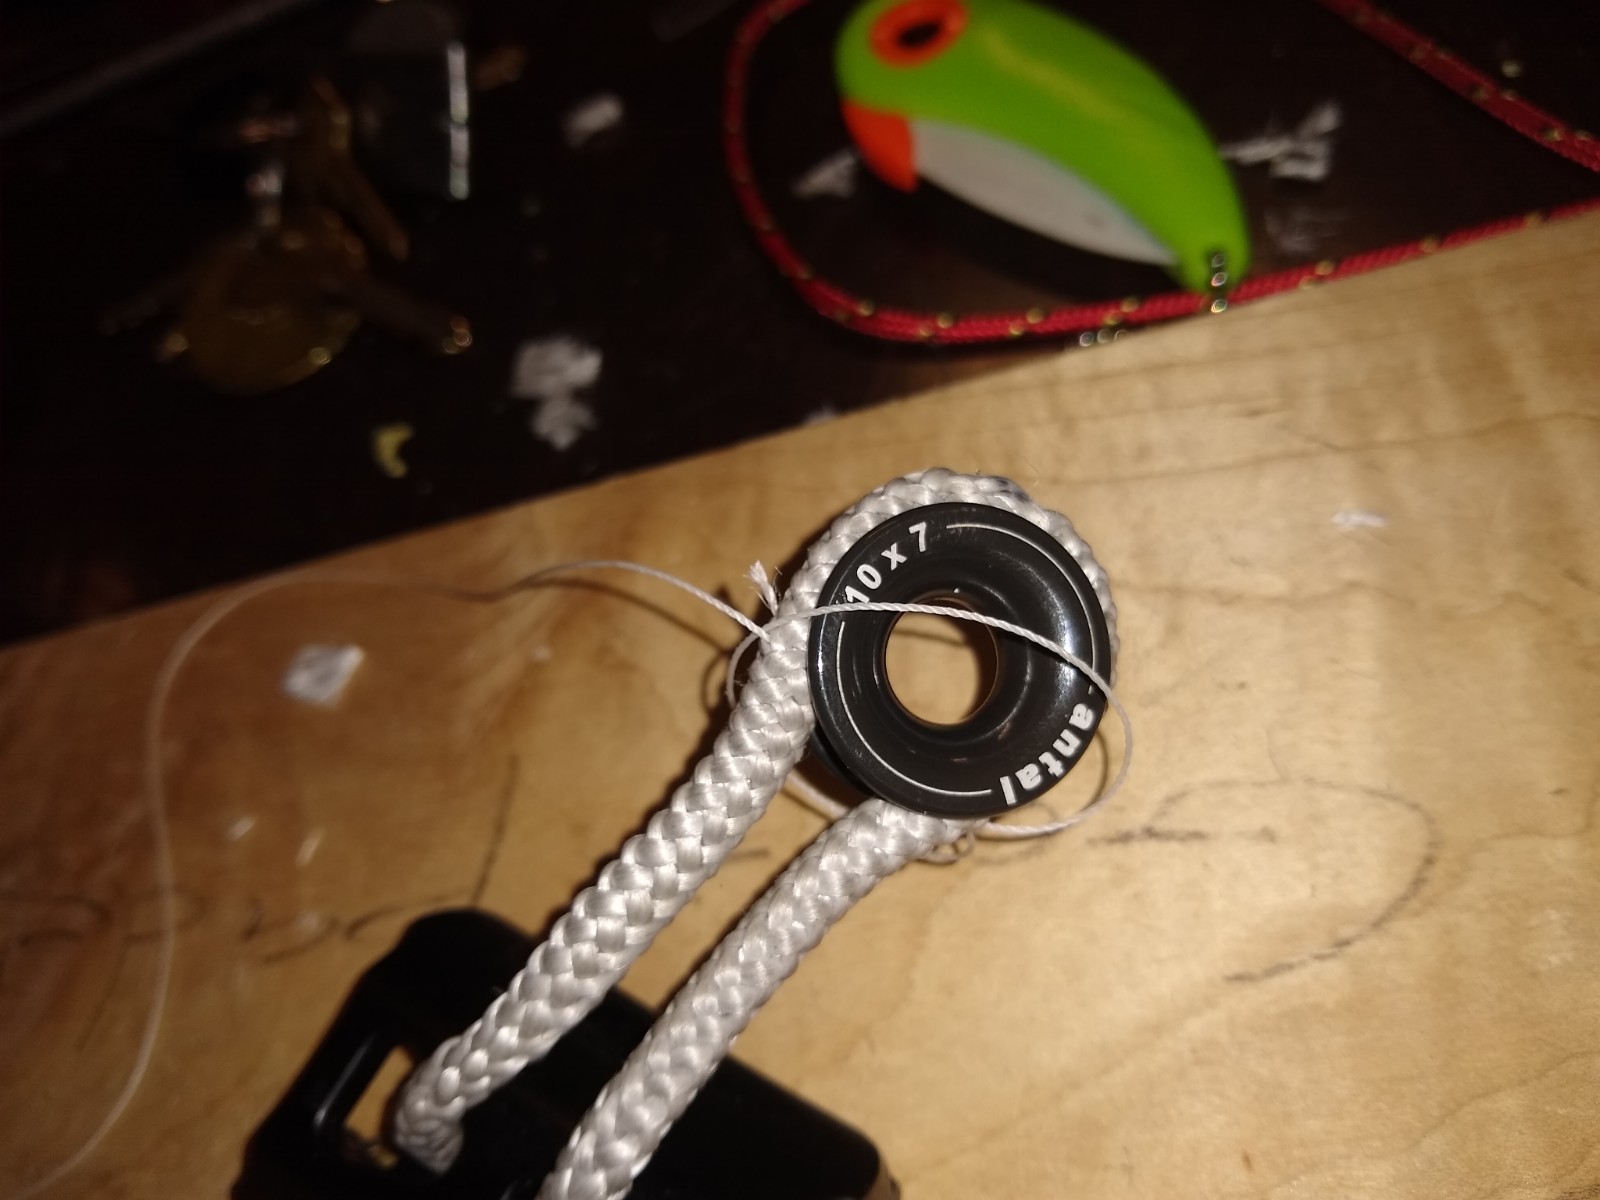
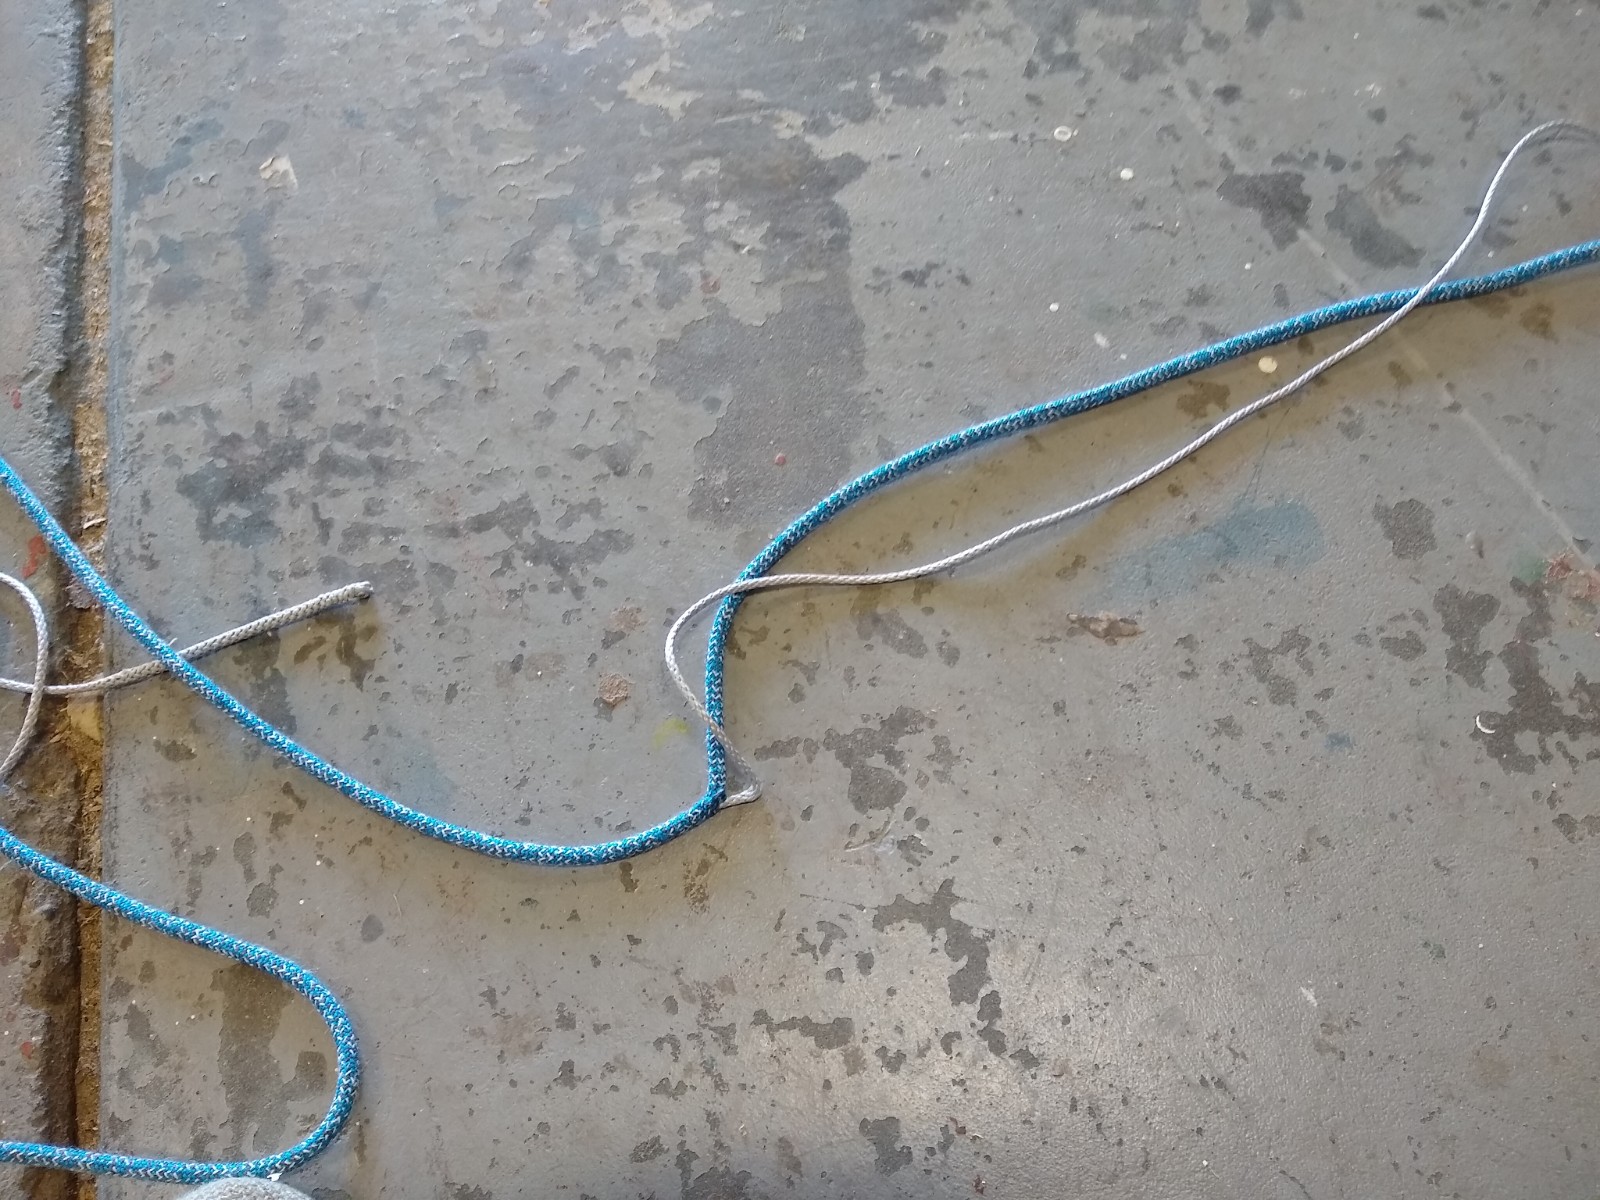
Once I cut thru the cover, I went to the far end of the long side of the cut I had made. I milked the cover back and then used my wire fid to splice the core onto a 25′ piece of 7/64ths dyneema I had. here’s a shot from later that actually works for this step as well: here I have the two cores fed inside each other.
And then after milking them out:
Then I milked the cover totally off of the original core and onto this surrogate core, and lock stitched the core to the cover just ahead of where my taper would begin. Here’s the core milked totally off of its original line.
This let me then un-splice the surrogate core from the line, and I had a regular taper to perform; extract the core, feed the core in, taper the core, milk the core over the cover and here you go:
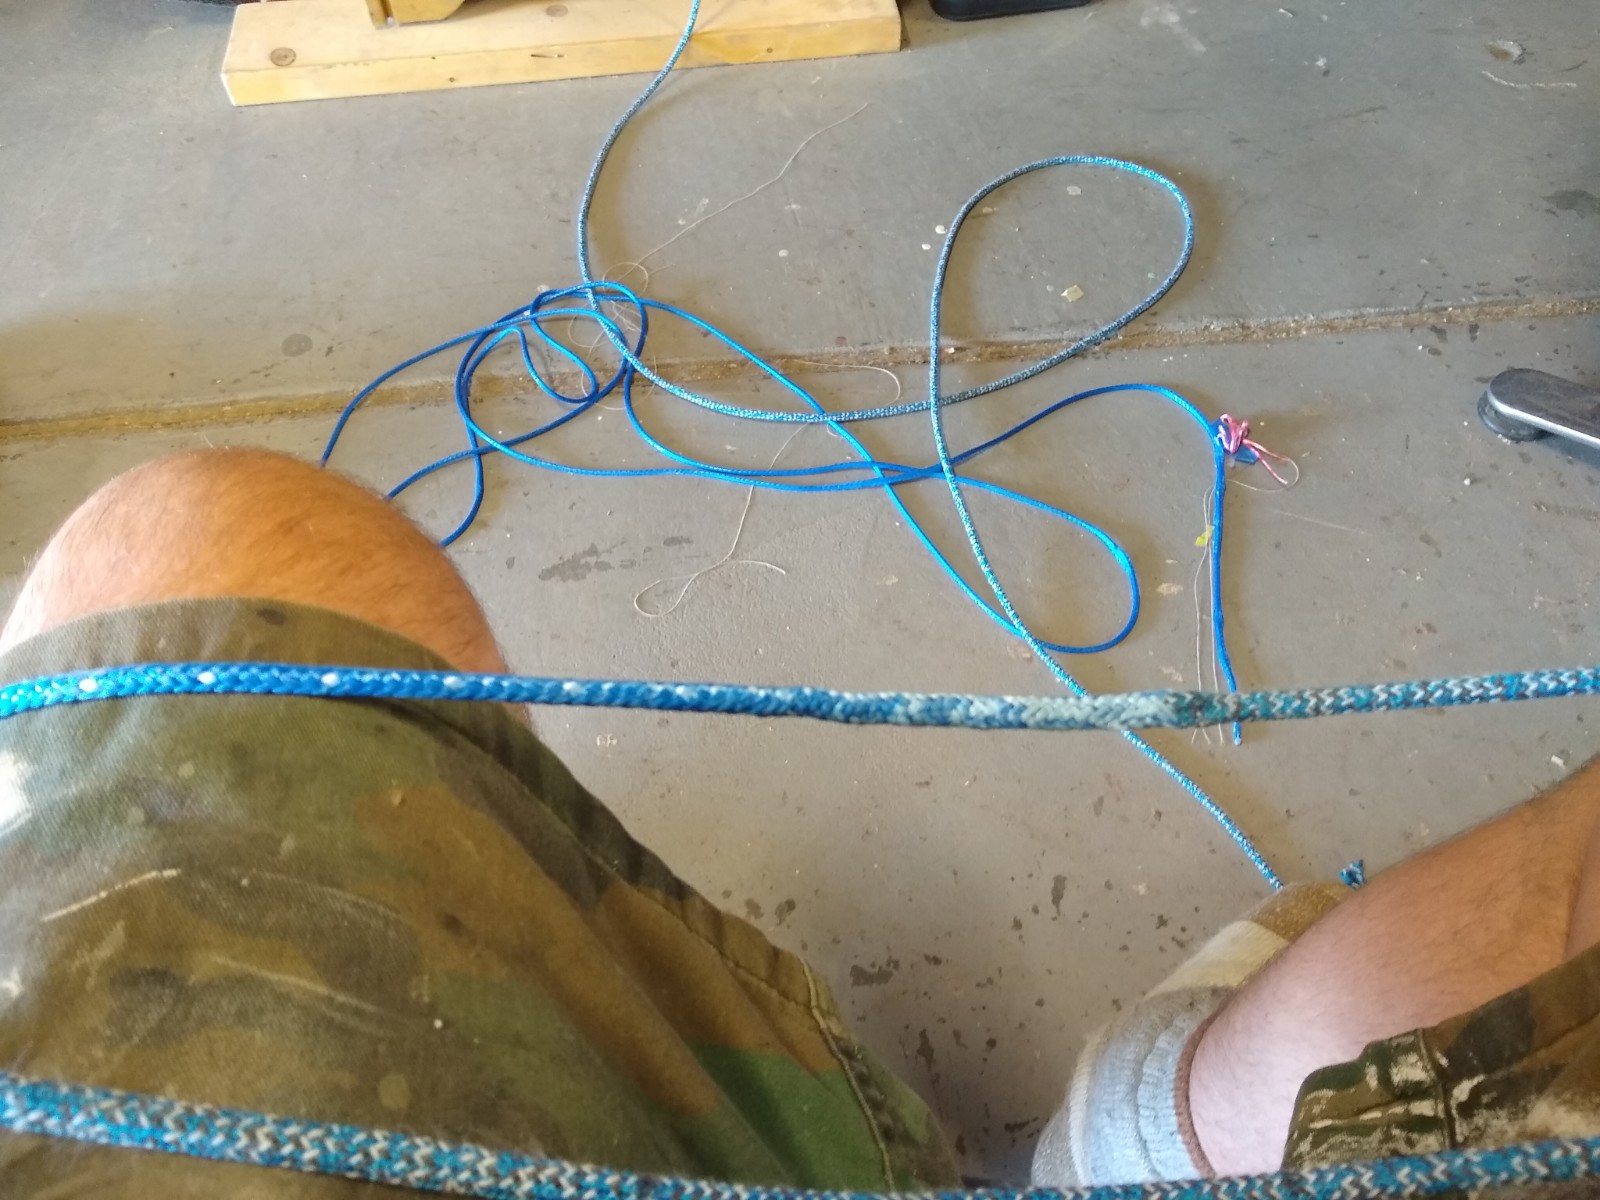
Now here is where things get tricky. I have to re-cover the other end of the line, and taper it back towards the middle. So I returned to the cover on the surrogate core. I found my marks where I had marked the beginning and the end of the taper, and extracted the core where I had marked the beginning of the taper.
I then re-spliced the core and the surrogate core together.
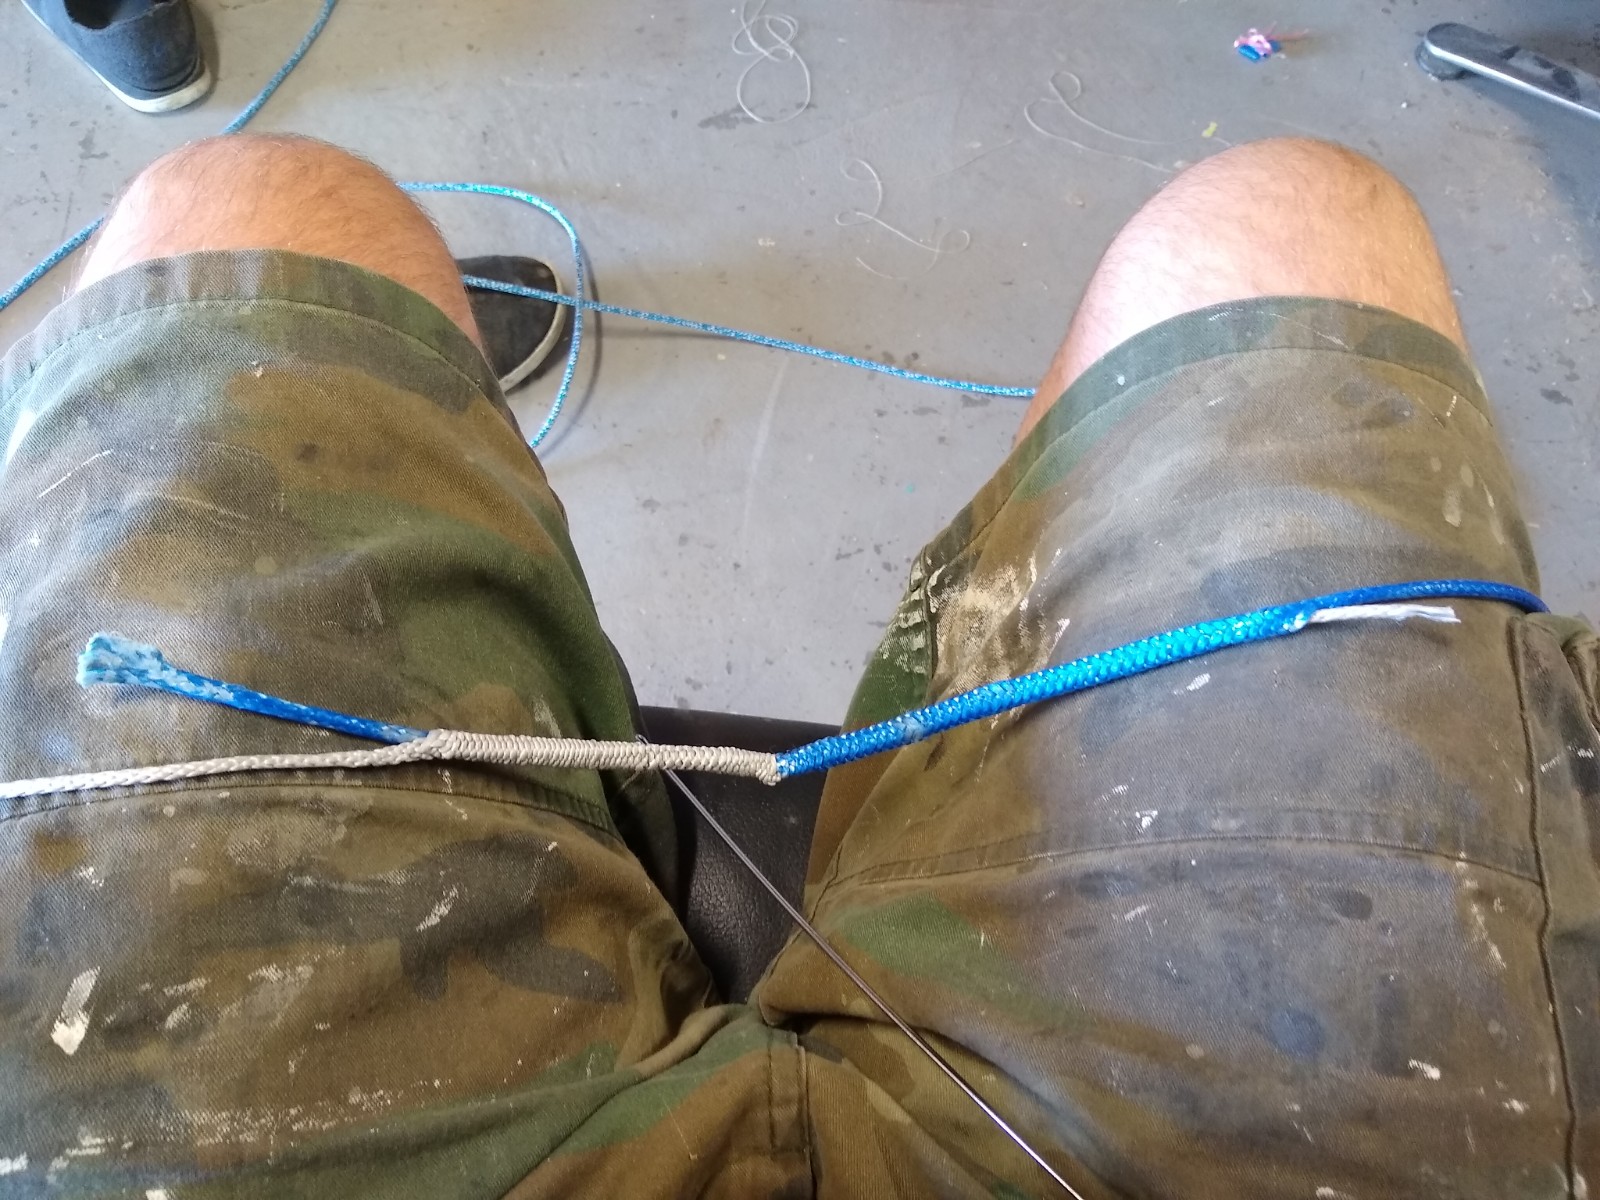
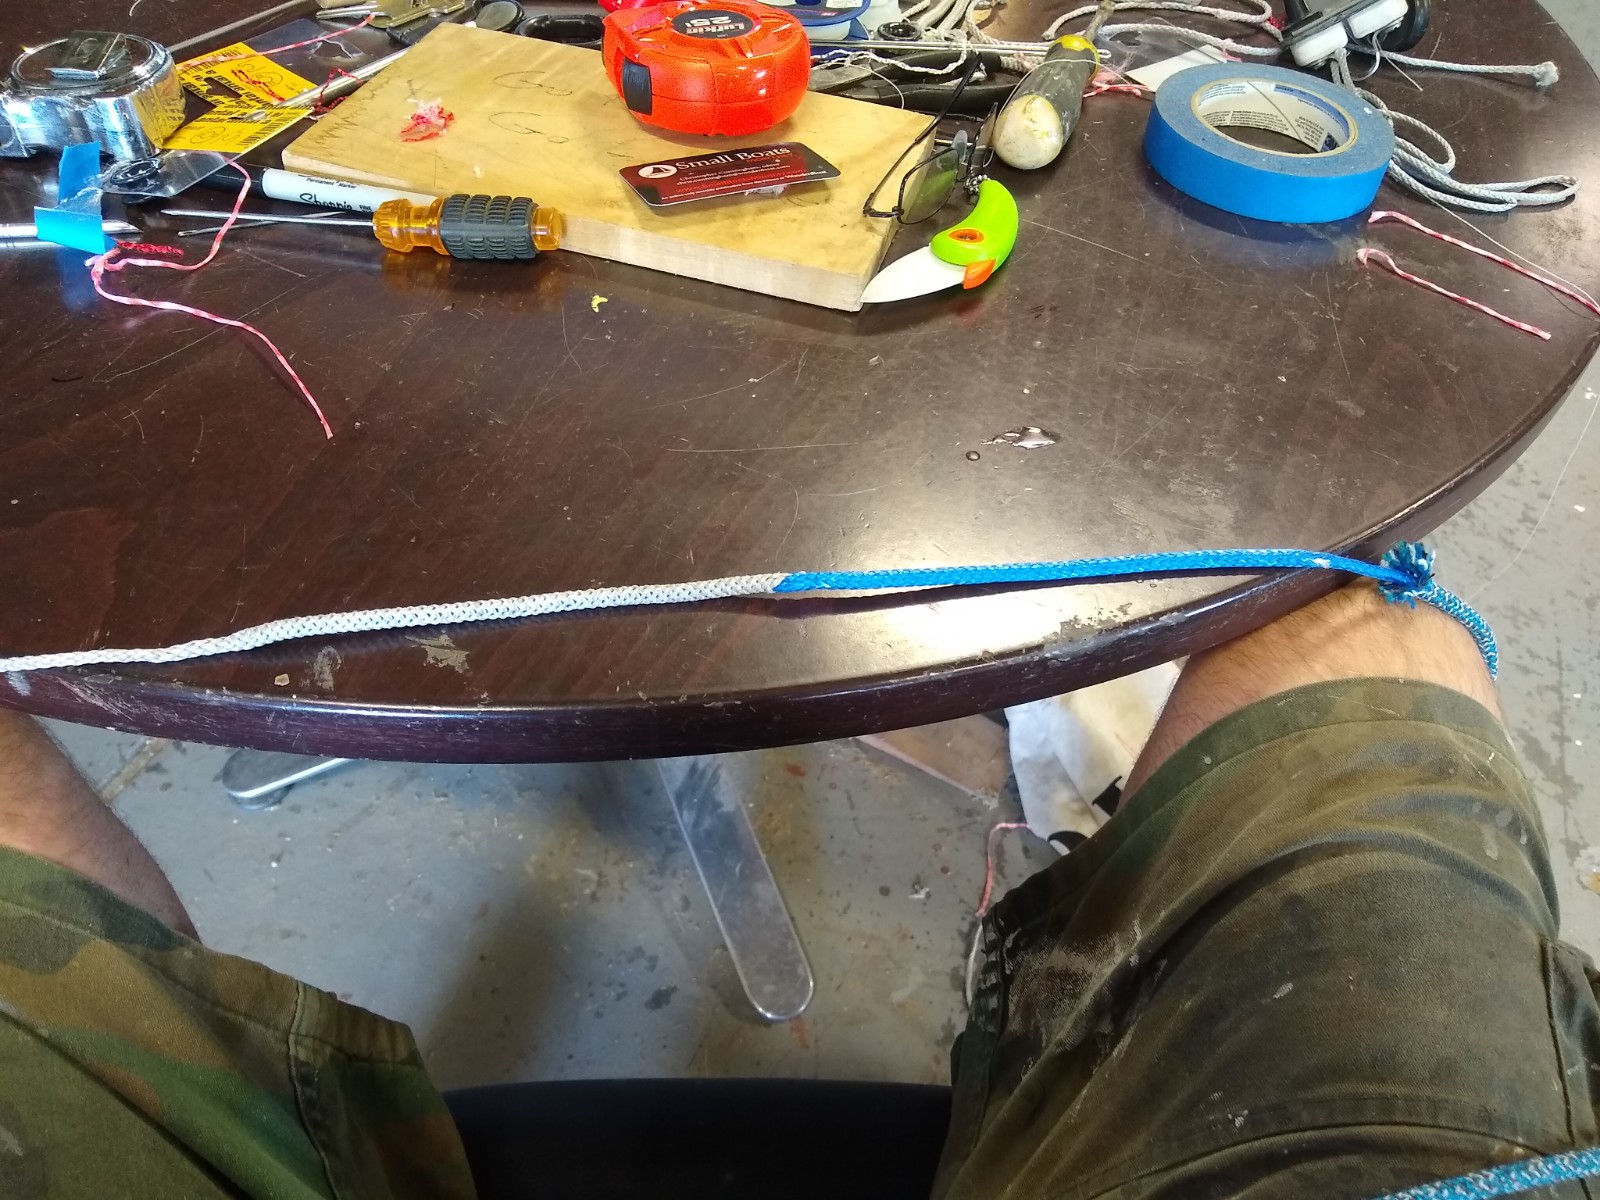
I then tied the end of the surrogate core onto the base of a heavy table and started sliding it back into place.
Once I got the ends of the lines to line up, I tied a knot in the end and milked towards the middle. I then had to double check how much I had stripped in the middle, and after a little adjustment I was where I wanted to be. I lock stitched the core to the cover where the taper was to begin. and had this in the middle of my line, ready to insert into the core and taper back.
once I had it tapered, I flipped the line over and tied the end I had worked at first to the table, and milked the final end to get the cover back on tight with the core. after that, I whipped both ends and I was ready to go.
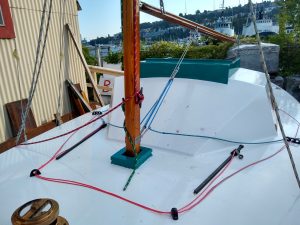
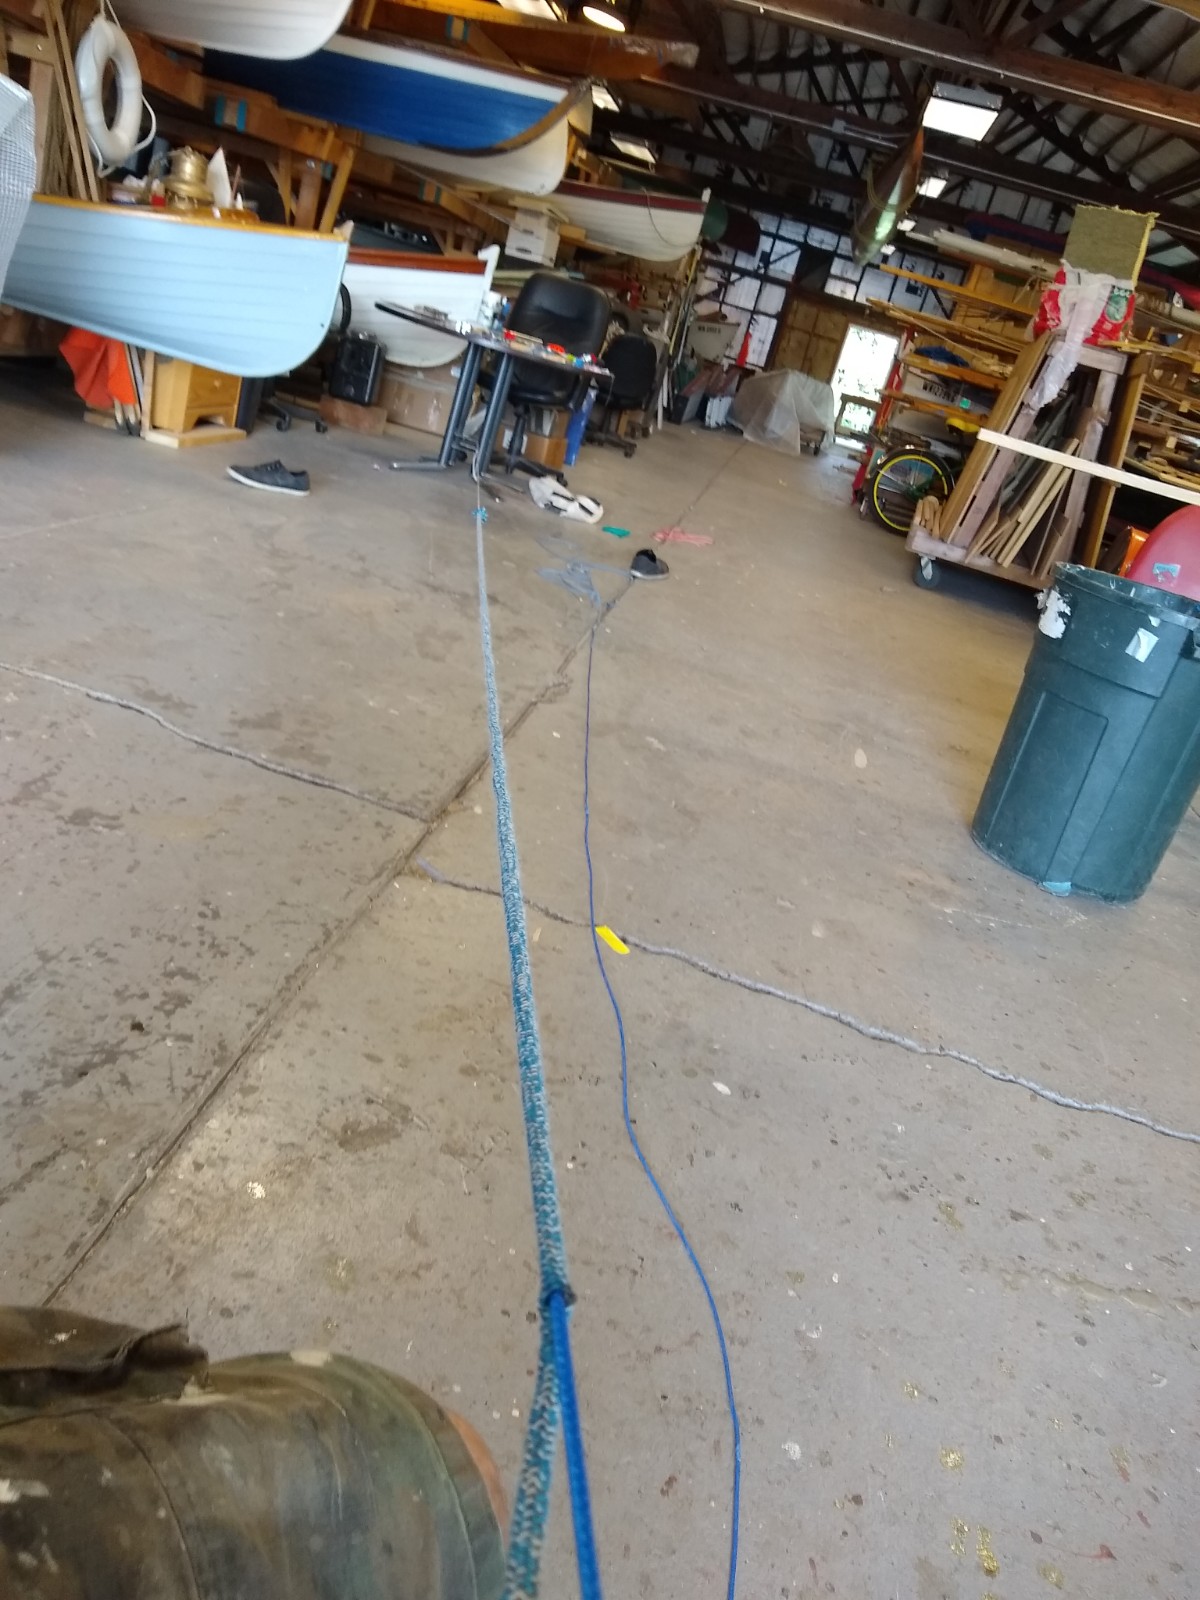
And here is the final result:
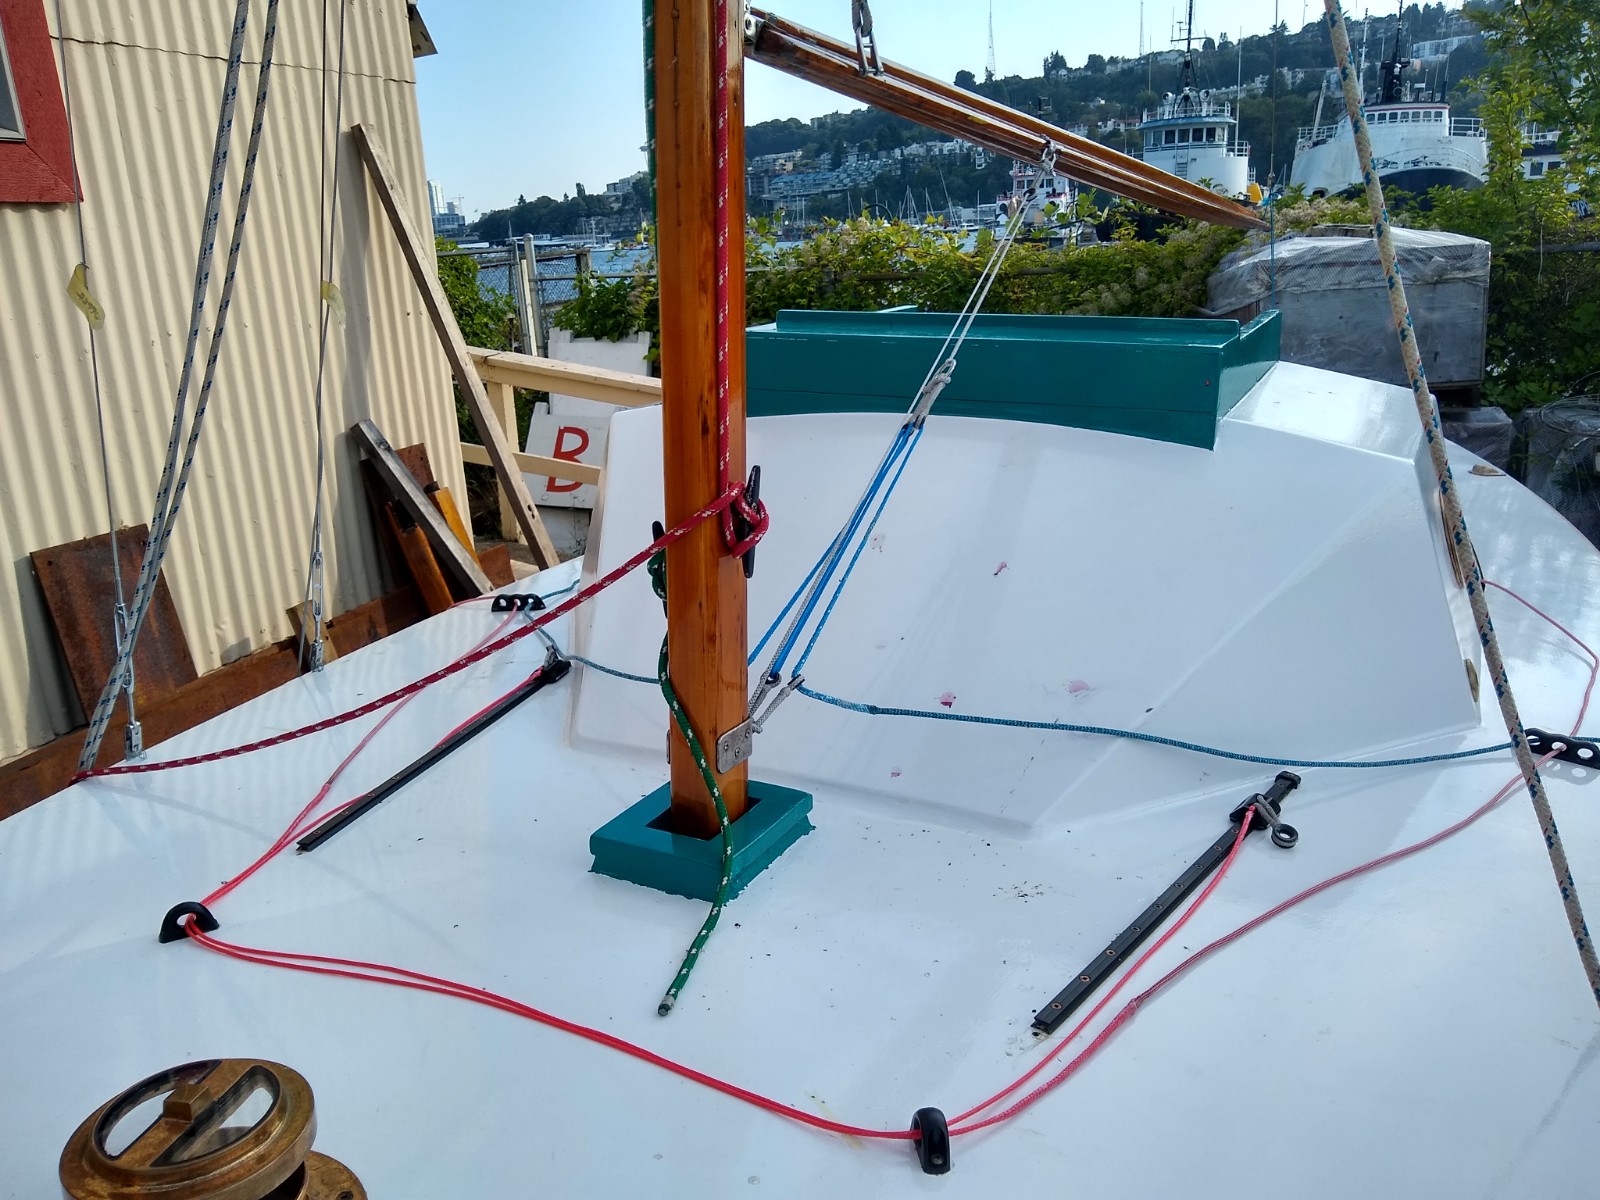
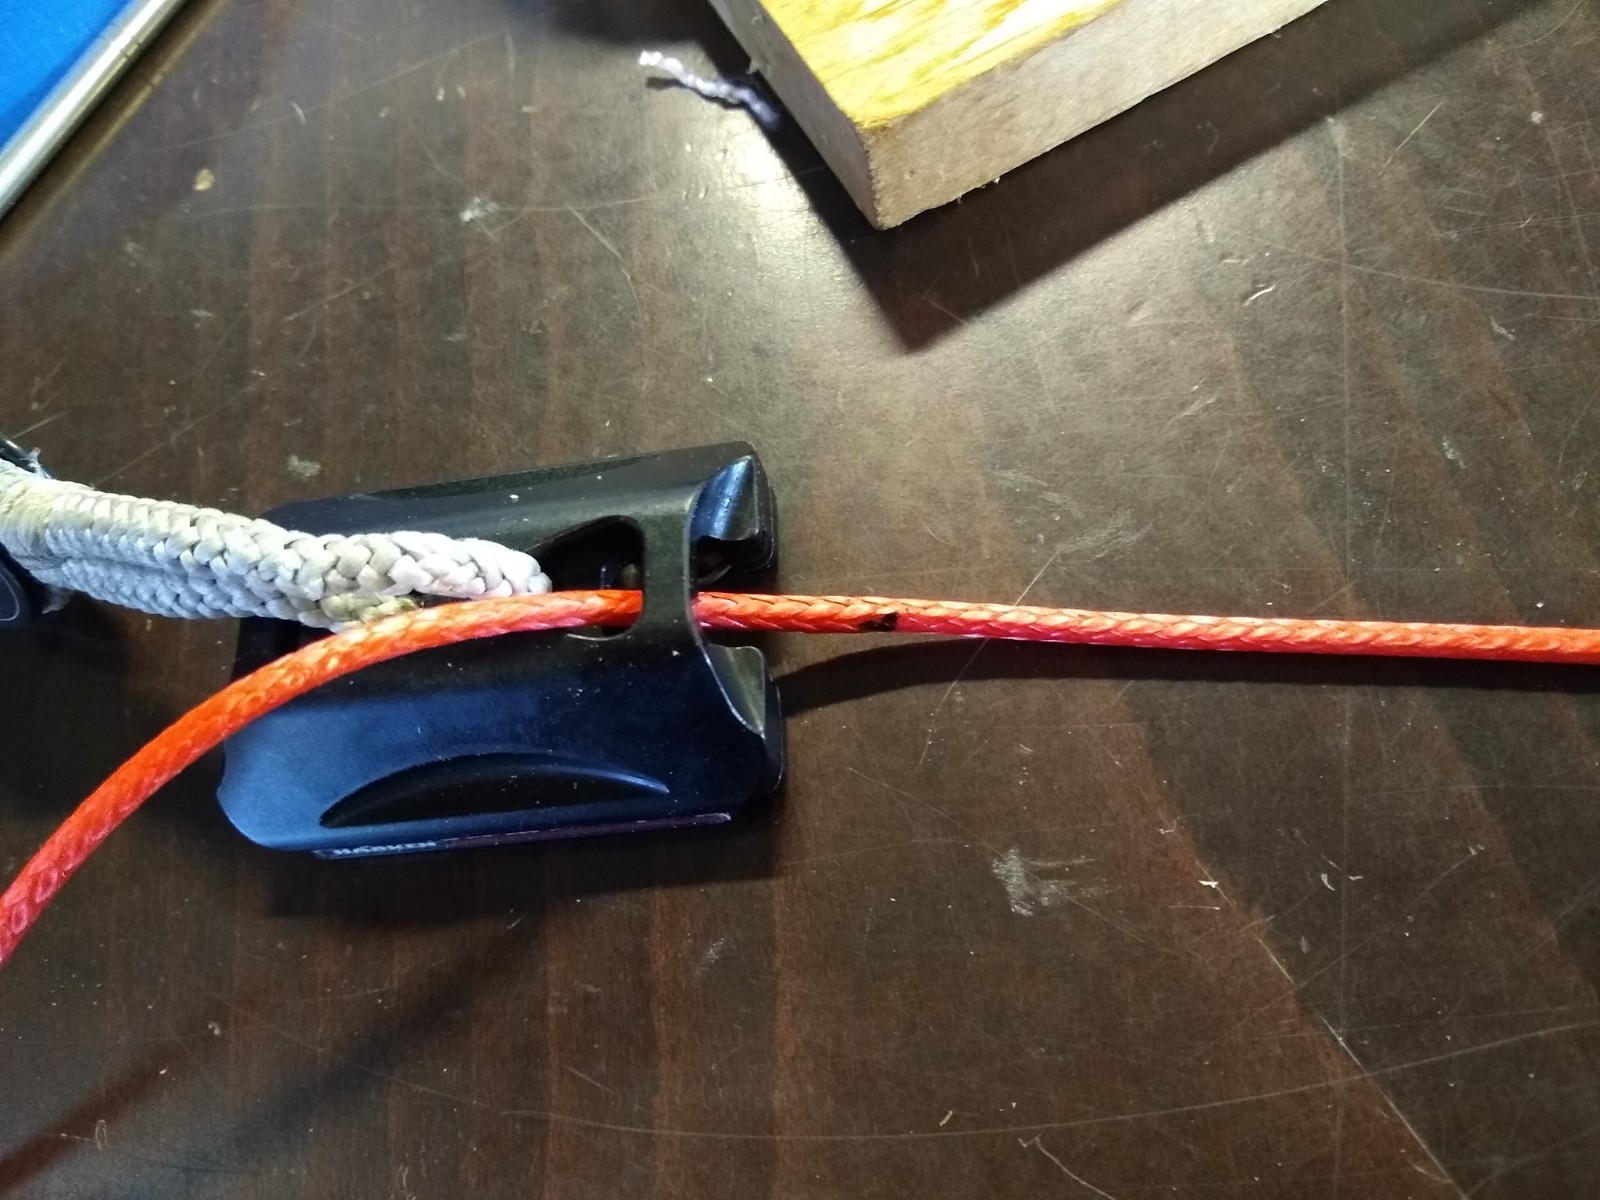
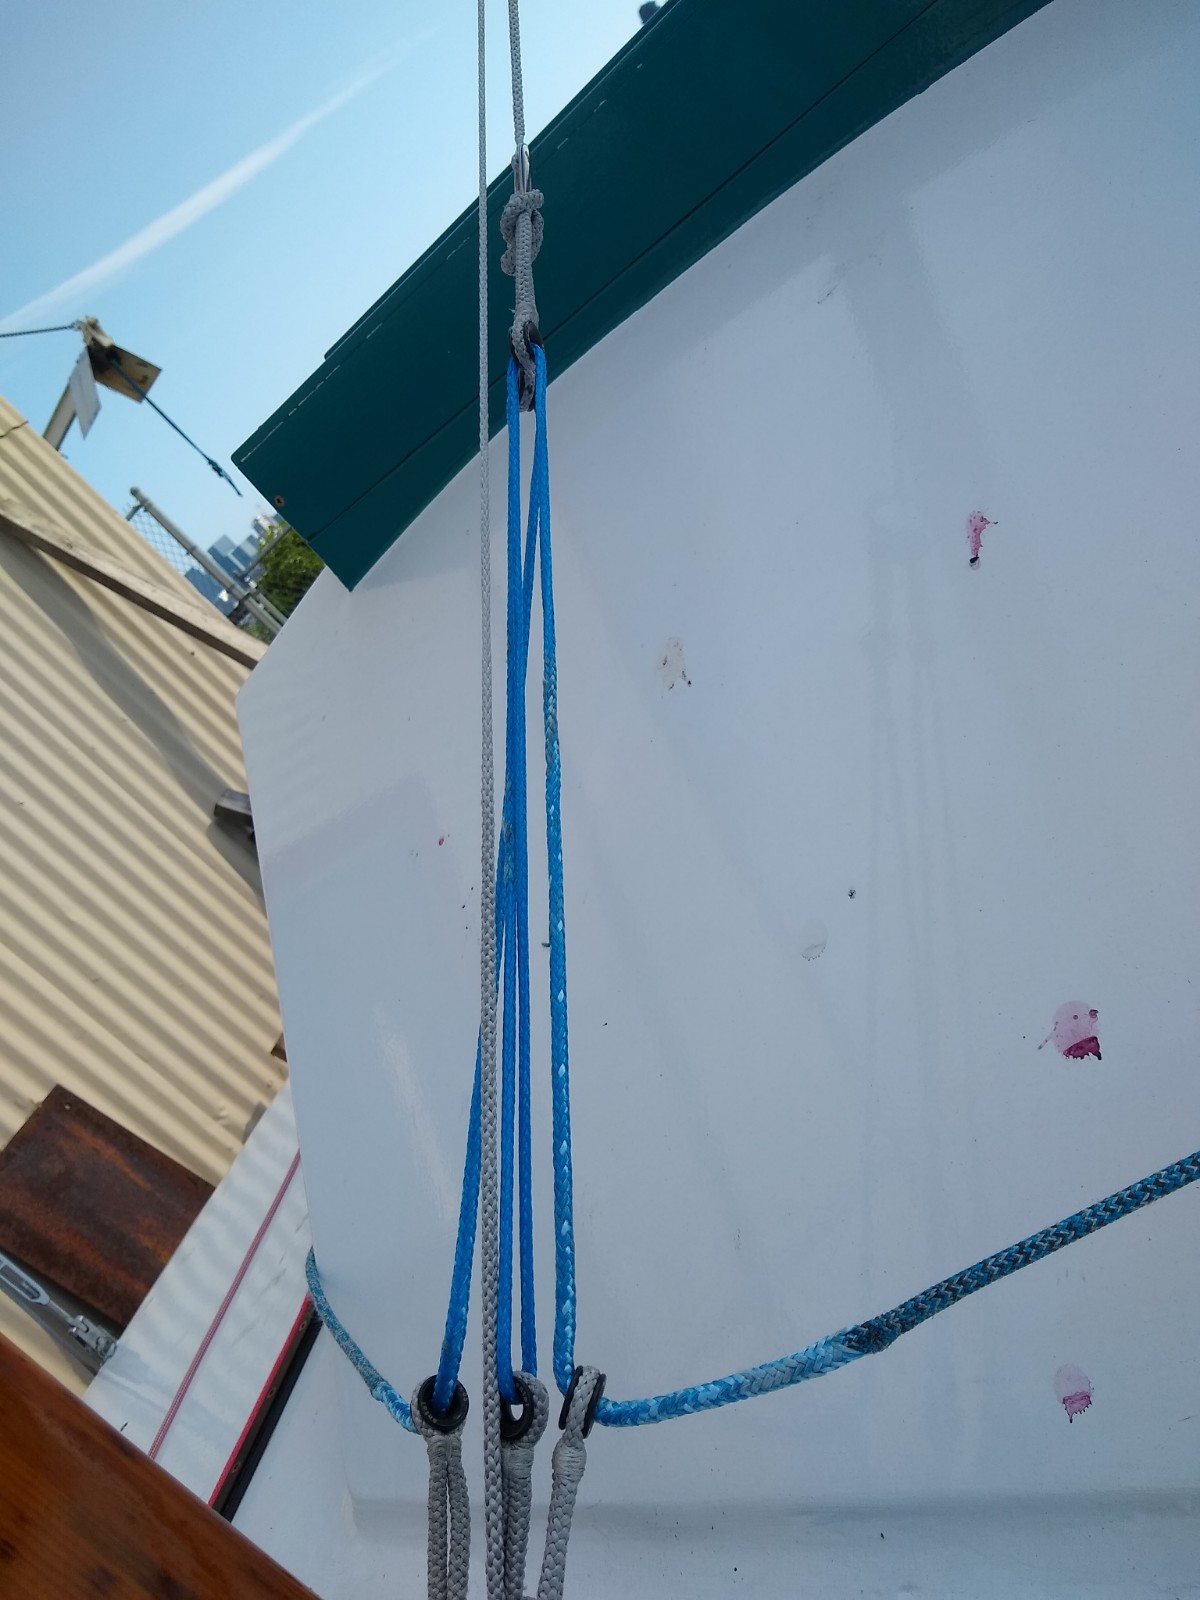
You can see the jib cars with their adjustment lines and the boom vang line routed thru the aluminum rings. Here’s a closeup of the Vang:
It’s nicely done, and should serve well. I am a hair concerned I may be loosing a little advantage due to friction, but then again, with an 8:1 I guess I could manage even if I loose a little; my Catalina 30 had a 4:1 from the factory.
Things are getting close; I have about four weeks till the wooden boat festival; I managed to sell off a scooter part I had in storage to fund the parts for this ropework; hopefully I can scrape together the ~$400 I need to get it sailable before the festival.
Hopefully you’ll hear from me soon, with more progress.