there’s been not alot of posting, but alot of progress nonetheless
So to recap:
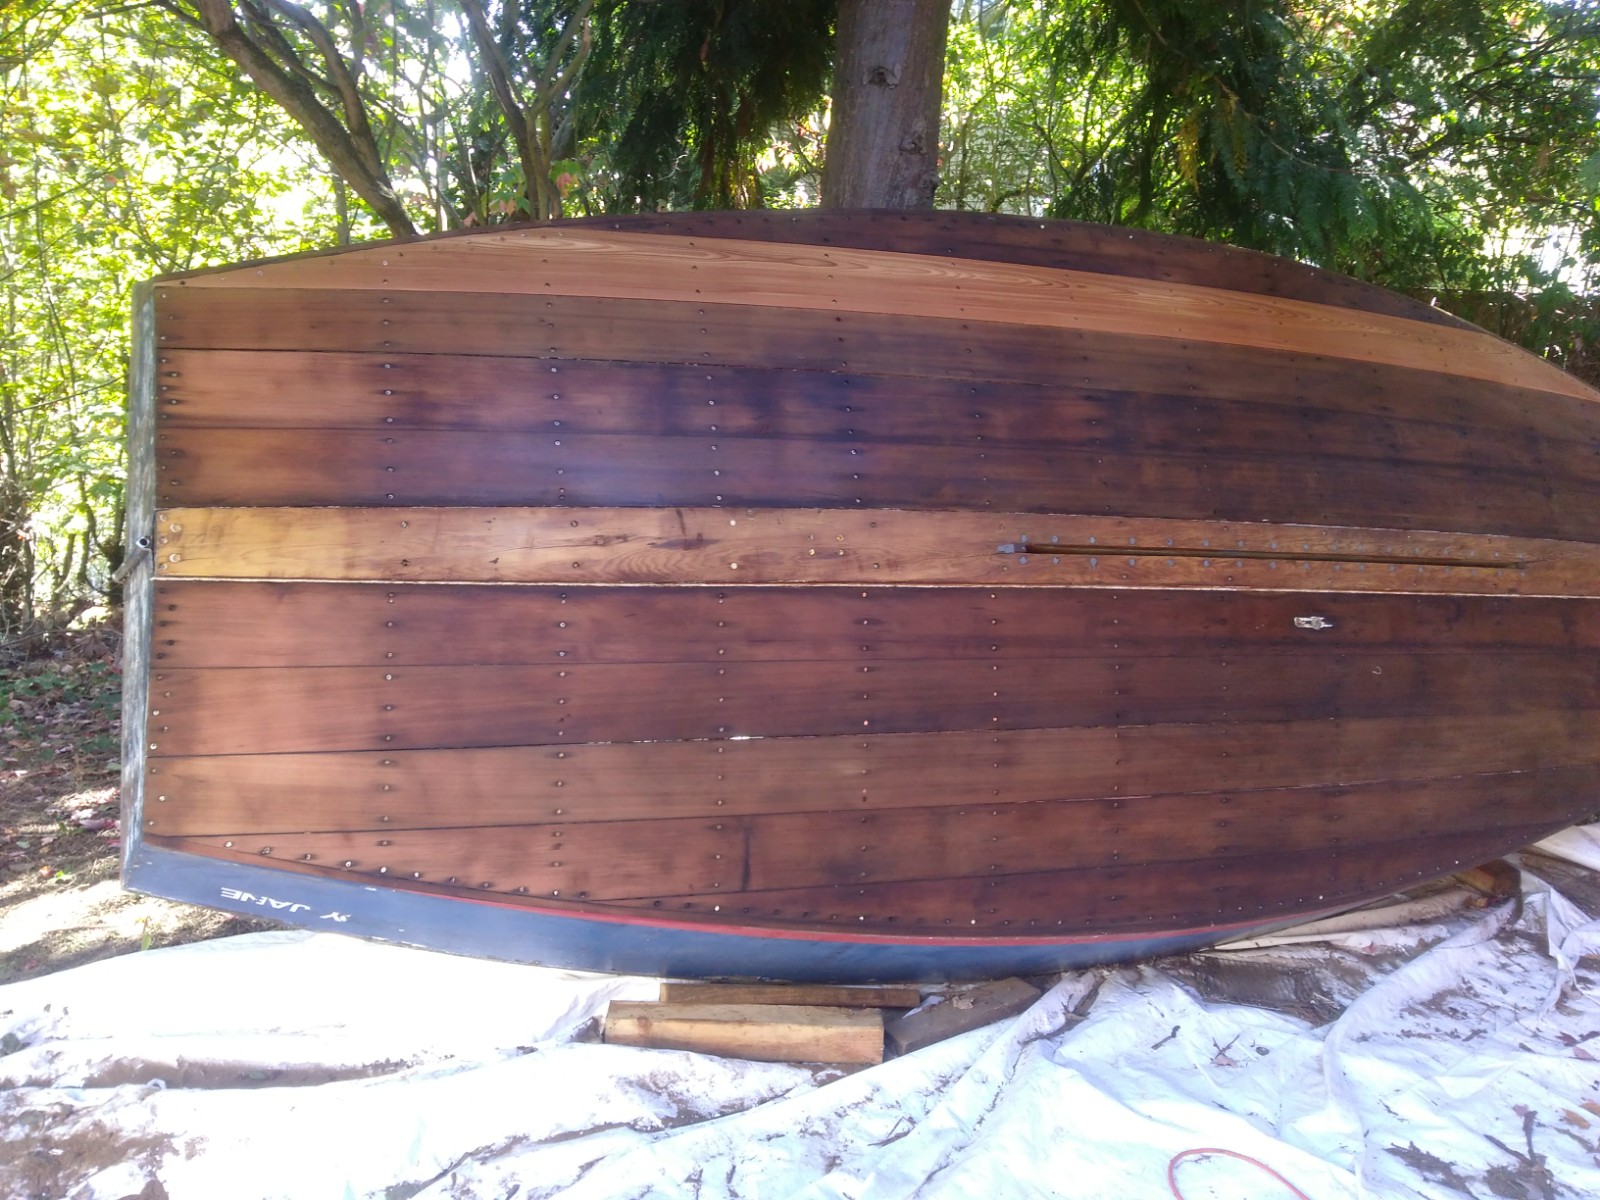
I did a solvent wipe of the entire bottom with brushing thinner.
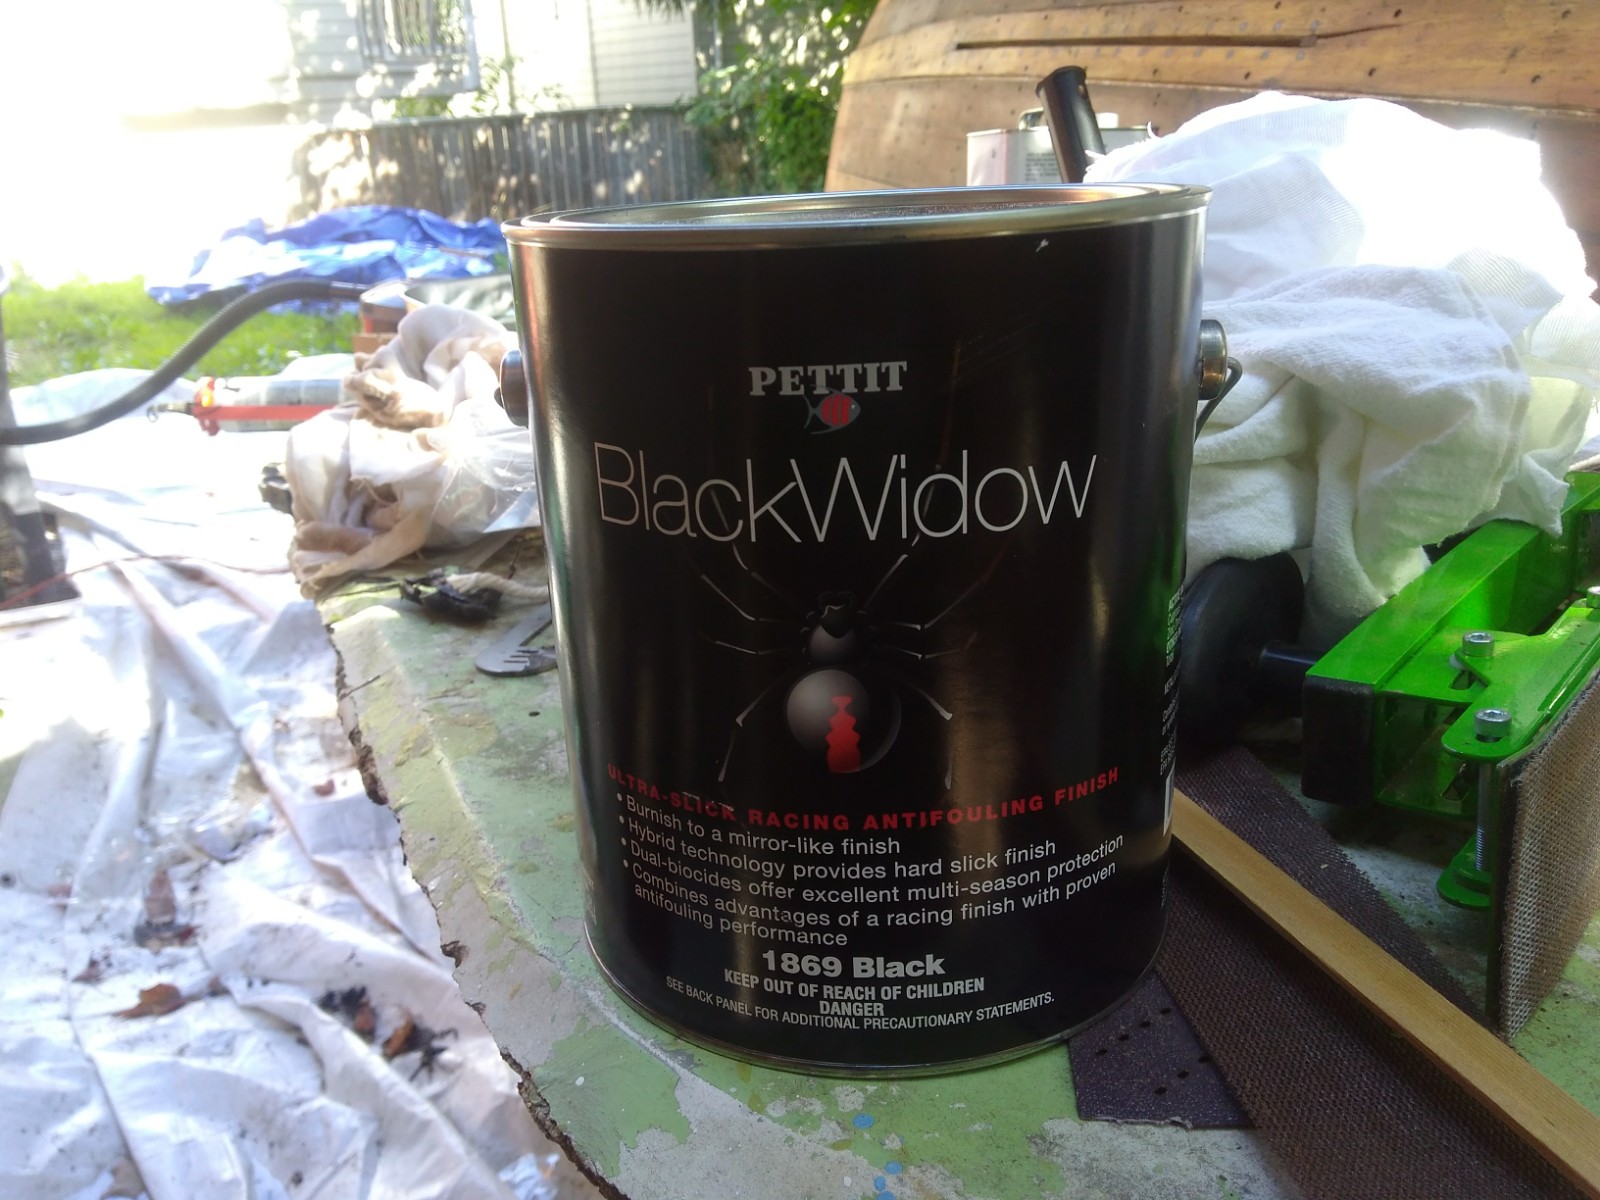
I decided to go with pettit ‘Black Widow’. This is a Hard bottom paint, a non ablative. it’s loaded with stuff to make it polishable and slippery. And spiders, I guess.
The advantages are that it won’t rub off all over my tailer bunks, and It also is one of the few non-ablative bottom paints that doesn’t loose it’s anti-fouling properties if you take it out of the water.
To use on bare wood, They recommended a wipe down with brushing thinner, then a primer coat that has been thinned 25%.
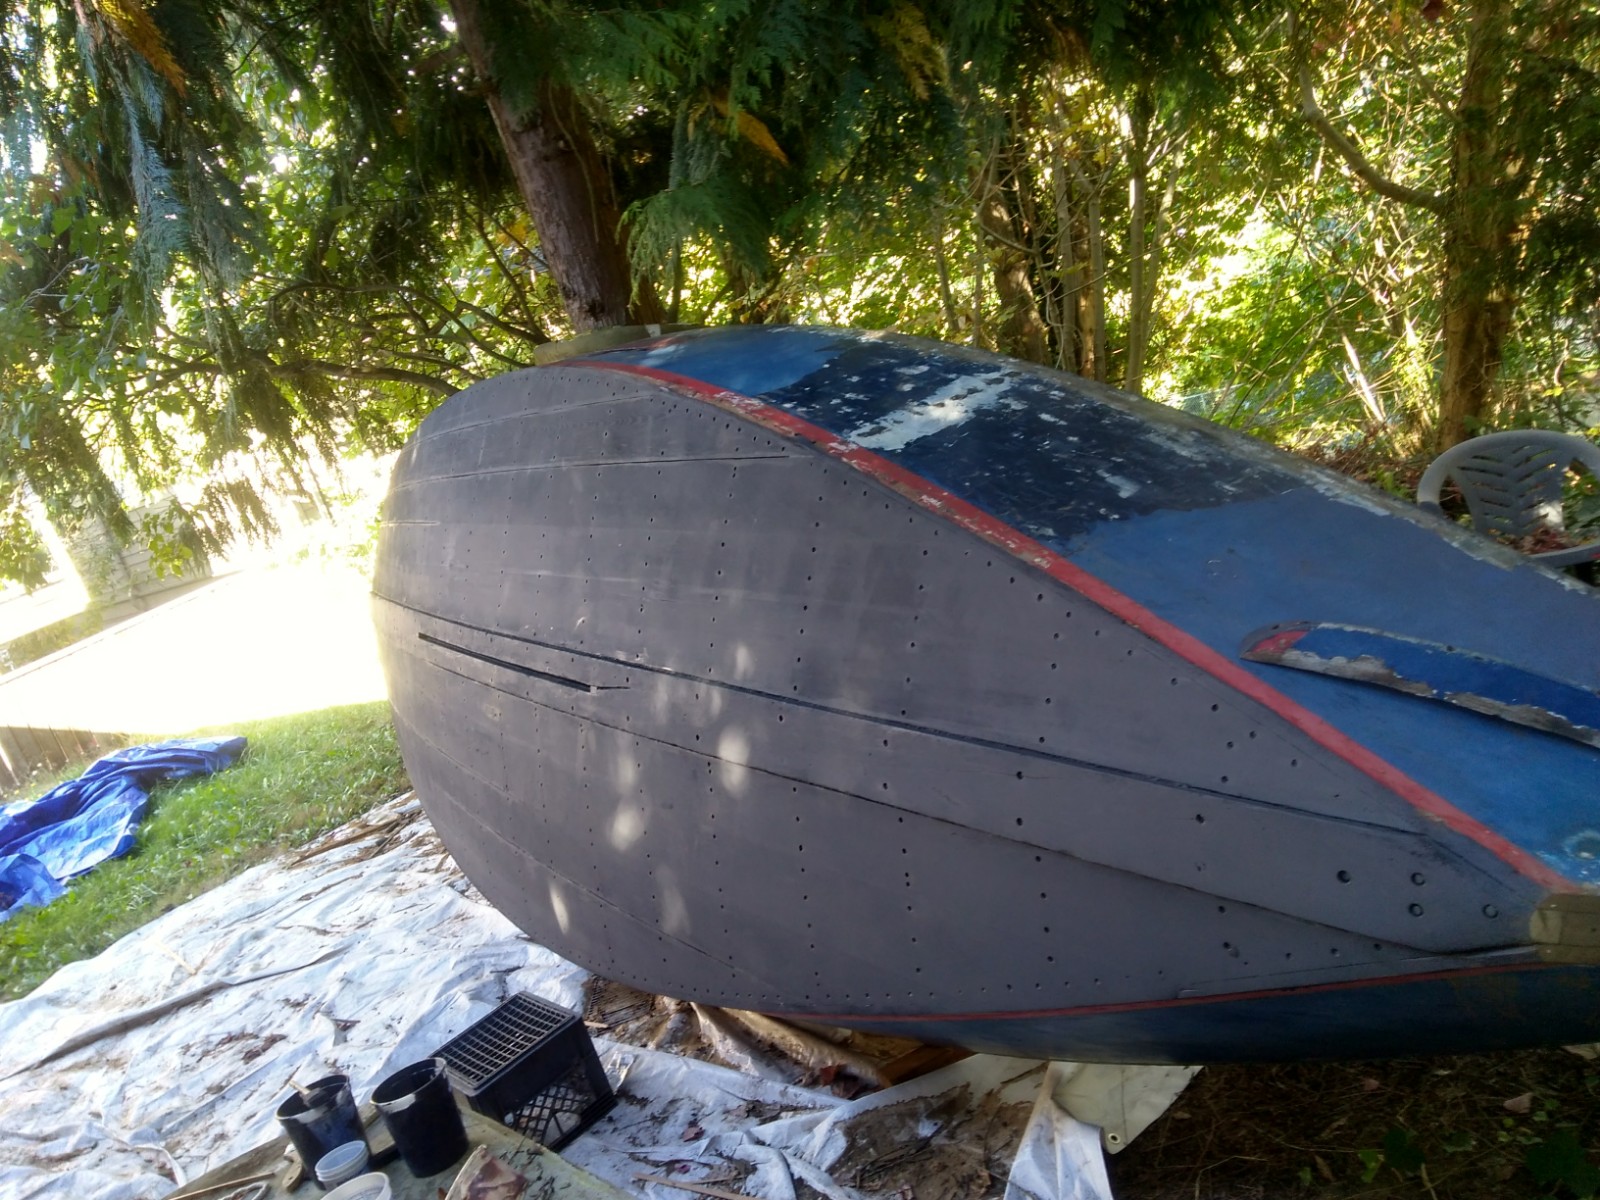
After primer, I had to pay out the seams with seam compound. I also decided to use this to fill the screw holes. I’m uncertain on how I feel about this decision, after having done this.
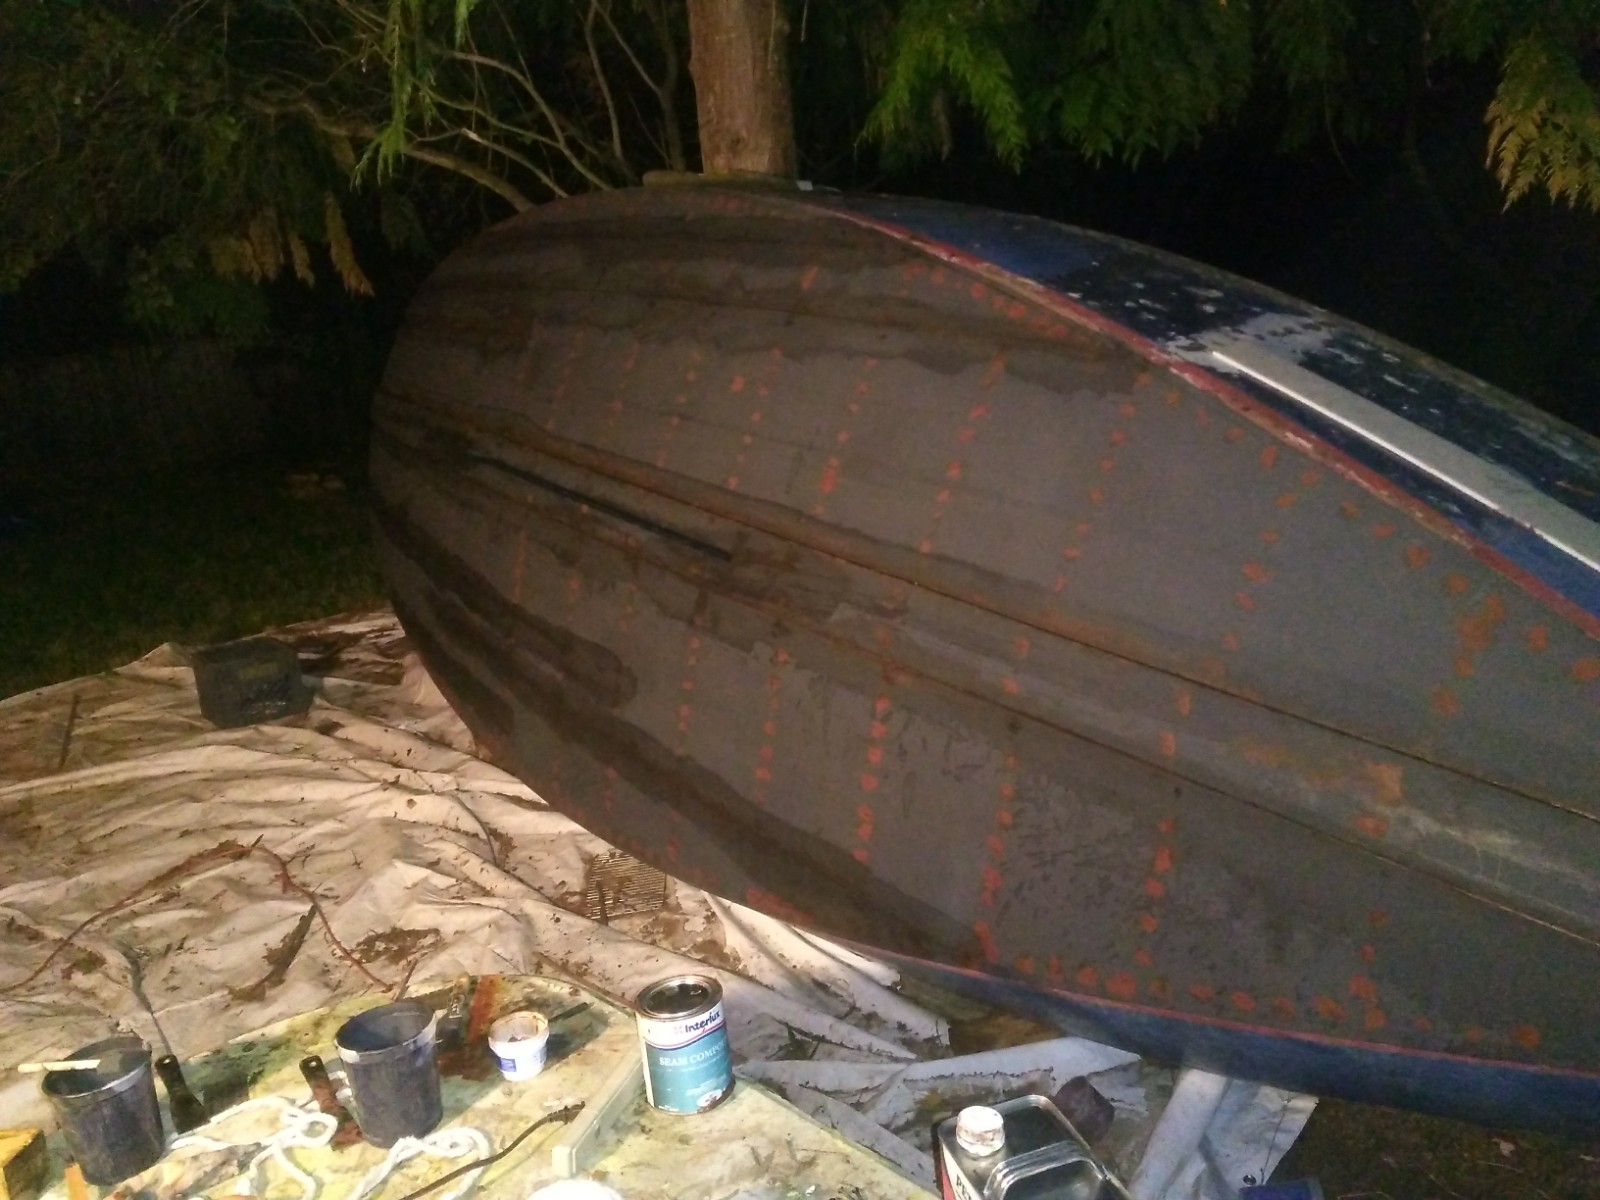

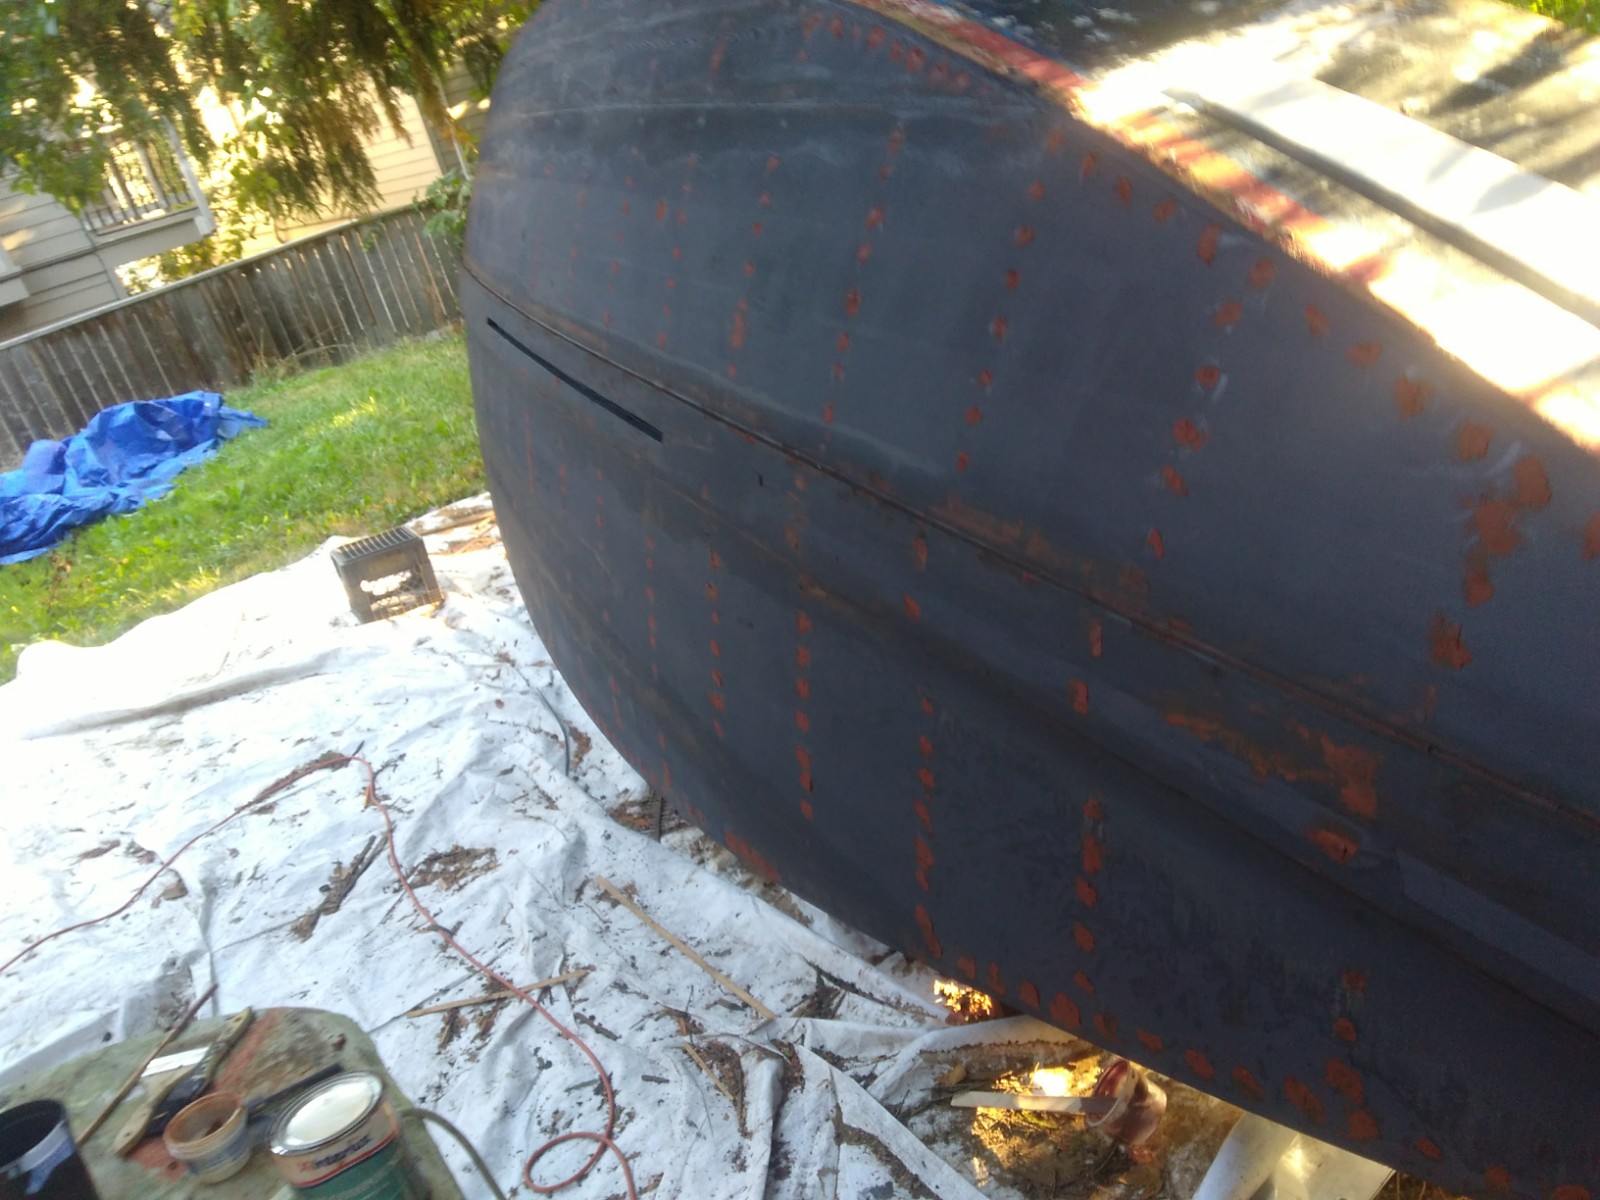
Then, it was three thin coats, applied with a 1/8 foam roller. I was agonizing over and analyzing the weather to make sure I got at least tolerable conditions for this; as this time of year it can be really hit or miss, with the rain and the short days and cold damp nights we get. Fortunately, i managed to get a few good days and get it done. i was worried at first, but once the second coat came on it really started to look good. I’ve decided to not burnish or polish it at this time; I’m just getting it in the garage now so it can cure over the winter and then I will burnish it in the spring before launching.

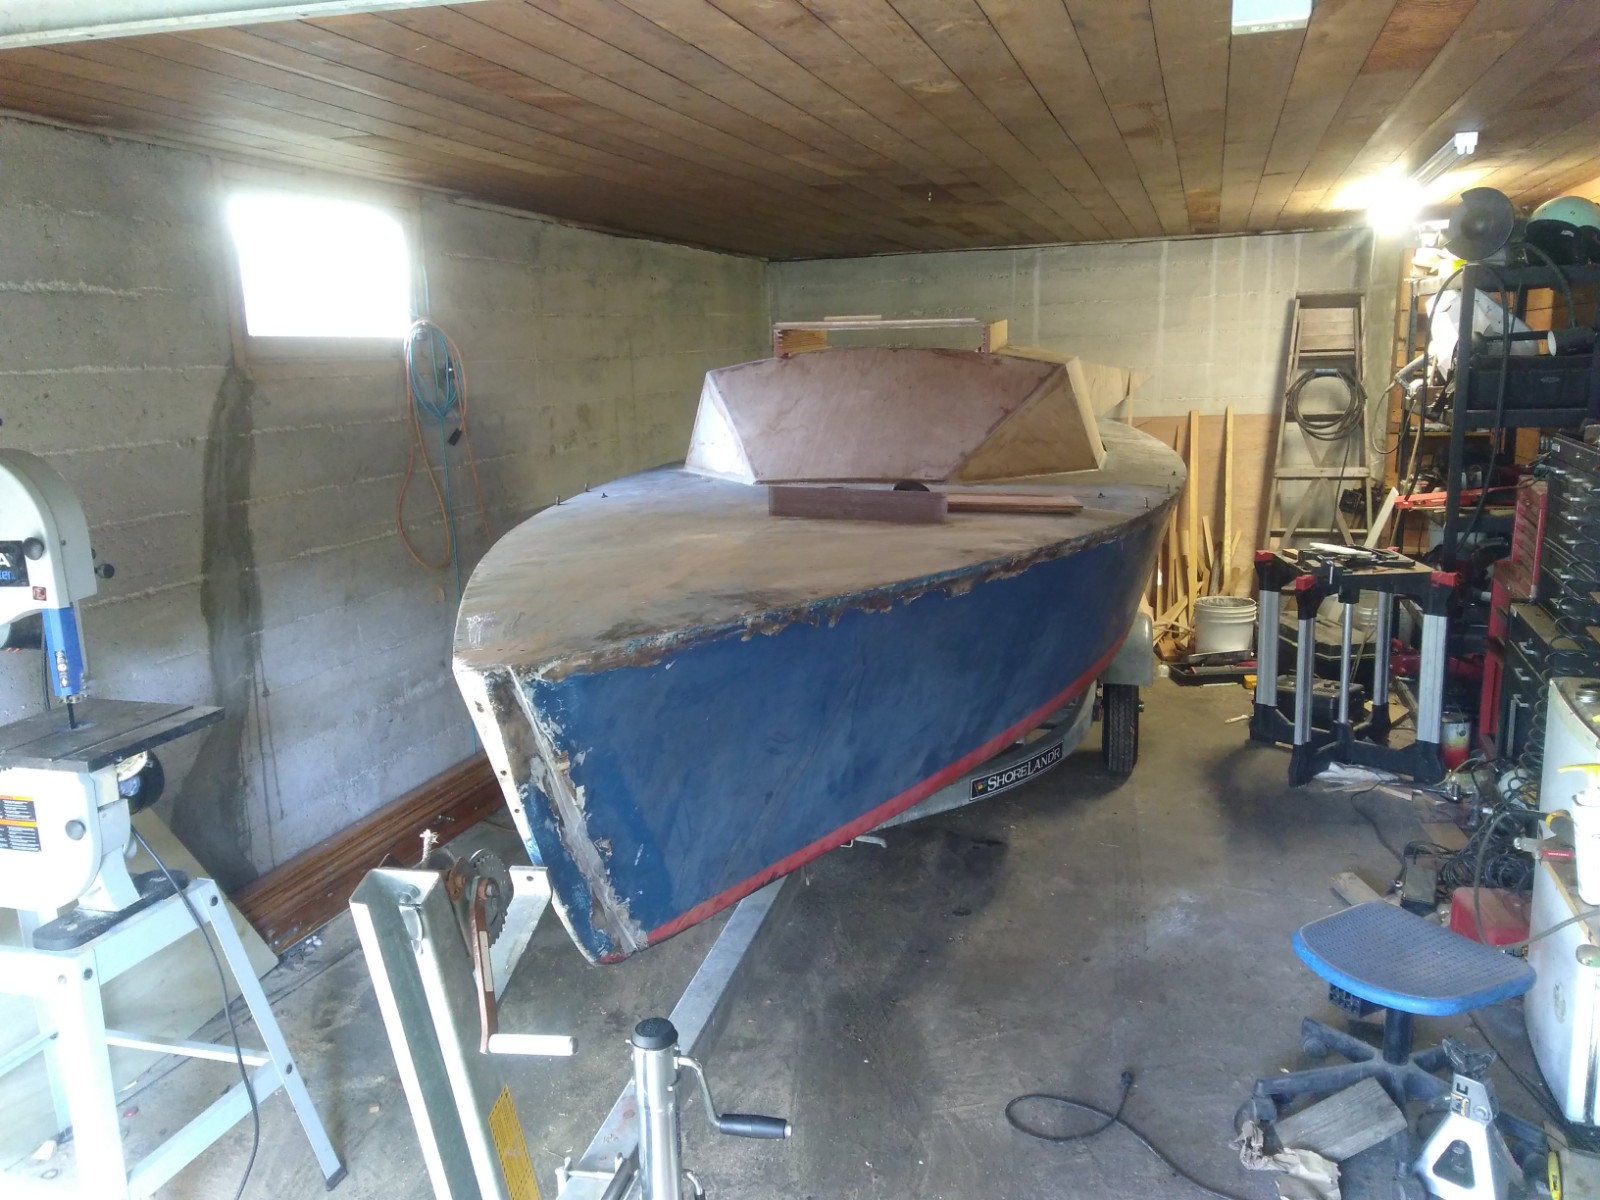
And now it is back in the garage; The den of sweet, sweet, independence from the weather.
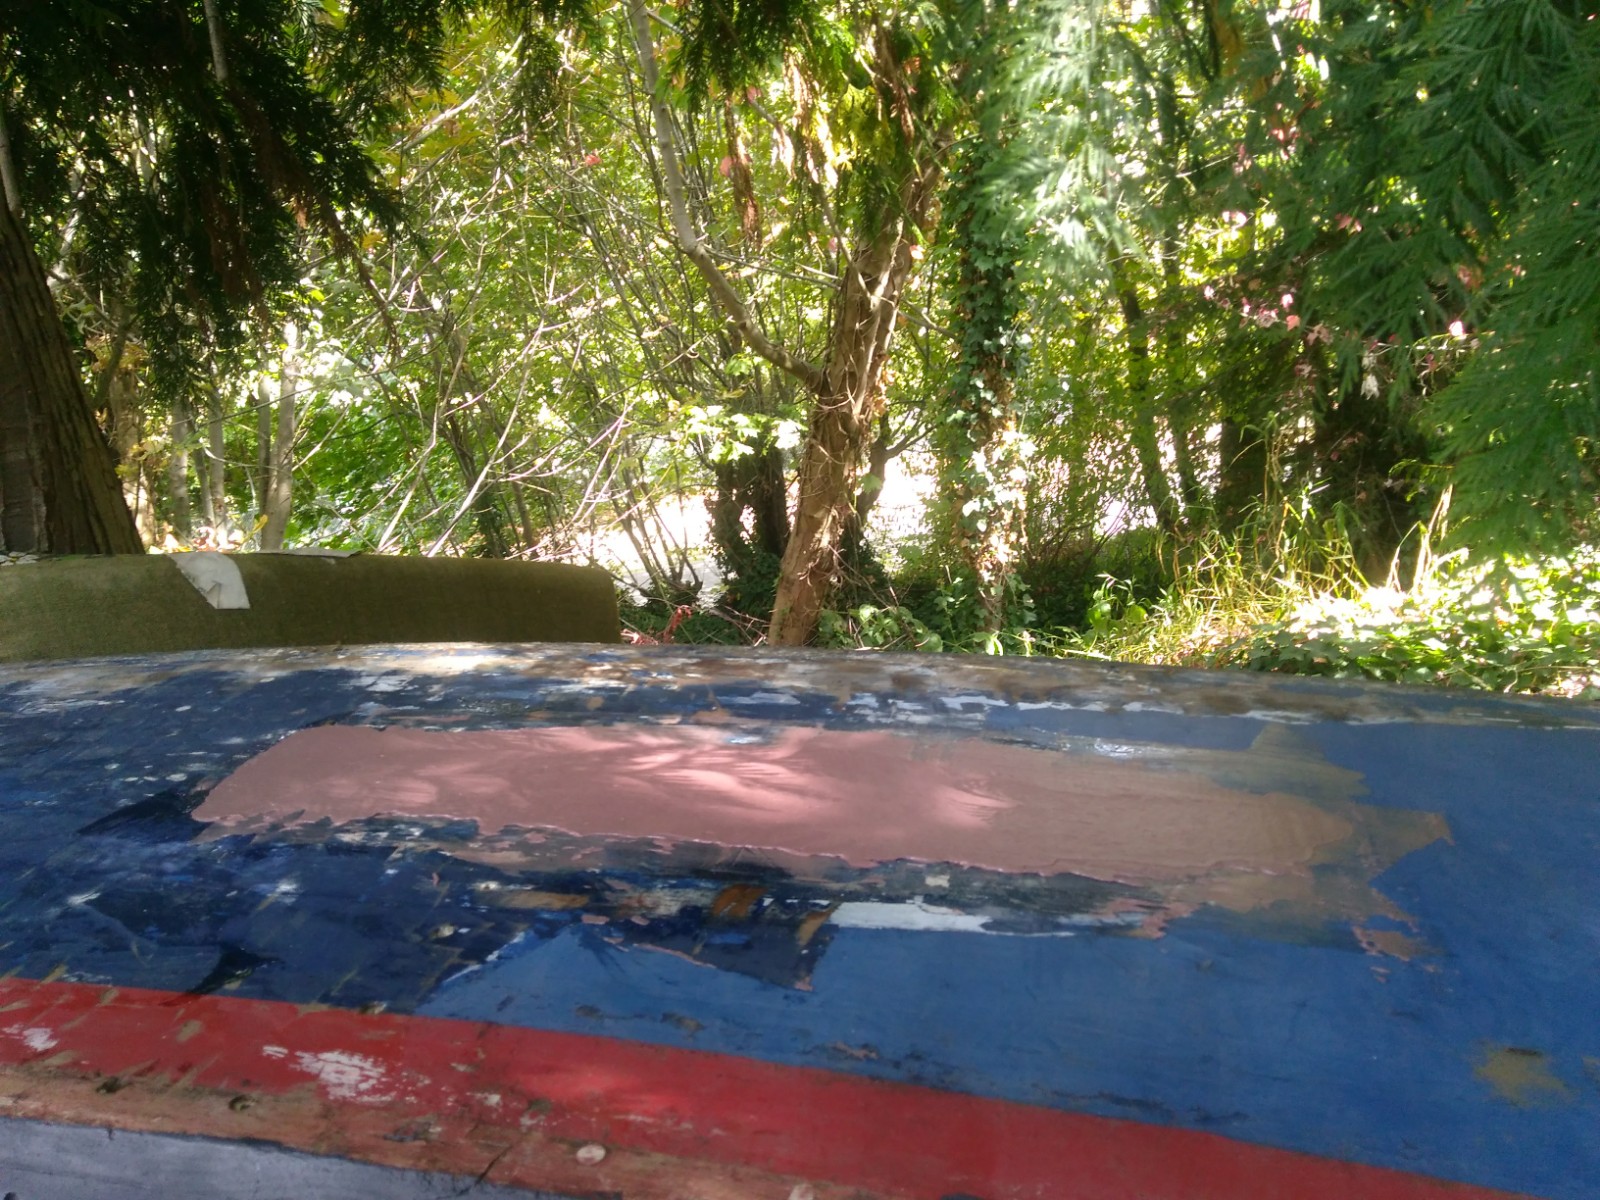
While it was outside on it’s side, I took advantage of this and also addressed the dock rash it had on the side.
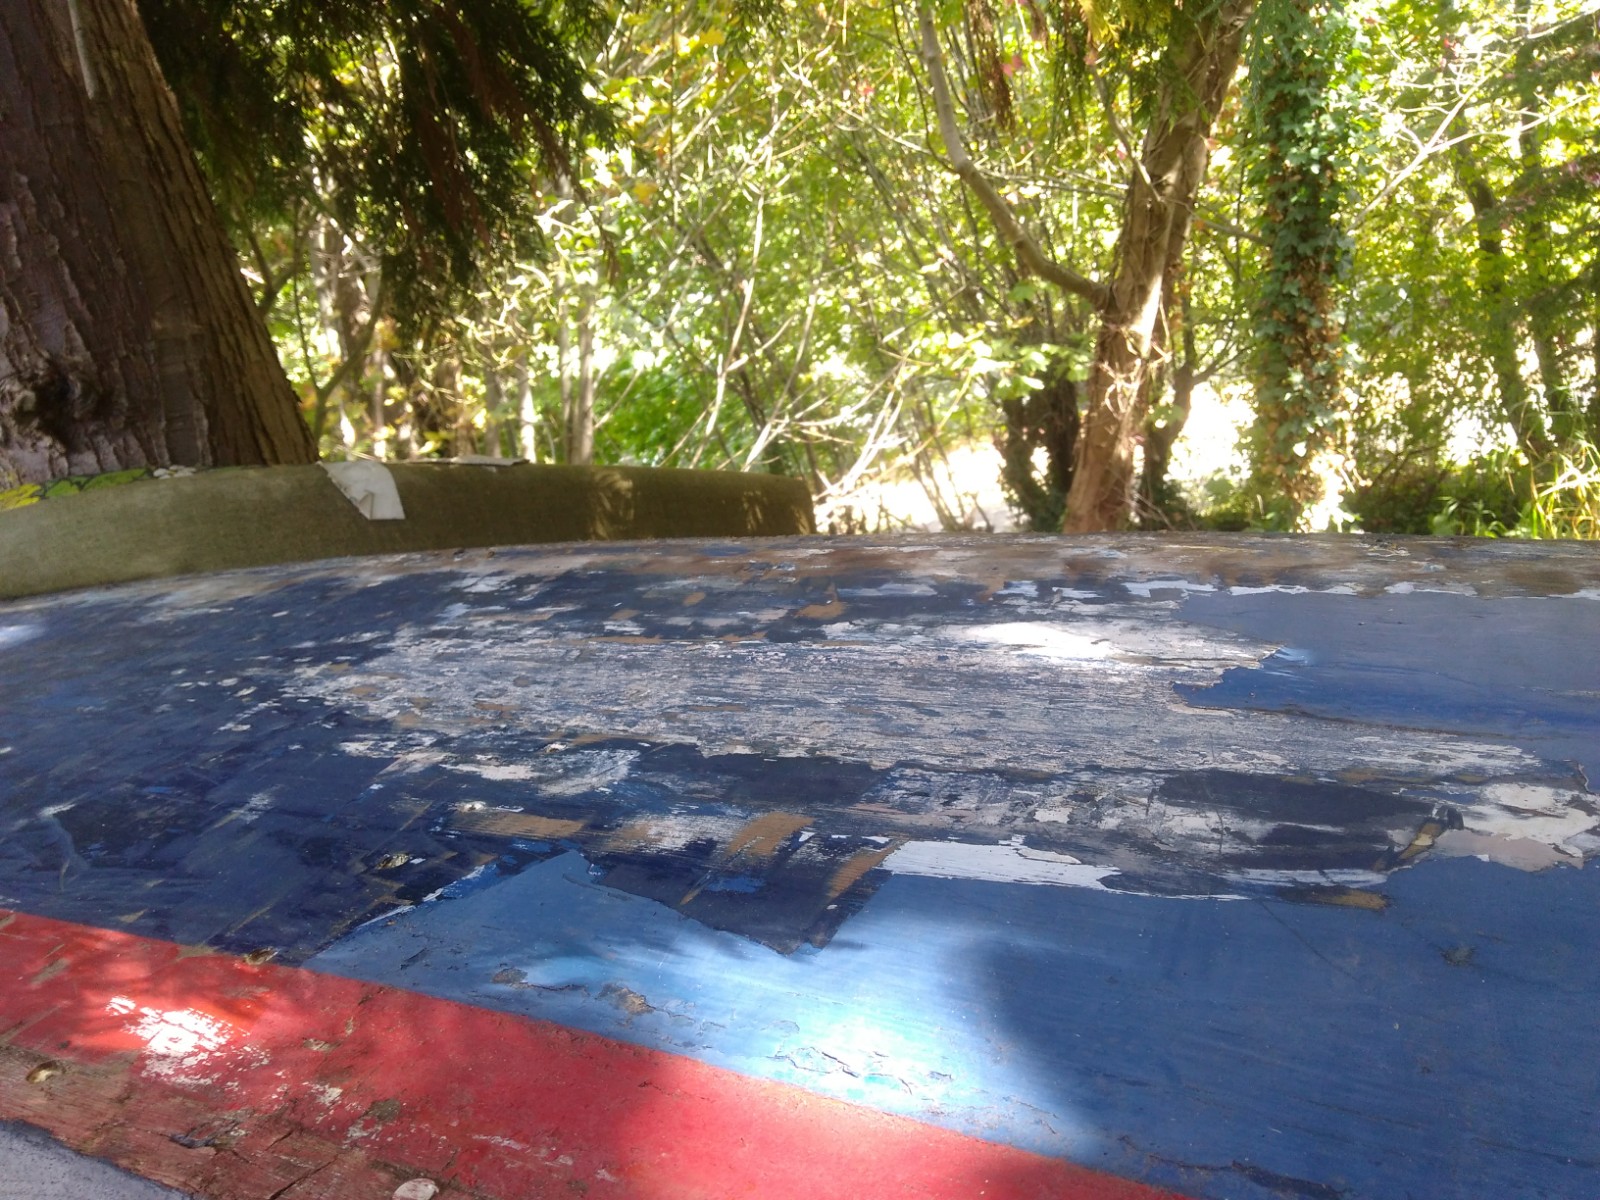
I tried to get it close, but a little proud by using this HDPE offcut.
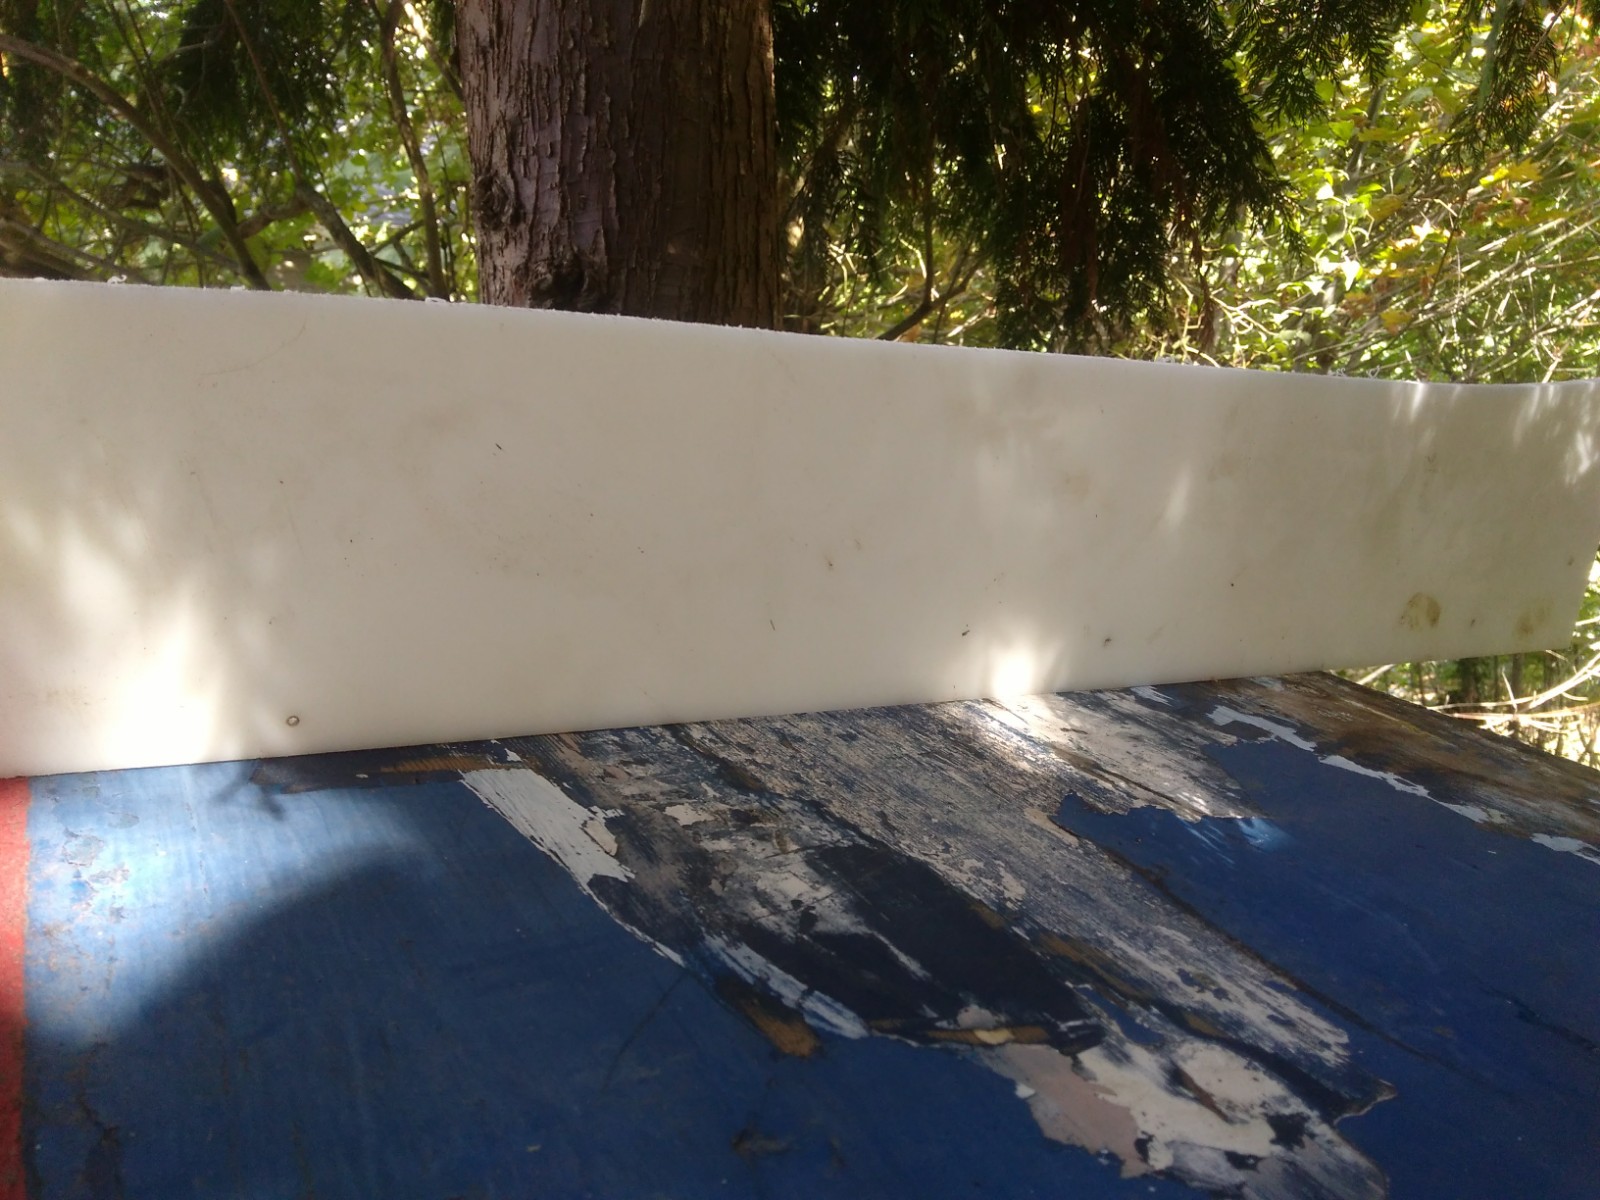
It went pretty well. Once I start faring and sanding and prepping for paint i’ll work this with the sander and it should look like it never happened.
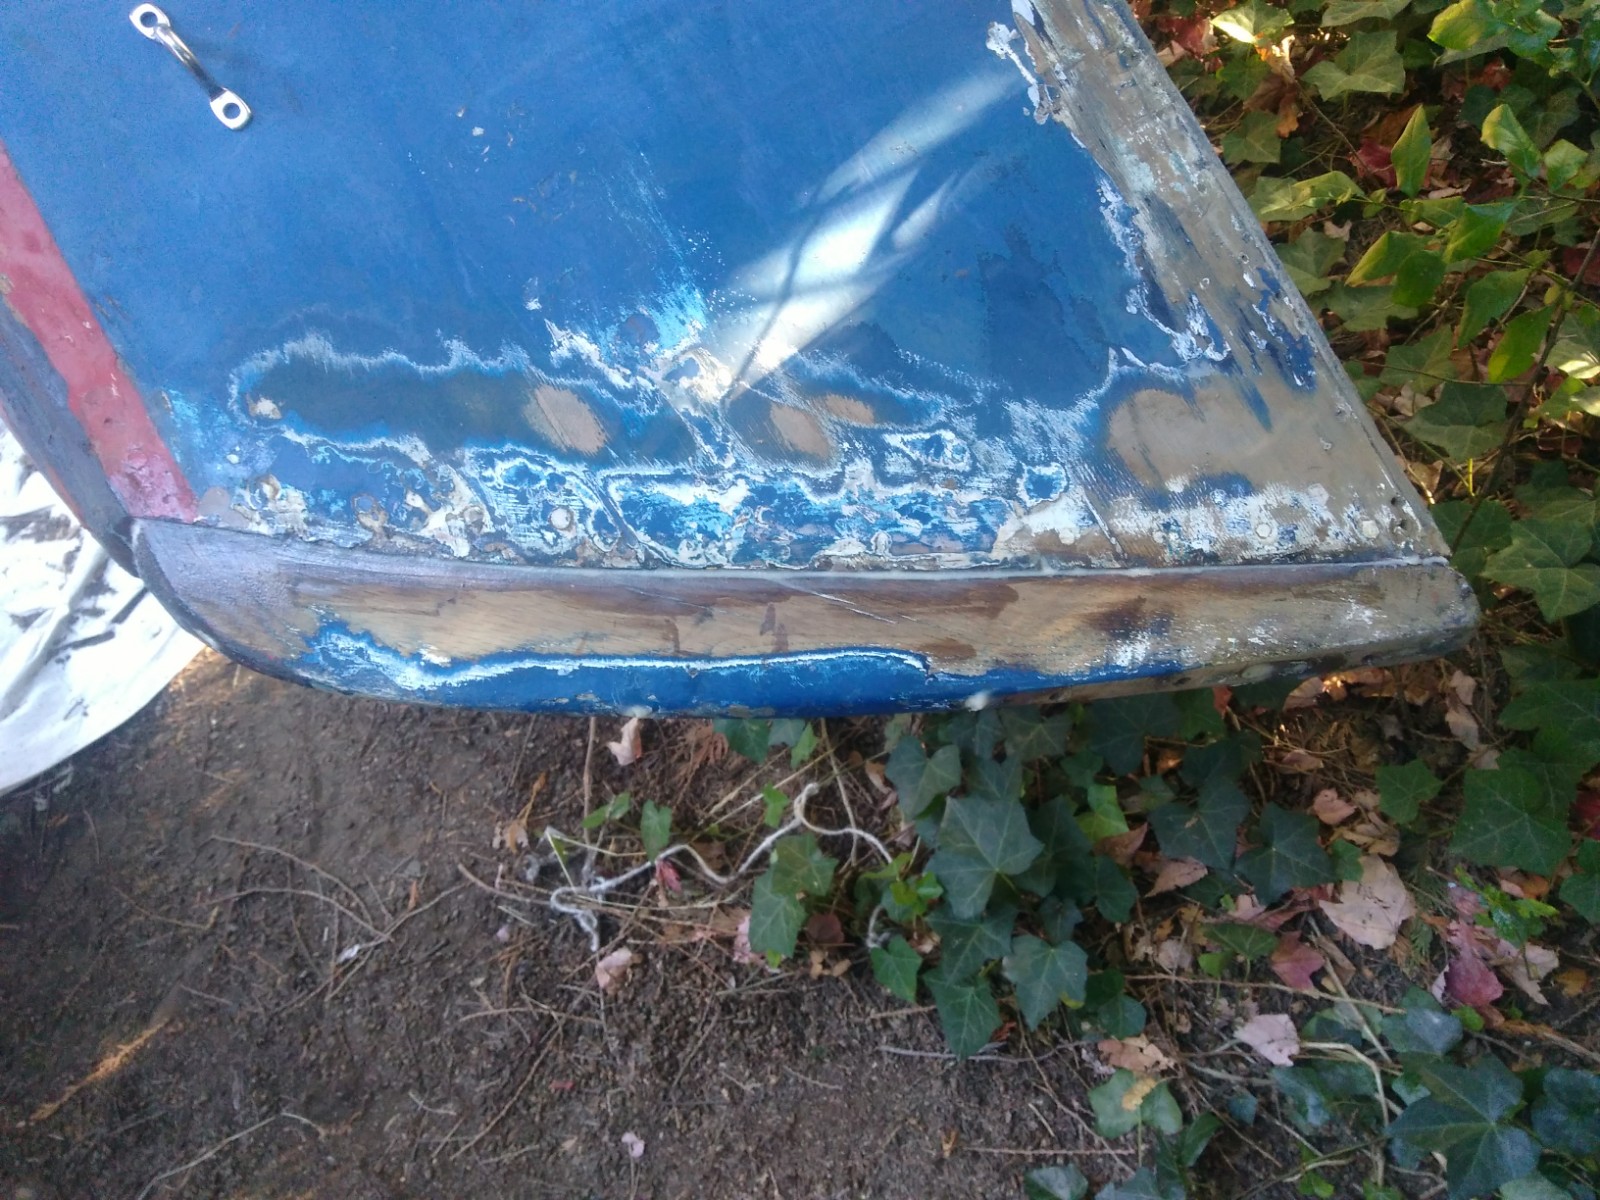
I also found that the stem had issues I wanted to fix. You see, there are two options for doing a stem on this boat. one is to carve it out of a single piece of wood, the other is to do it in two parts and screw them together. This boat was built with a two-piece stem.
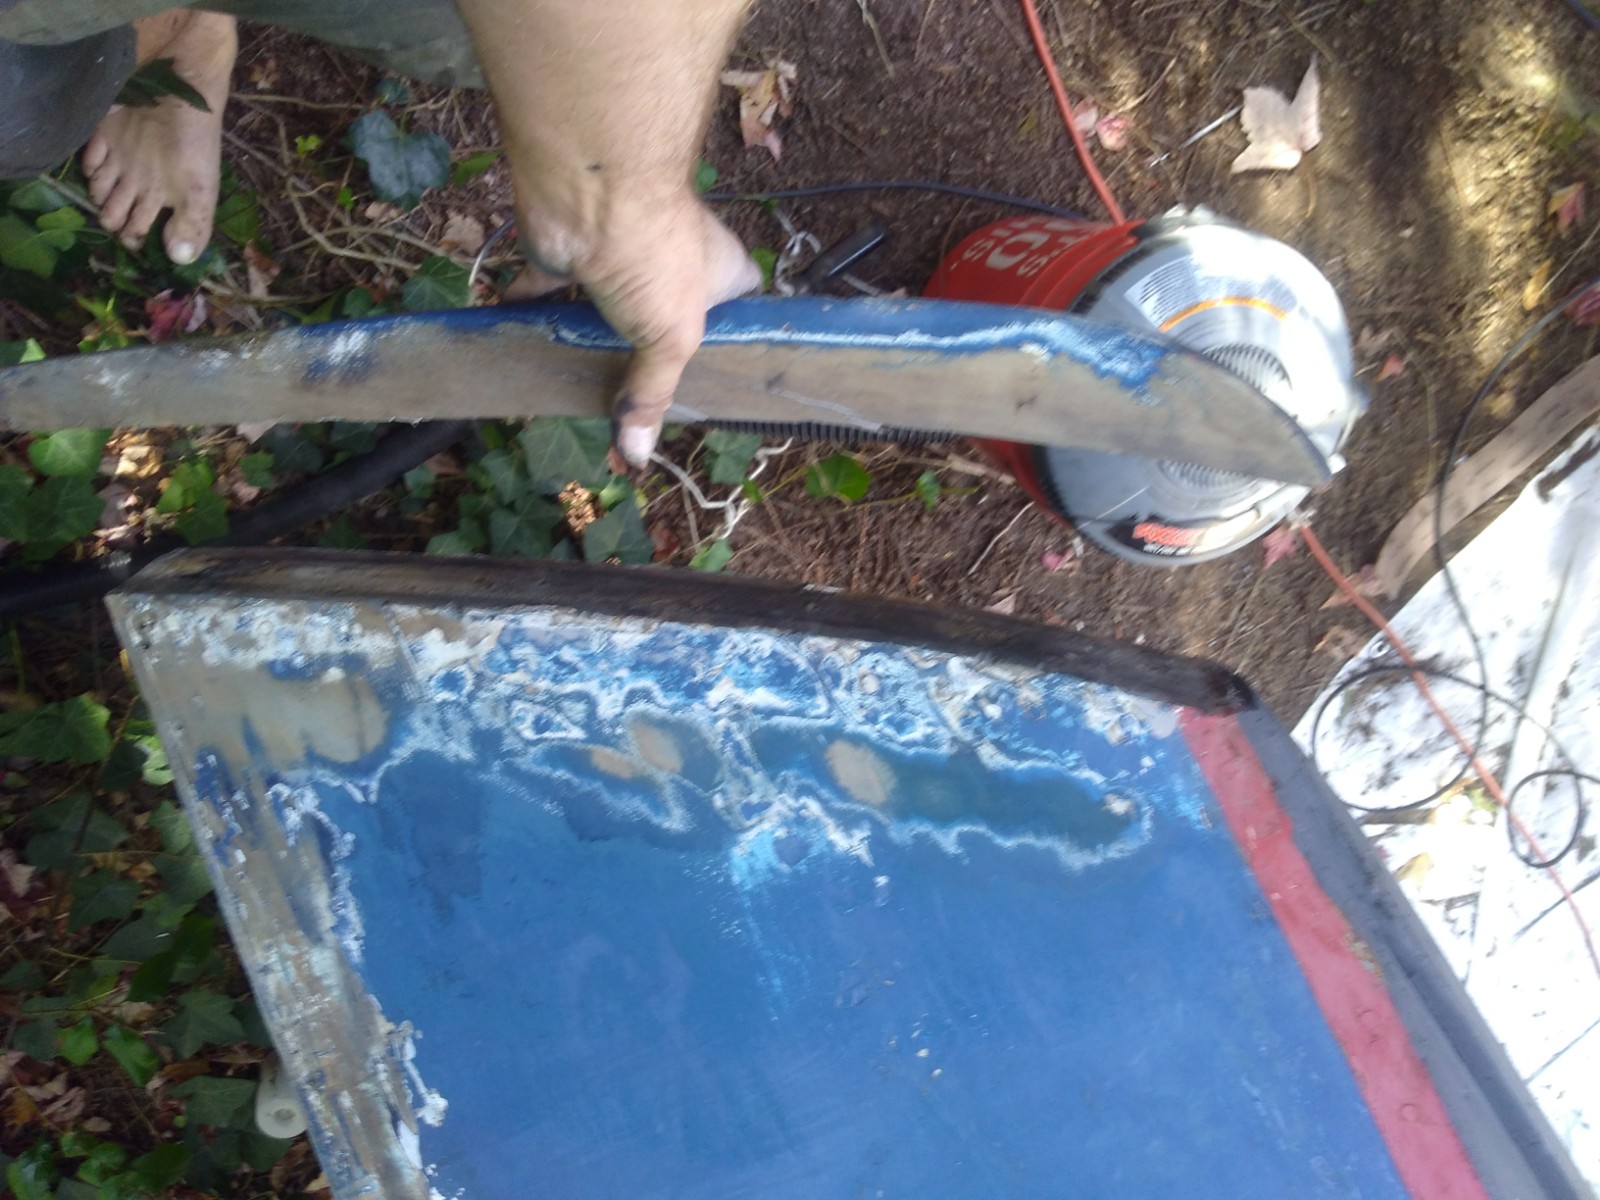
However, the two pieces were fit with a gap and held together with too-short brass screws. The brass had de-zinked, and the fairing compound shoved in between had mostly cracked and fallen out. so, I went to 1″ longer silicon bronze screws, and bedded it in with epoxy thickened with sillica. it turned out well, and i think it will be plenty solid.
Now that it is in the garage, I’m going to resume the last of the carpentry and then it’s time to start painting.
A huge shout out to the guys who showed up to help me get it back on the trailer. Couldn’t have done it without you.