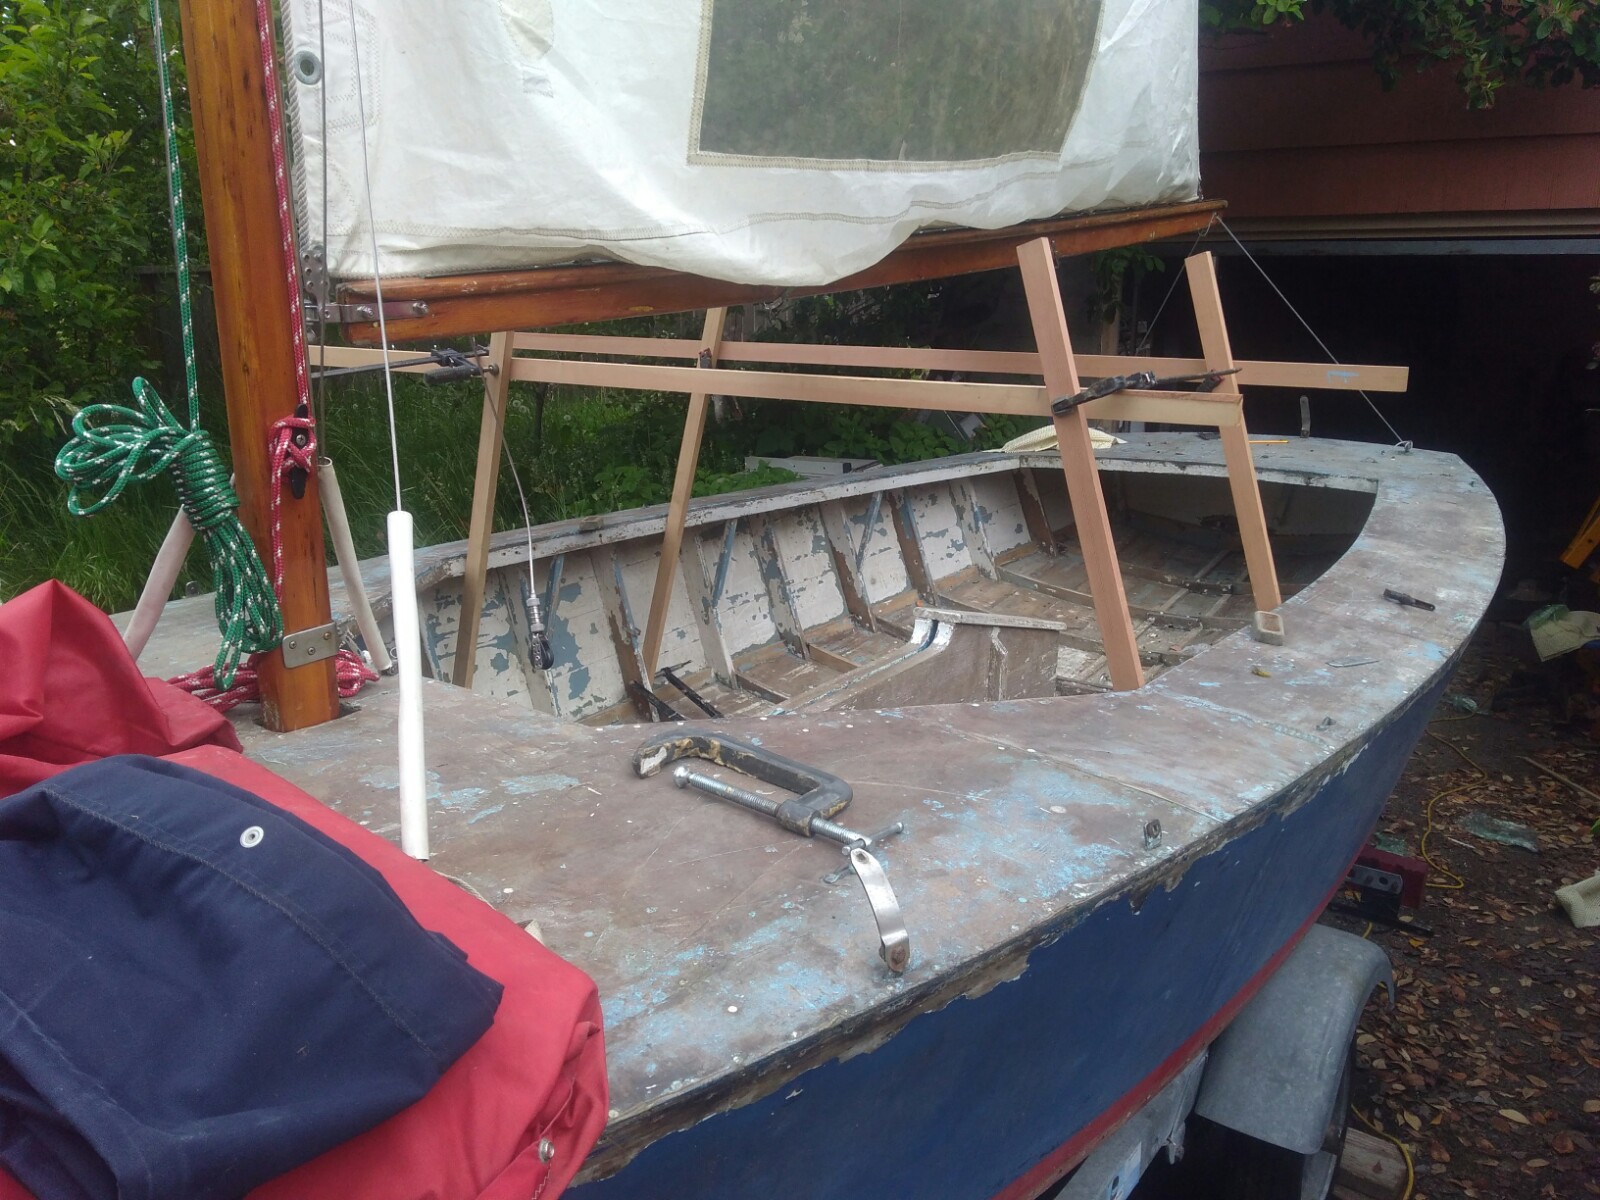
Today, I finished the rib replacement. a total of six half-ribs have been replaced.
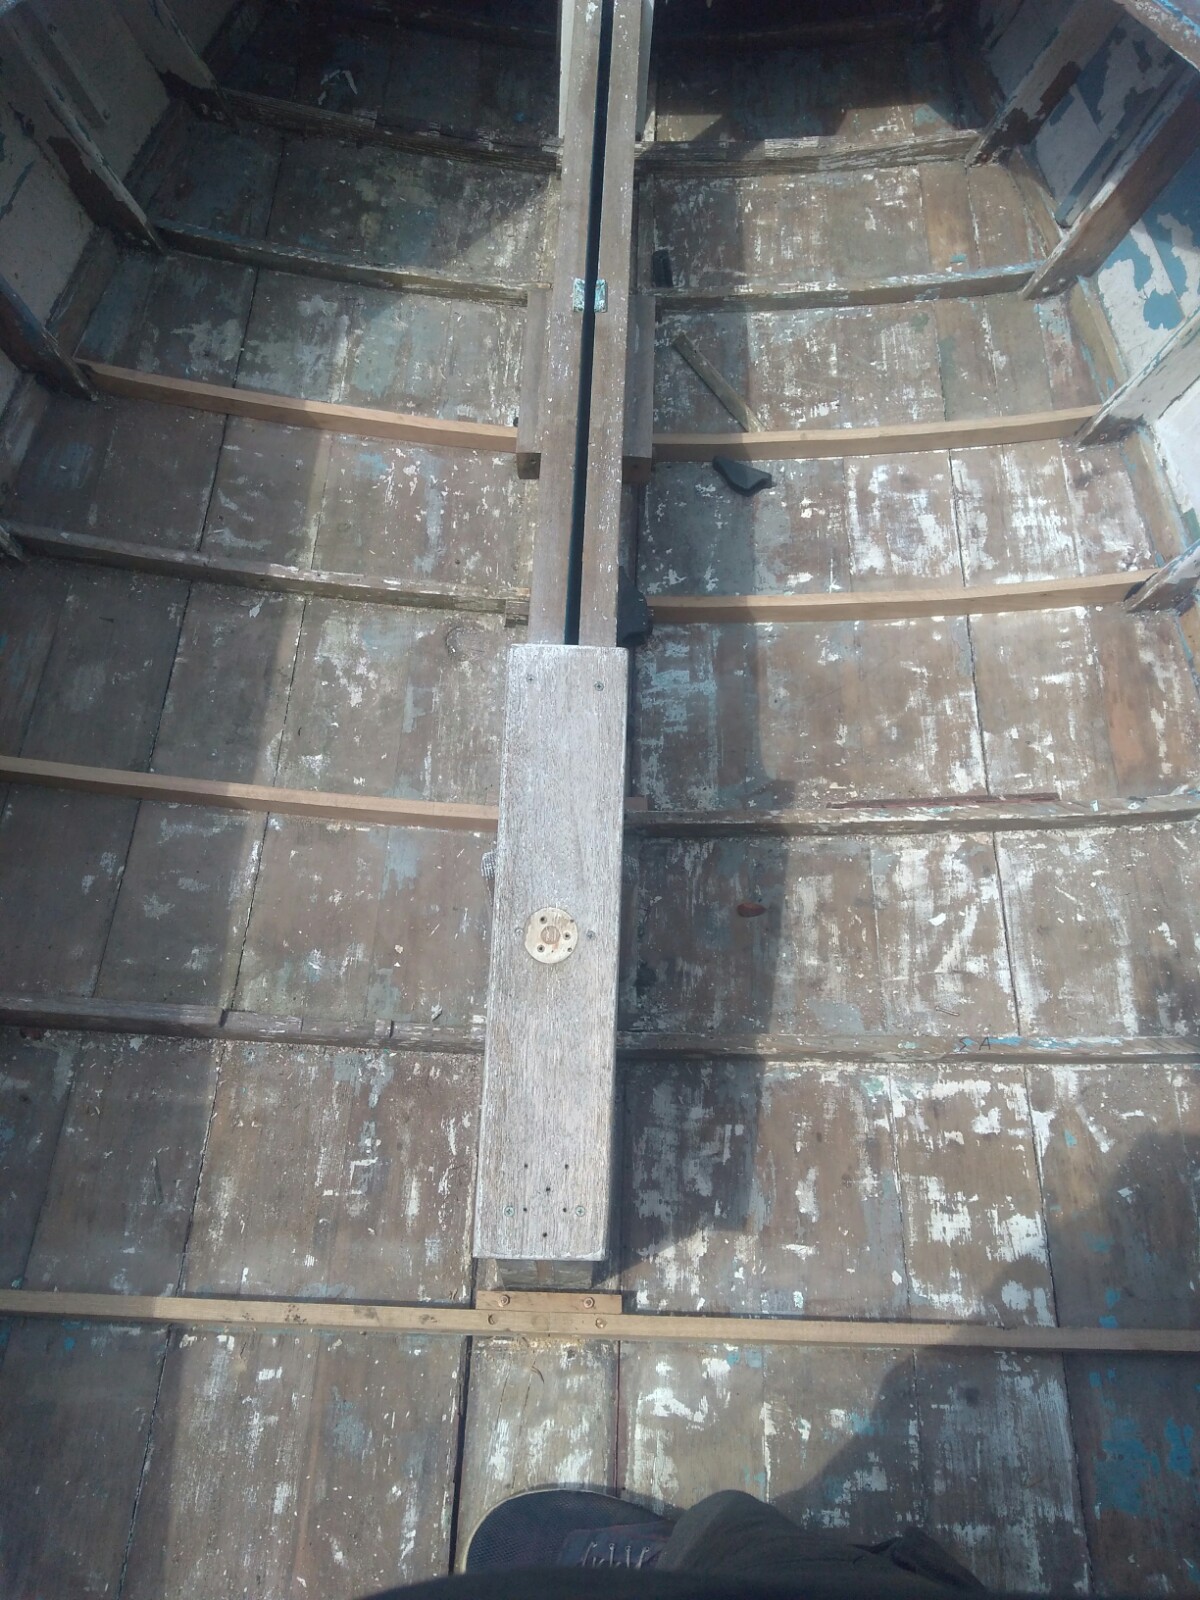
The aft, full width rib I had hoped to get in as one piece, but I ended up doing it as two halves. The ‘how to build a lightning’ book from the international class association said that doing it in one piece would be difficult, and wouldn’t add any extra strength, so I figure it isn’t a big deal. in addition, on closer inspection I’m not 100% sure the ribs i took out were oak. so… looks like this thing will be stronger in the middle?
So, that completes the structural repairs. on to the structural enhancements.
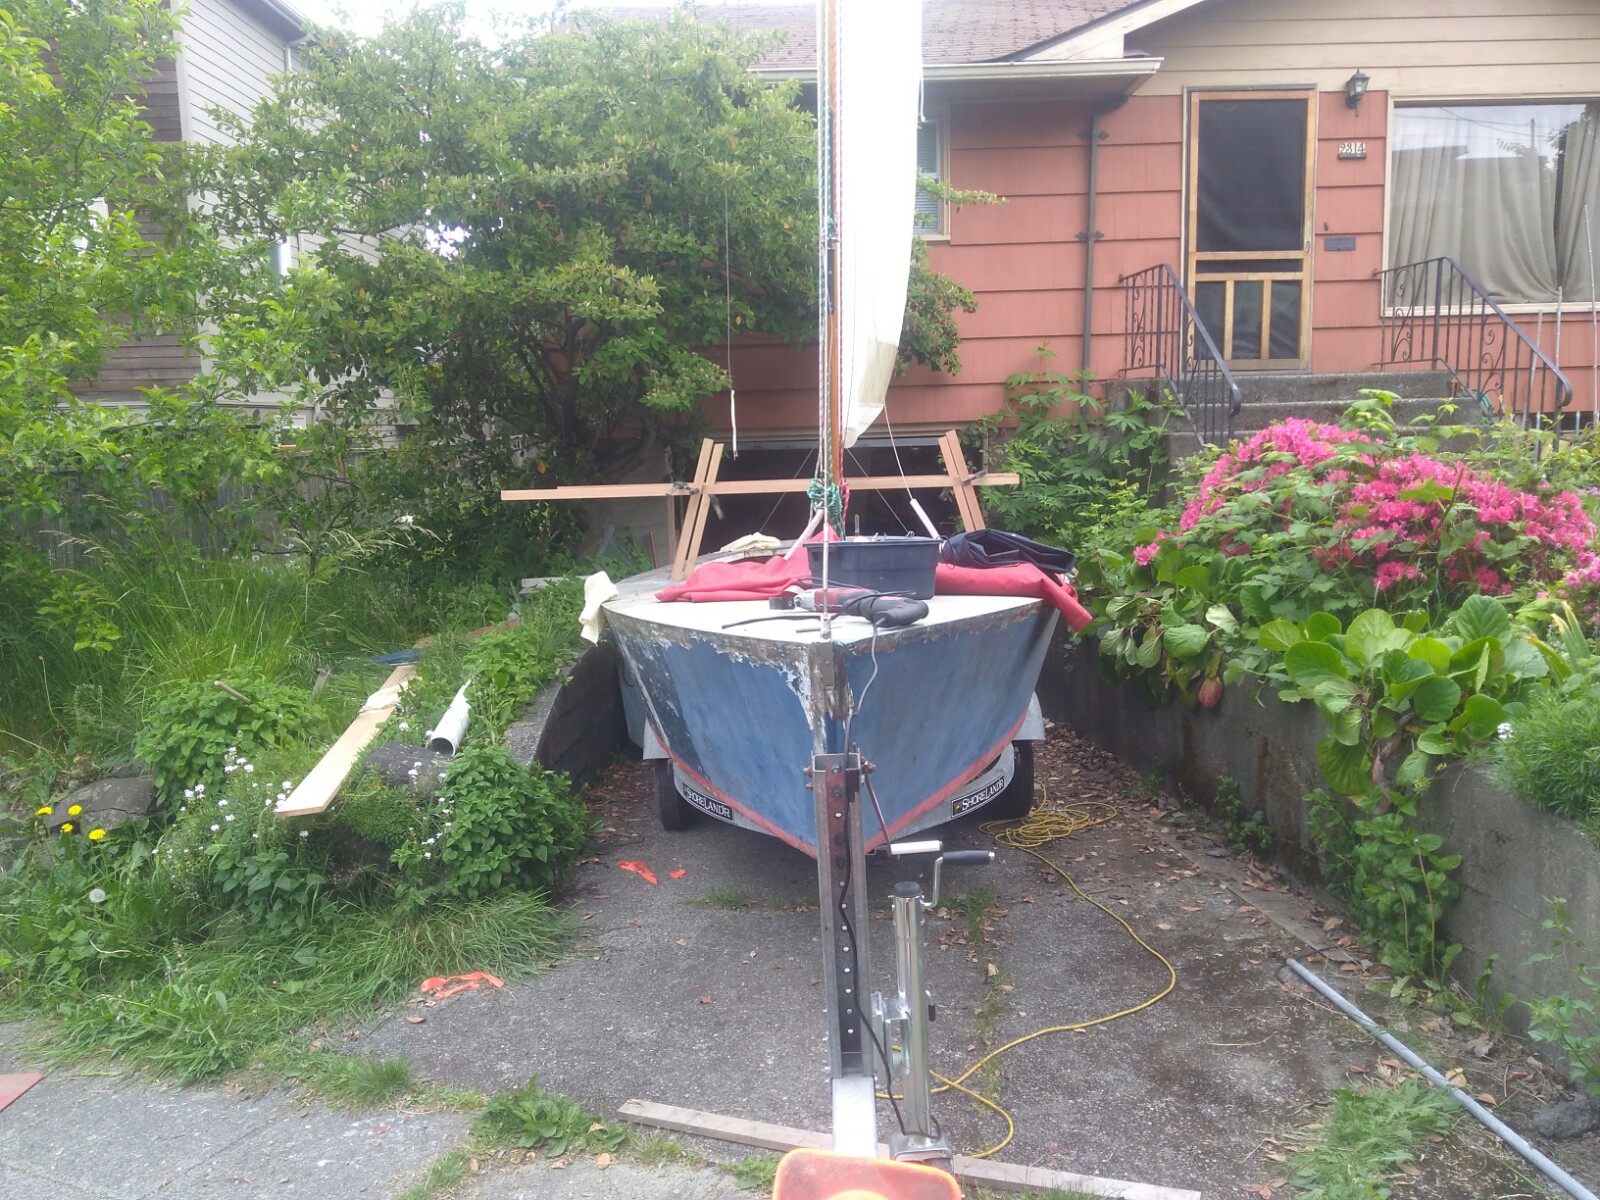
Today, I cut wood for the start of the cabin framing. Most of this i’m doing by eye and measuring only to establish symmetry. First, I had to haul the boat up onto the trailer and get it out of the shop.
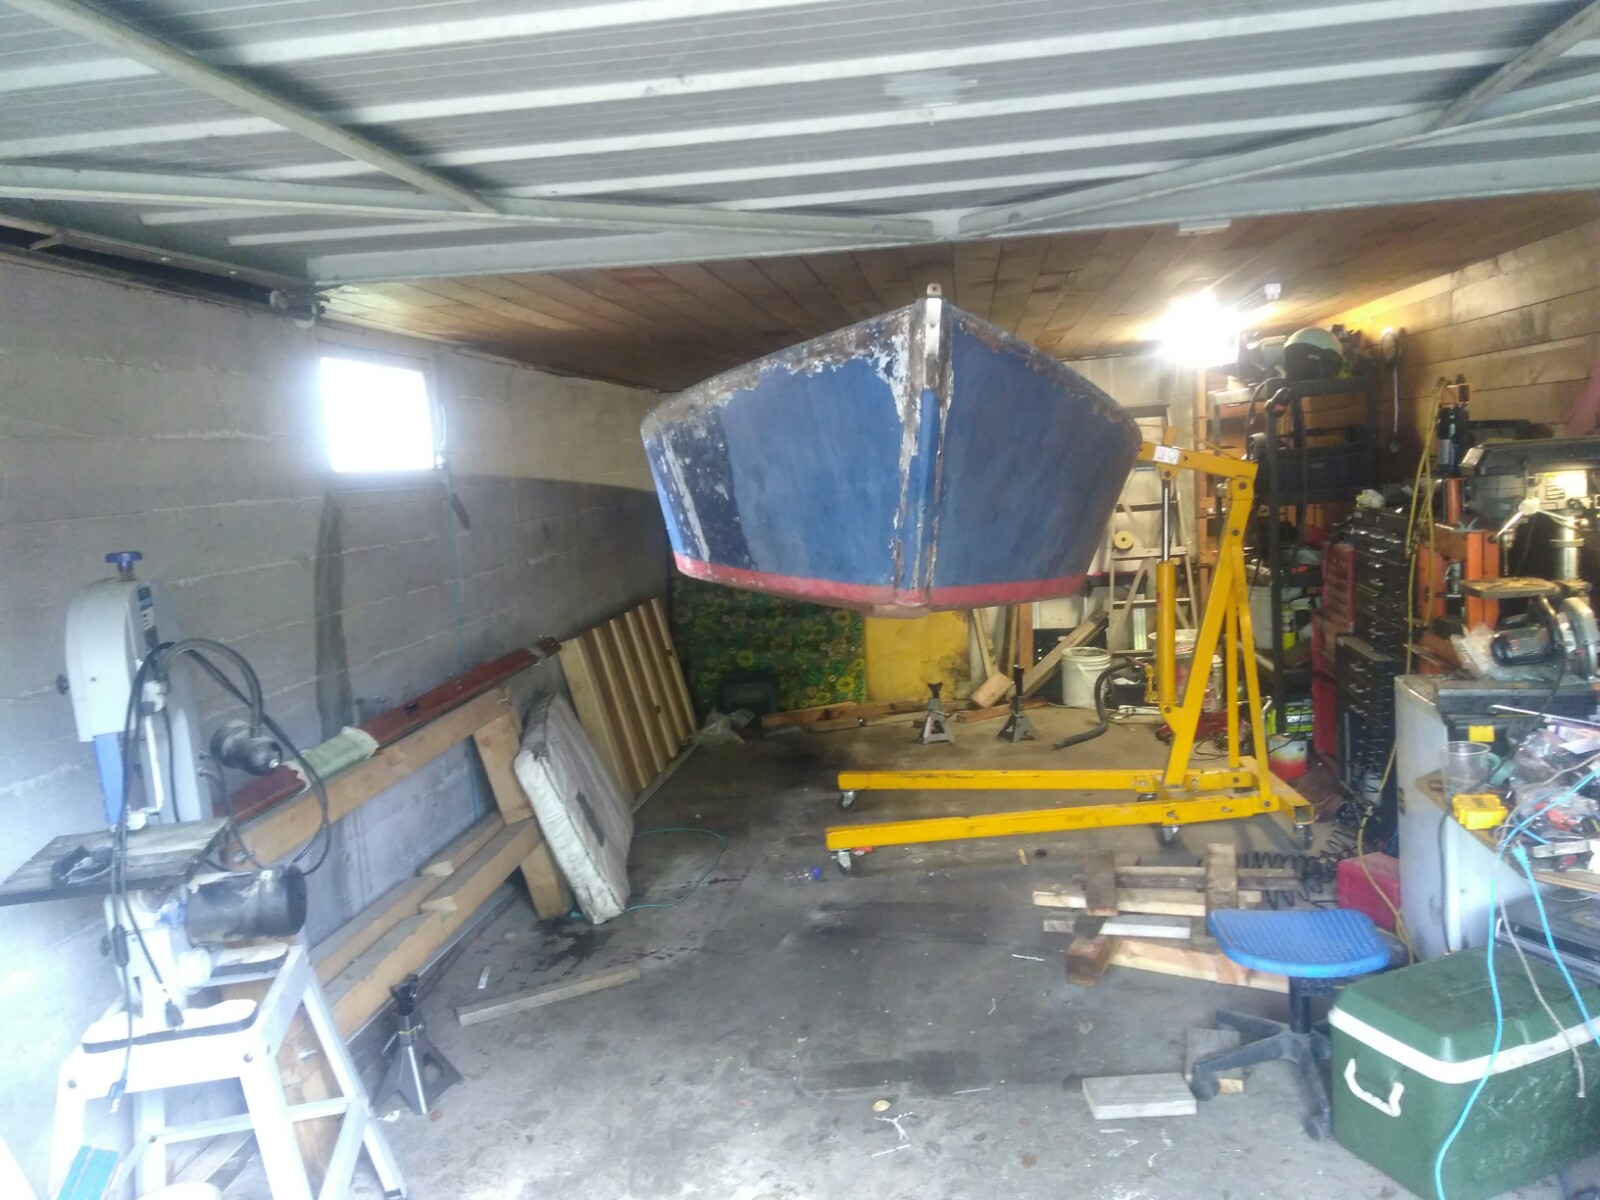
This is probably the last time I’ll be using the Engine Hoist. It worked well to get the boat off the trailer so I could replace the ribs, but now that the boat is structurally sound and I have adjusted the trailer to properly cradle the boat. In addition, once the cabin top is on, I will no longer have the clearance to hook the boat up to it.
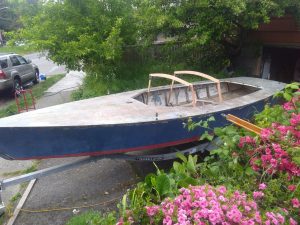
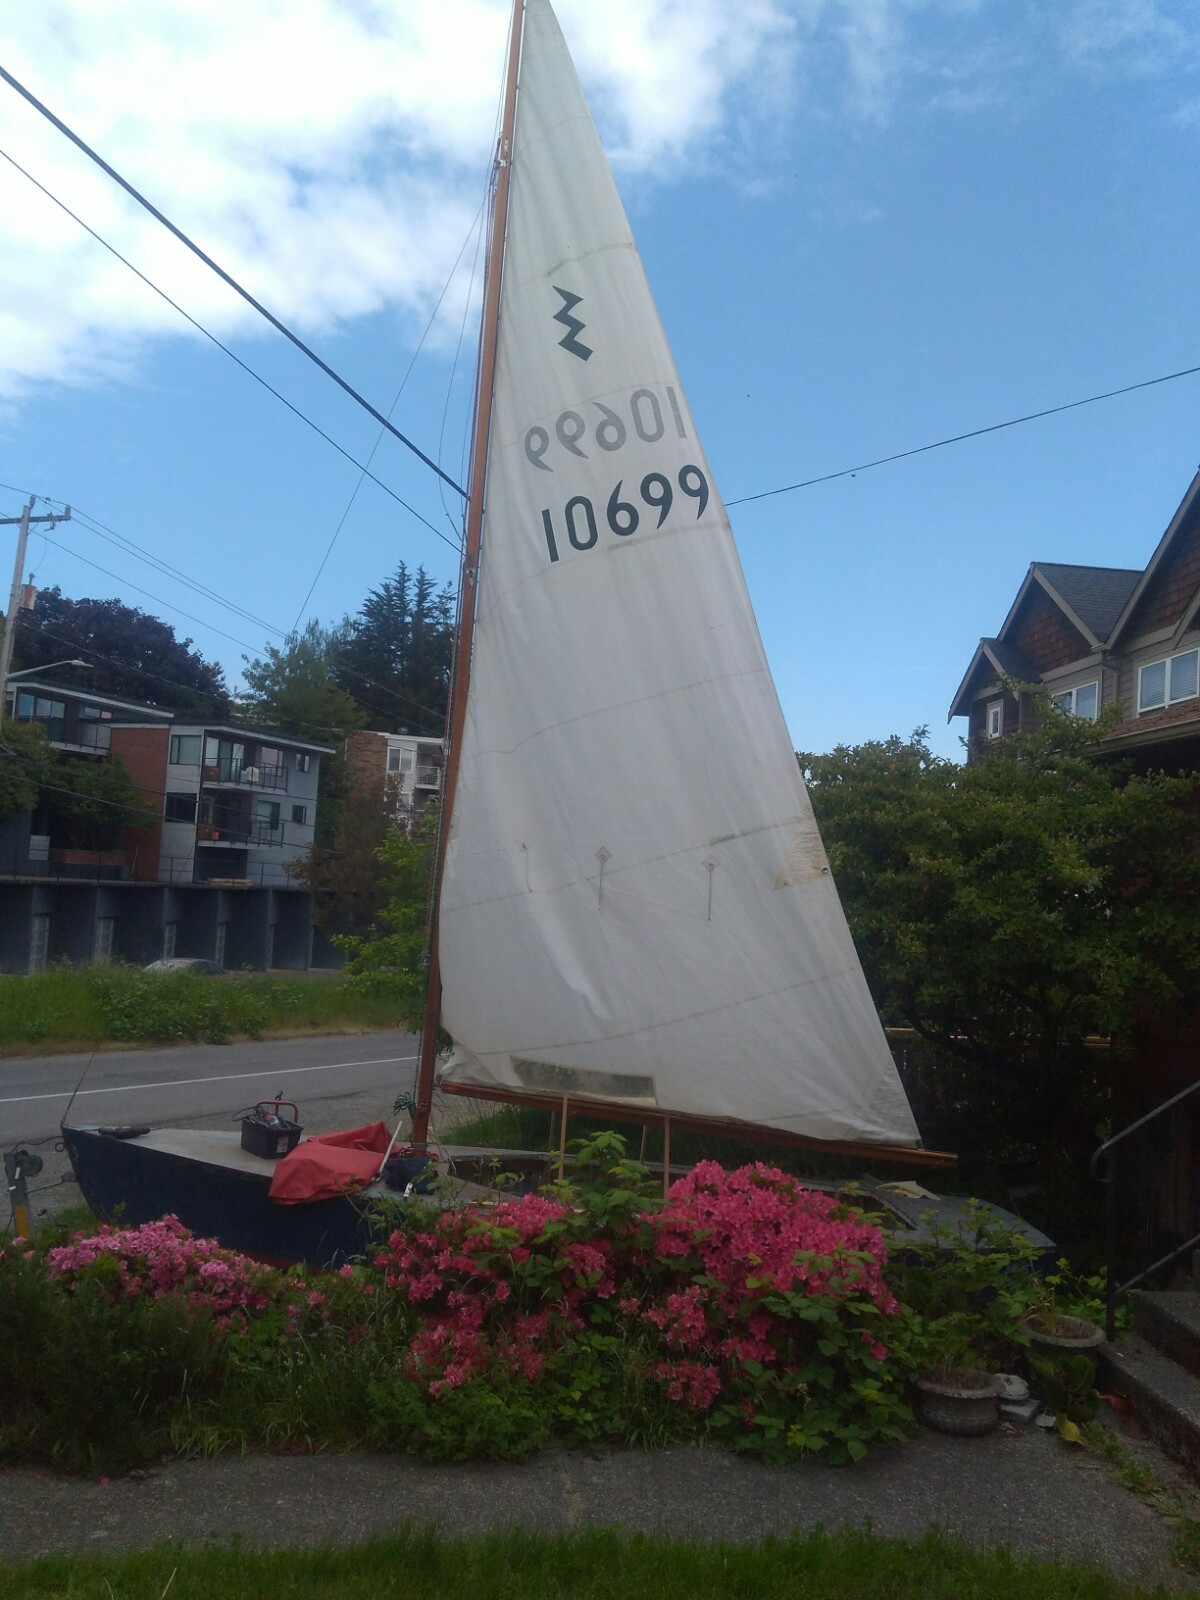
So, here it is, with one of the sails that came with the mast mounted.
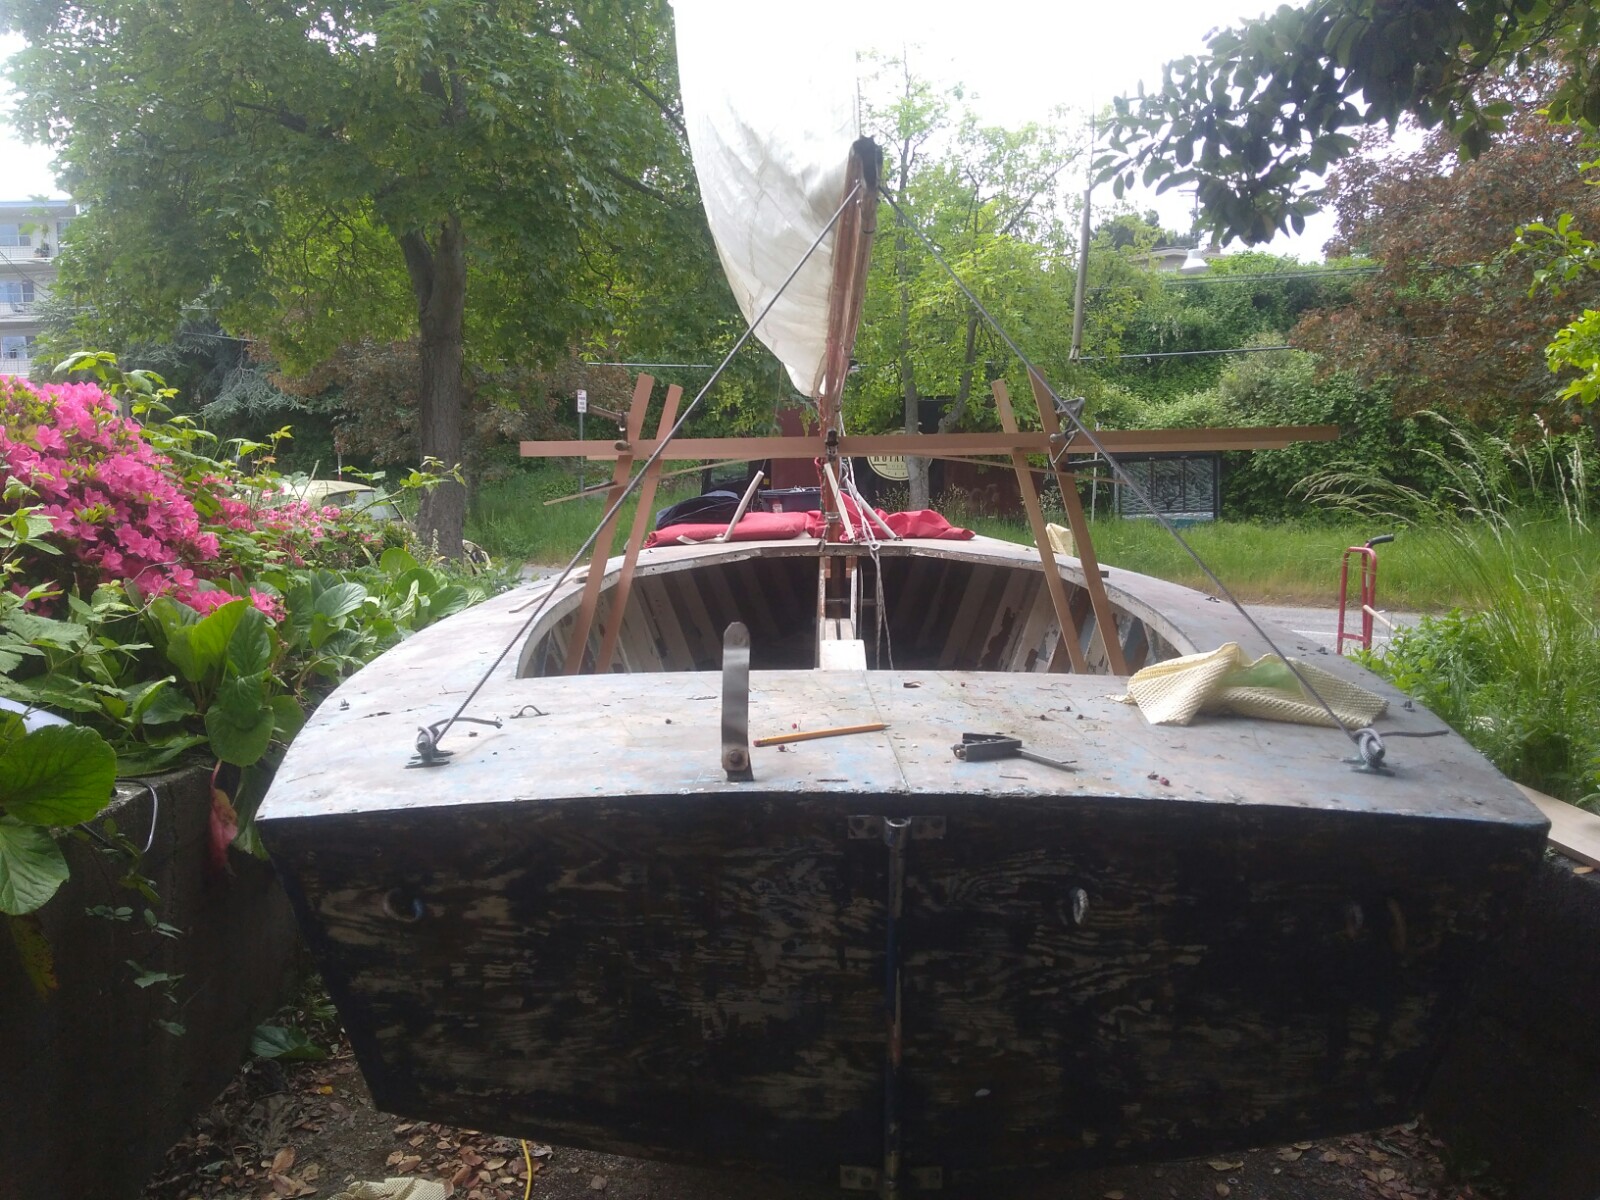
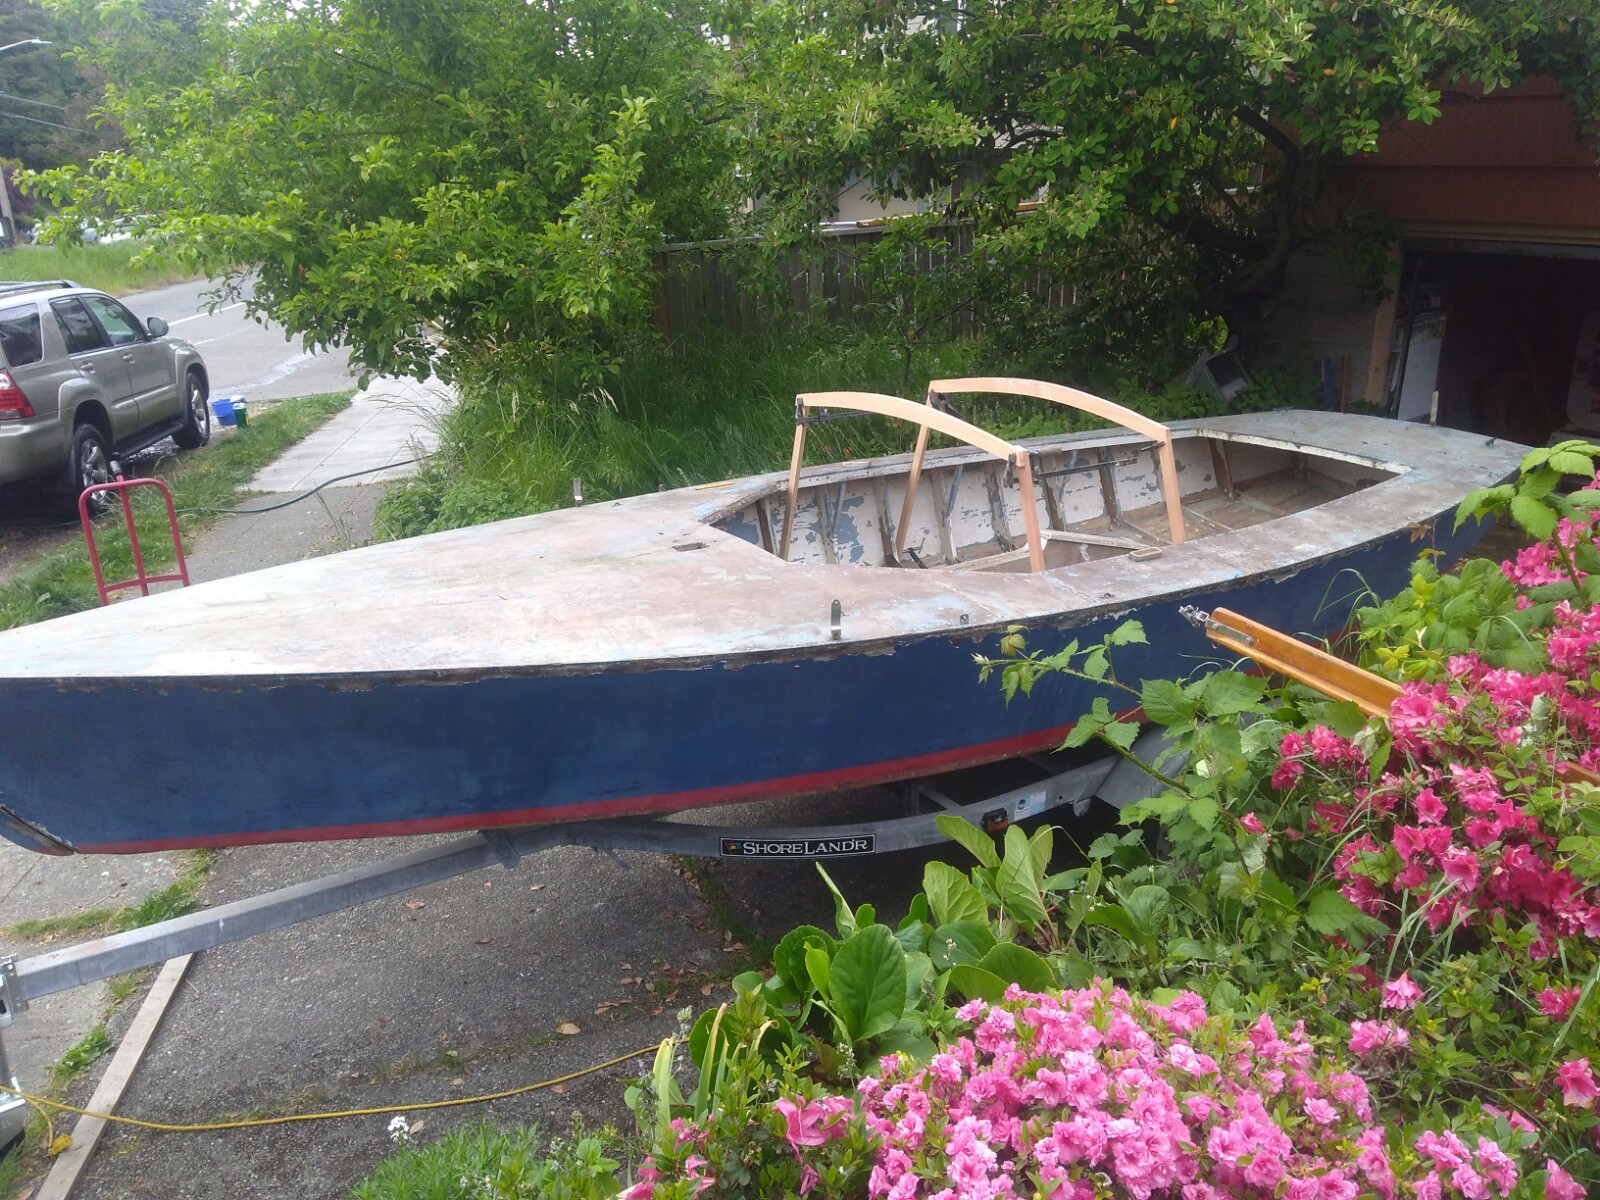
Here’s a shot of me figuring out how much angle to put in the cabin sides. I mocked it up with some 1×2 pine, first focusing on the sides, and getting the front and rear frames parallel.
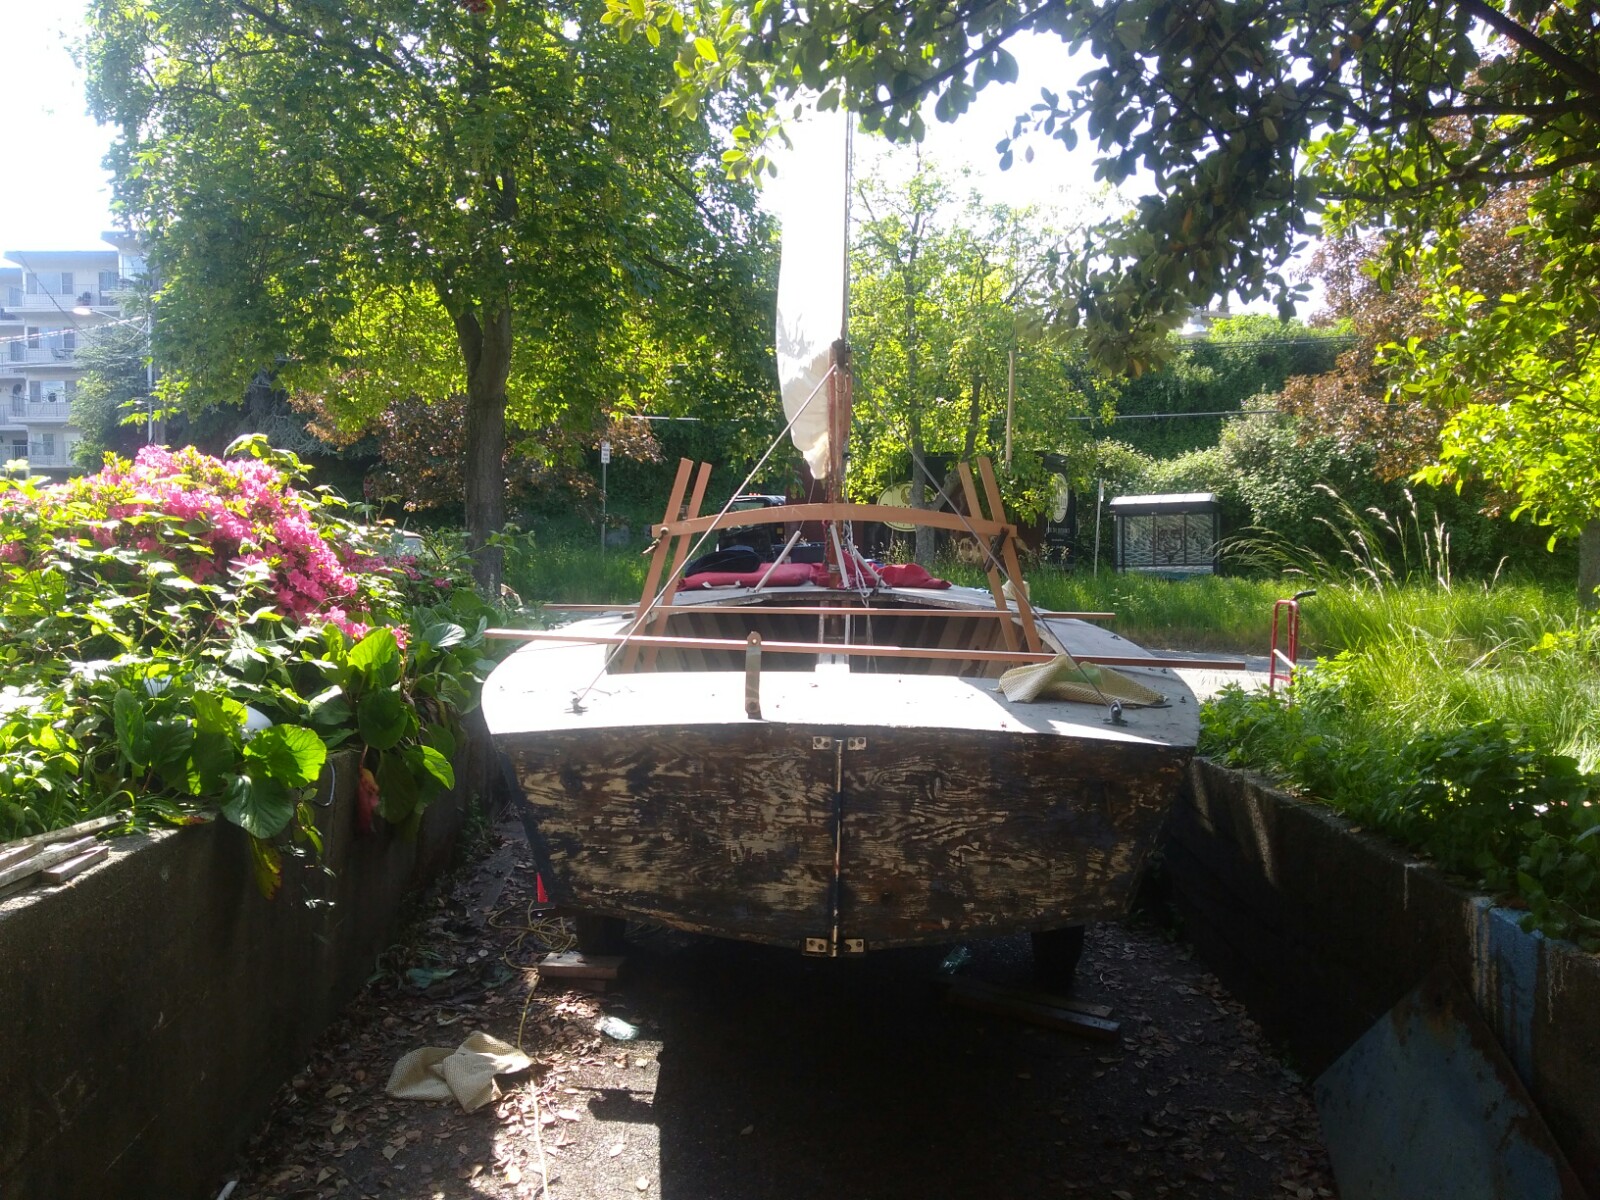
Here it is from the front, trying to get an idea from how it will look from all sides.
I then clipped a batten to the top of the aft mock up, and played with how much to drop the sides.
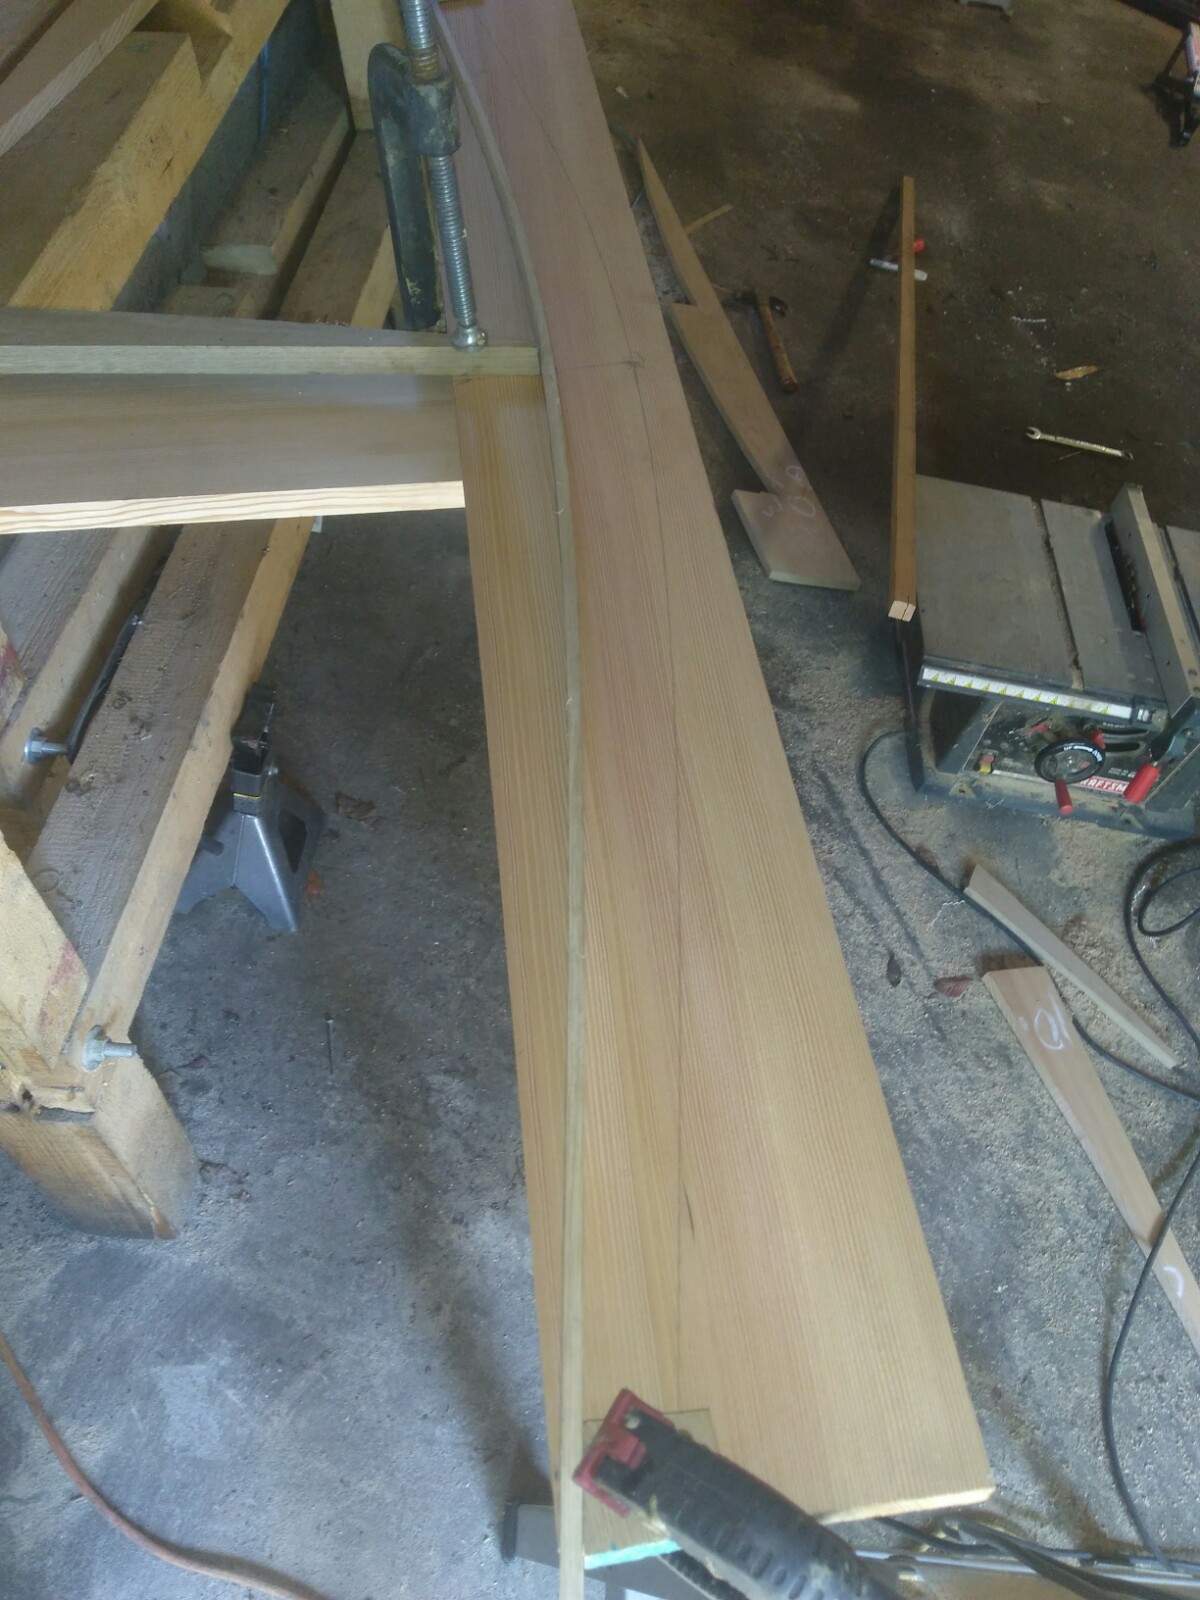
Using a batten will result in a shape that is curved, but not a perfect radius. It’ll be flatter on the sides. I decided to do it this way because then the flatter curve on the ends will complement the flatter side decks. I took measurements, then transferred them to a board to cut the curved deck beams.
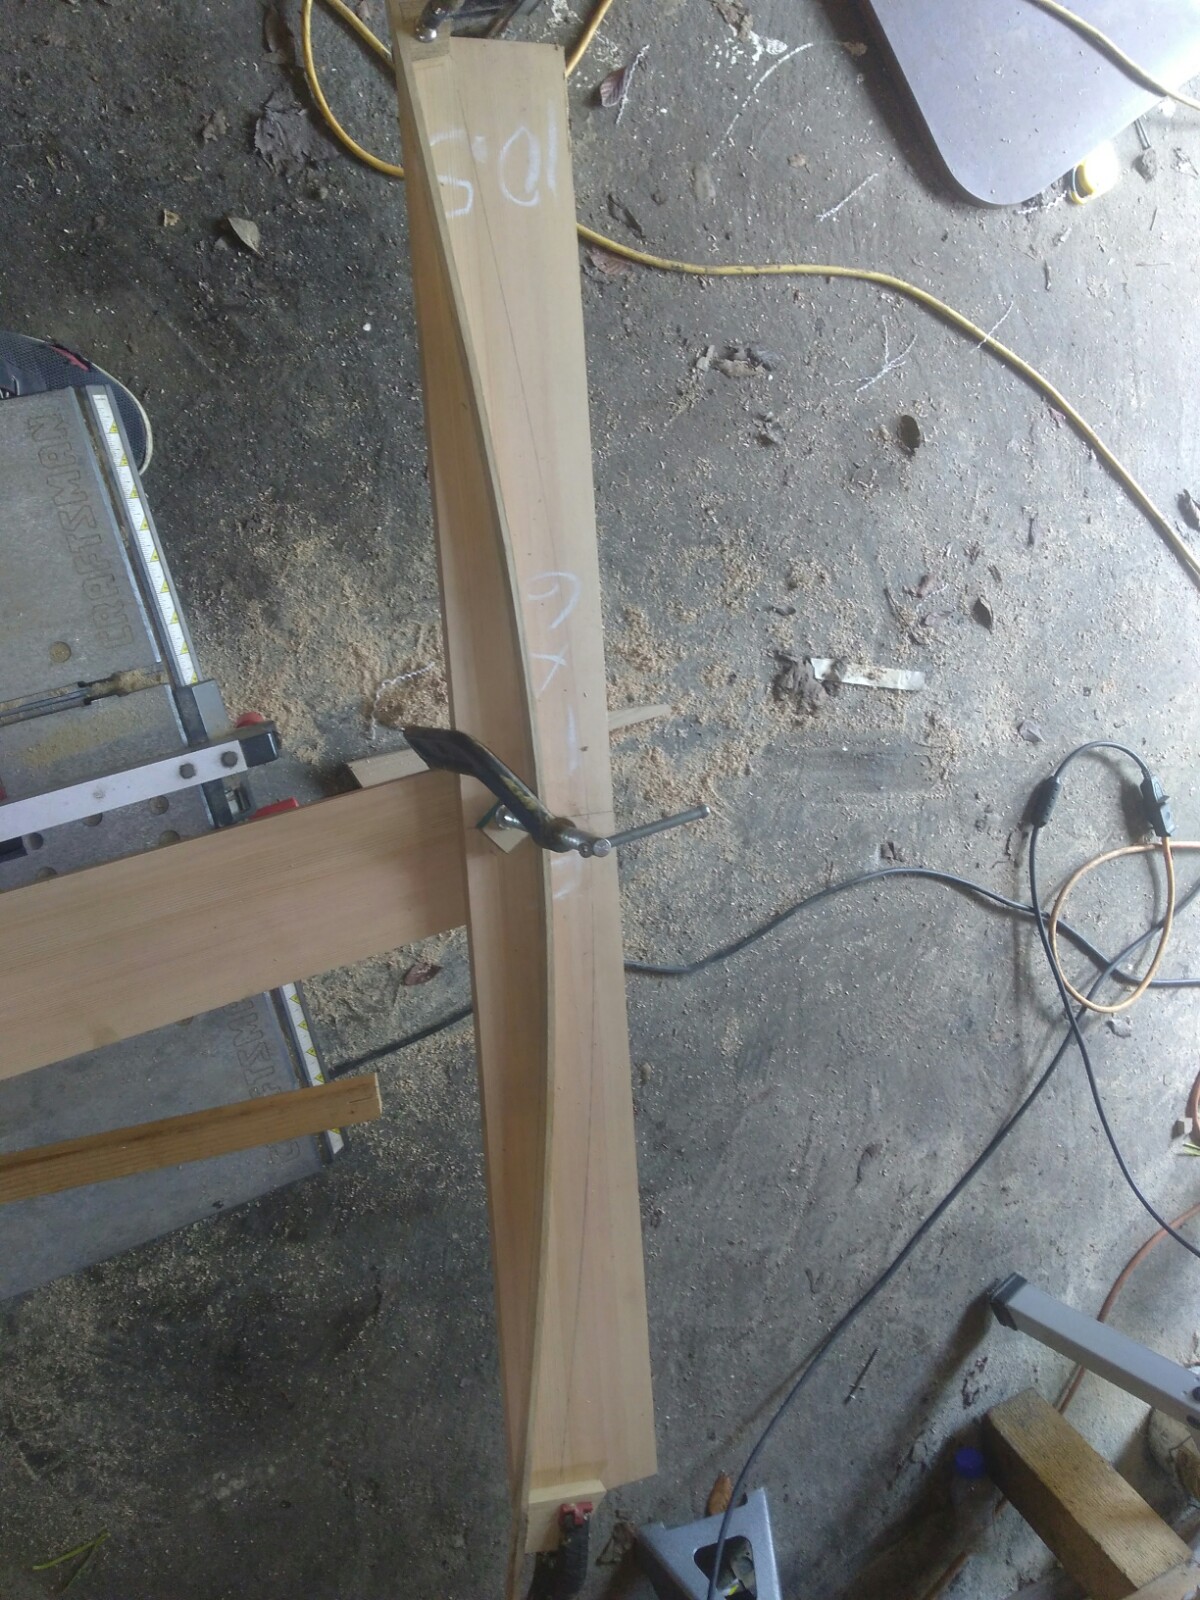
I lofted the top and bottom edges. the beam is 1.5 ” tall at the ends, and this becomes 2″ at the midpoint; the bottom edge is less curved than the top, to make it stronger in the middle.
Then I did the same for the second beam.
Here’s the first test fit of the cabin top beams.
At this point the wind was getting up a little bit, and i didn’t want to keep the sails and rig up without having all the standing rigging. So, I did that crazy caper toss. I really will need to figure out some way to set the mast on this with something holding it besides just myself.
And after a little trimming….
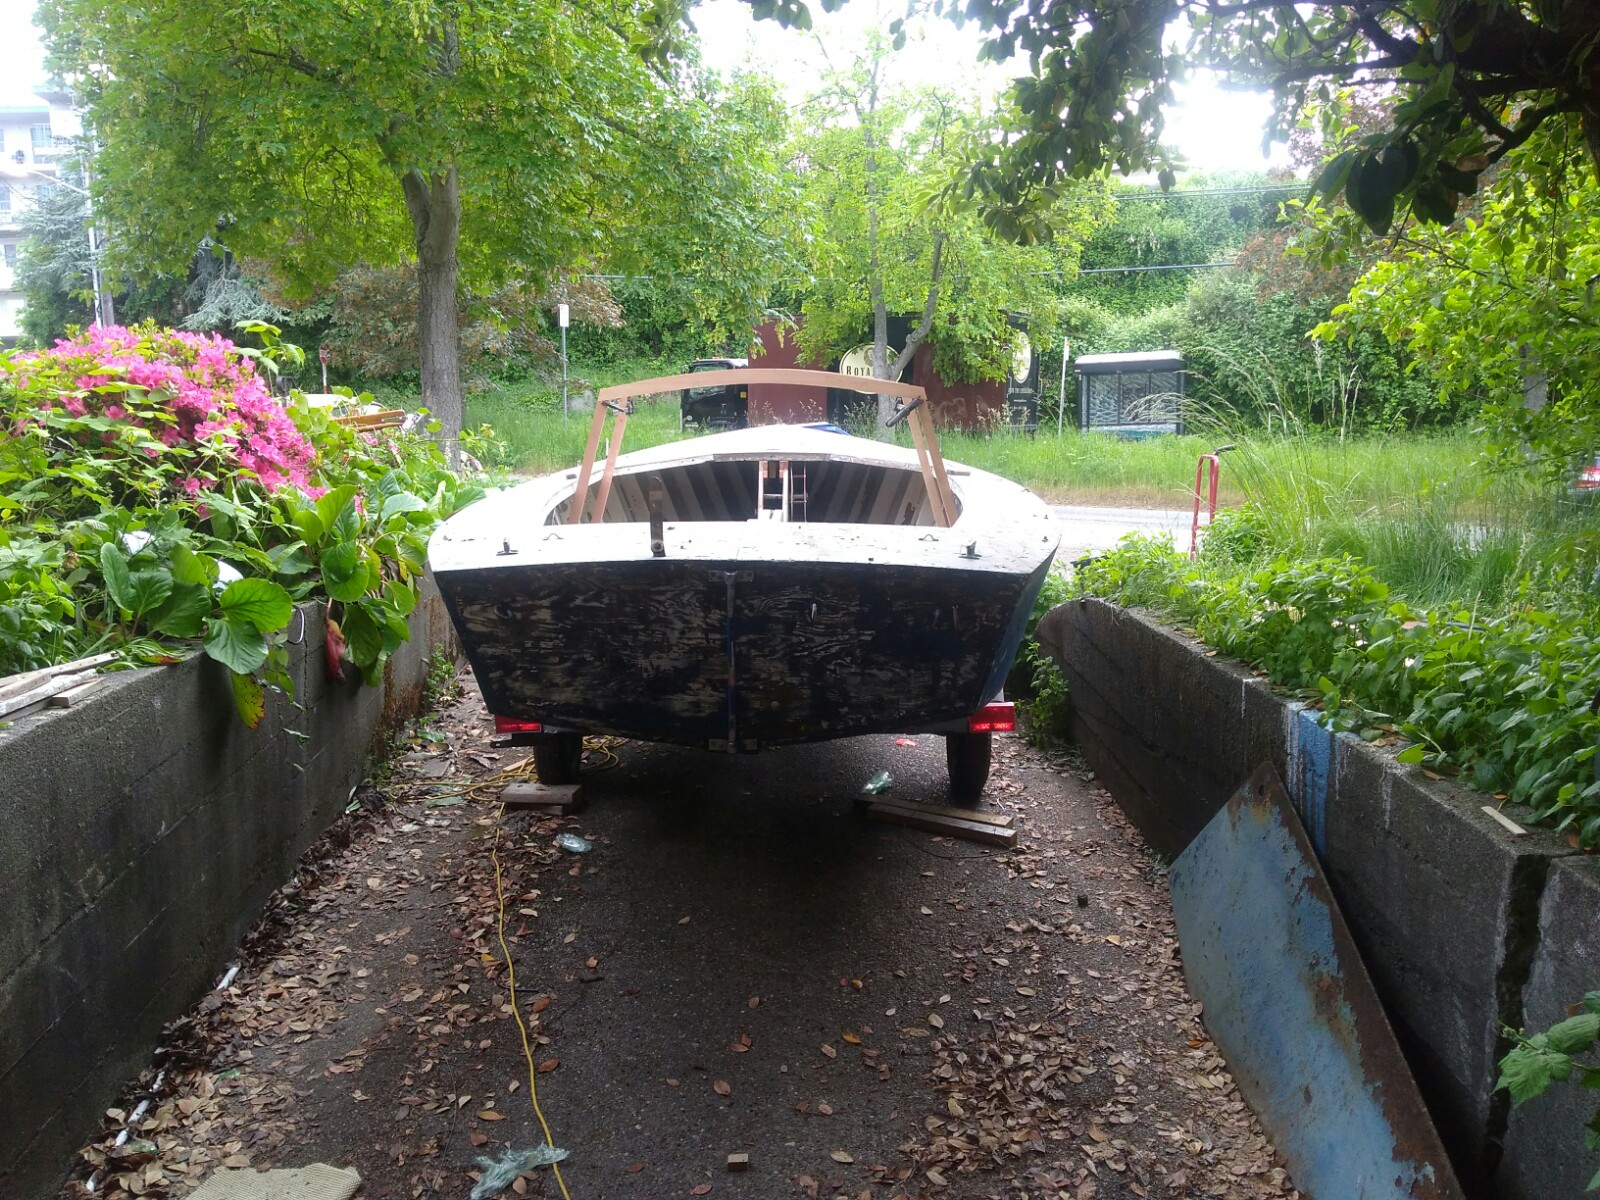
I think this will work fine.
In front of the front beam, iI plan to have a flat facet on the side, coming from the chine where the beam meats the frame down diagonally to where the cockpit cutout goes from diagonal to an athwartship line.
the straight front section will have a combing piece installed with a curve on it, and then the middle of the cabin is just a conic section.

The rear piece will support the cabin top and the aft cabin bulkhead. Once the bulkhead is installed, the companionway will get cut out. I’m still scratching my head a little about the companionway; I don’t have a ton of cabin top space before I have to kick down the roof line to leave room for the vang so I don’t think a standard sliding hatch will have enough room. I’m going to have to do some brainstorming and research to come up with a plan.